SC-F9200 Series Revision B
DISASSEMBLY & ASSEMBLY Disassembly and Assembly Procedure 122
SE Group Confidential (Related Staff Only)
3.4.3.16 Front Cover L Sensor
1. Remove the Left Rear Cover. (p110)
2. Remove the Left Upper Cover. (p111)
3. Remove the Left Front Cover. (p113)
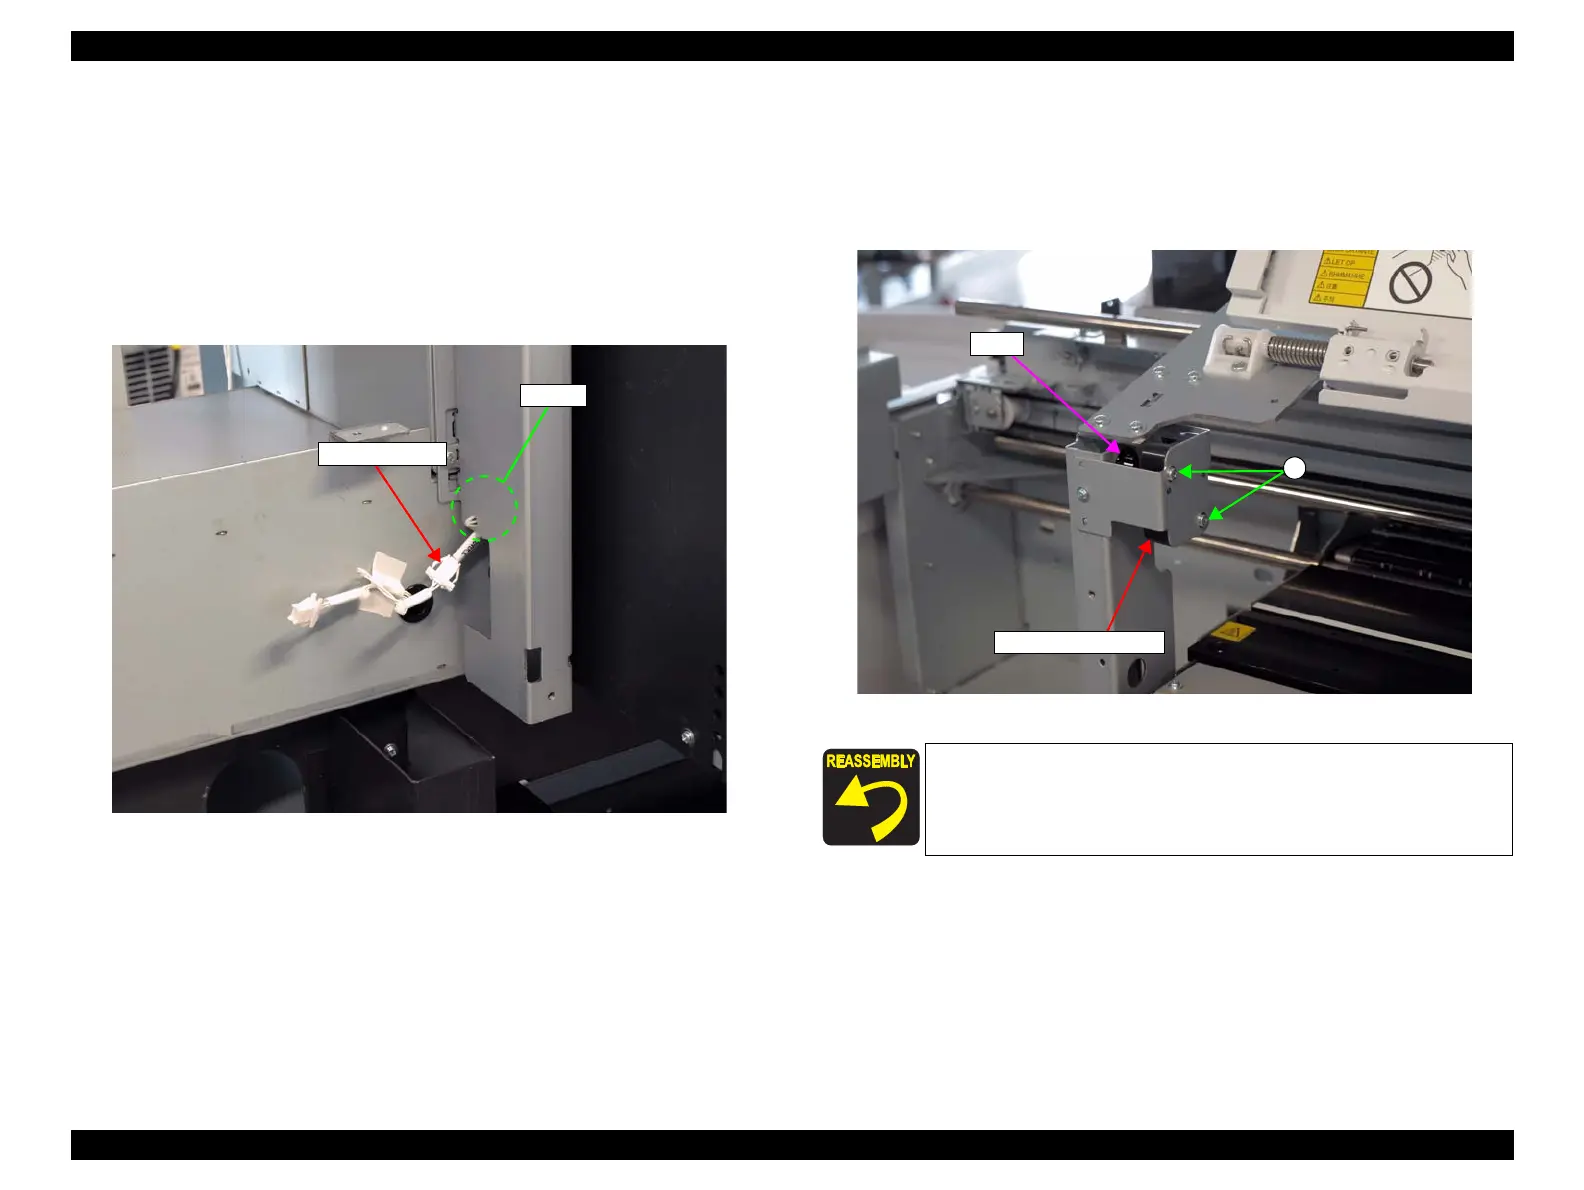
4. Disconnect the cable from the relay connector.
5. Release the cable from the clamp.
Figure 3-44. Releasing the Cable
6. Remove the two screws that secure the Front Cover L Sensor.
A) Silver M3x8 P-tite screw with washer: 2 pcs
7. Pull out the cable through the hole on the frame, and remove the Front Cover L
Sensor.
Figure 3-45. Removing the Front Cover L Sensor
Route the sensor cable through the cable guide correctly.
A
Front Cover L Sensor
Hole

 Loading...


