SC-F9200 Series Revision B
DISASSEMBLY & ASSEMBLY Disassembly and Assembly Procedure 227
SE Group Confidential (Related Staff Only)
3.4.6.12 PF Roller Center Support
1. Open the Front Cover.
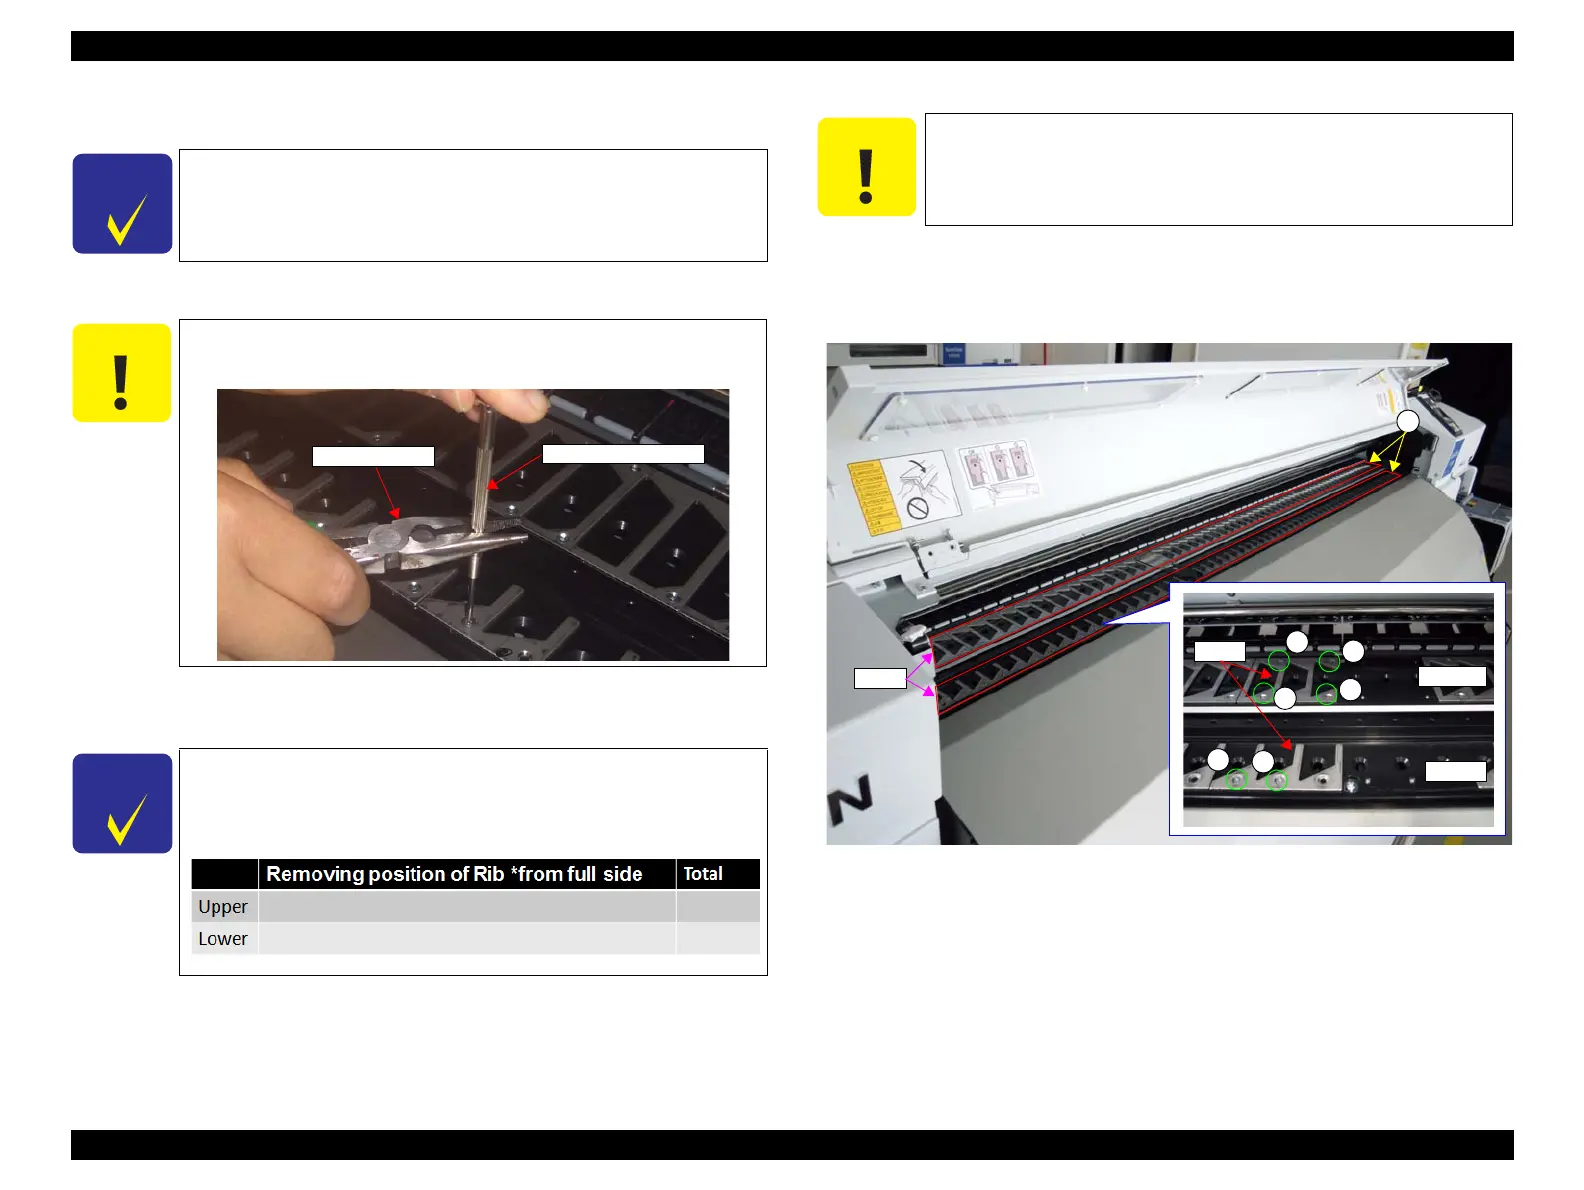
2. Remove the forty screws and remove the Rib on the Platen.
A) Silver M2.6x6 flat head screw: 40 pcs
3. Remove the six screws that secure the After Heater.
B) Silver M3x8 S-tite screw: 6 pcs
4. Shift the After Heater forward and make a space between Platen and After Heater.
Figure 3-177. Removing the Rib
To shorten the repair time, Step 1 to Step 5 can be omitted.
(However, if the steps above are omitted, the inside of the printer
becomes darker, so the work may be difficult.)
When removing the screws, make sure to pinch the precision
screwdriver with long nose pliers.
Remove the screw of Rib by precision screwdriver.
Referring to following “Removing position of Rib” when
remove the screw of Rib.
Long nose pliers
Precision Screwdriver
1, 4, 8, 12, 16, 20, 23 7
1, 4, 8, 12, 16, 20, 23 7
Do not touch the CR Scale.

 Loading...


