EPSON Stylus COLOR 860/1160 Revision C
Adjustment Adjustment 119
5.2 Adjustment
This section explains specific procedures for each adjustment required
for Stylus COLOR 860/1160.
5.2.1 Parallelism Adjustment
When replacing the carriage assembly or removing it during printer
mechanism disassembly, perform the parallelism adjustment during
assembling and set the standard distance from the surface of the
printhead to the paper surface.
[Right Parallelism Adjustment]
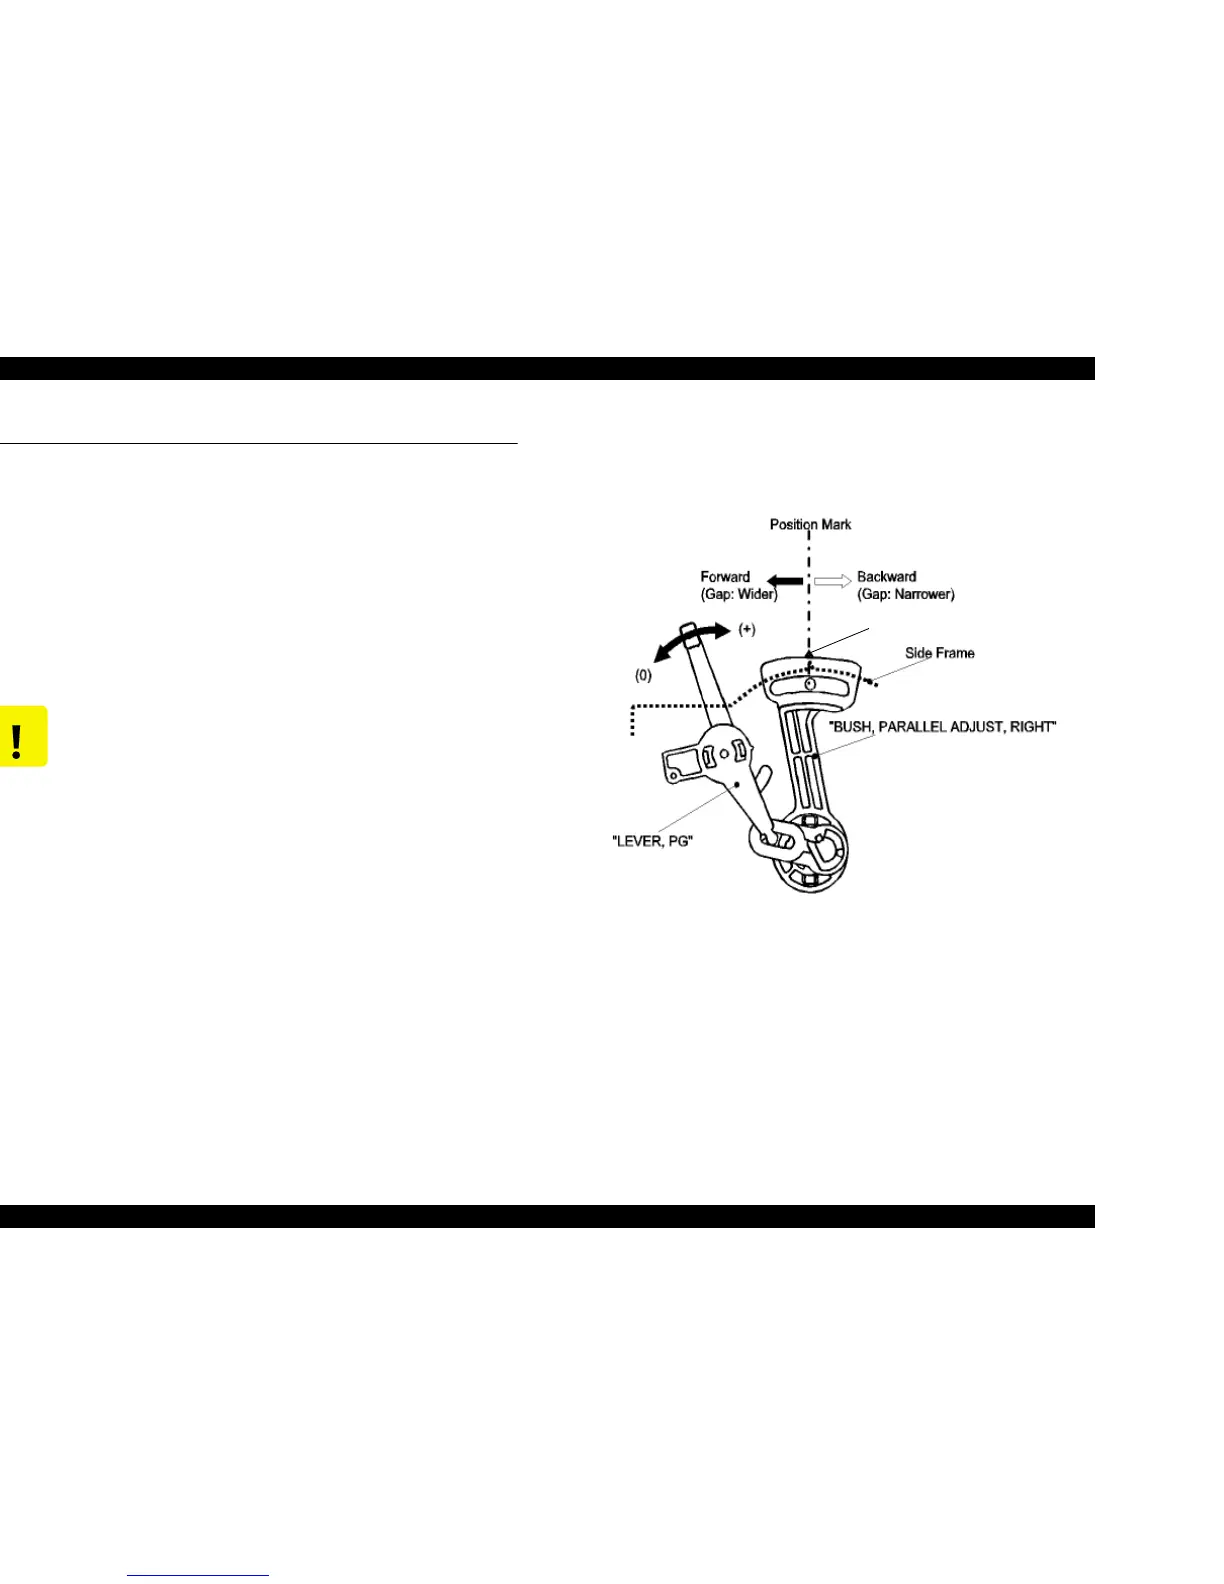
1. Install the “Parallelism adjustment bushing” for right and left frame
and set them on the peaking of the upper frame side so that they
match with “the standard mark of parallelism adjustment bushing”.
Figure 5-1. Parallelism Adjustment Bushing
2. Set the PG lever front. (Gap is small.)
CAUTION
n Do not scratch the special coated surface of the PF roller
assembly and rib surface of the front paper guide;B.
n Before performing this Adjustment, clean the thickness gauge
with the clean cloth moistened the alcohol.
n Be careful not to leave any mar or dirt on the surface of the
printhead. (Never use a rusty or dirty thickness gauge. Also, do
not push the thickness gauge hard against the head.)
The peaking
portion

 Loading...


