EPSON Stylus Photo R1900/R2880/R2000/R2000s/SC-P400 Series Revision I
Disassembly And Assembly Disassembling the Printer Mechanism 126
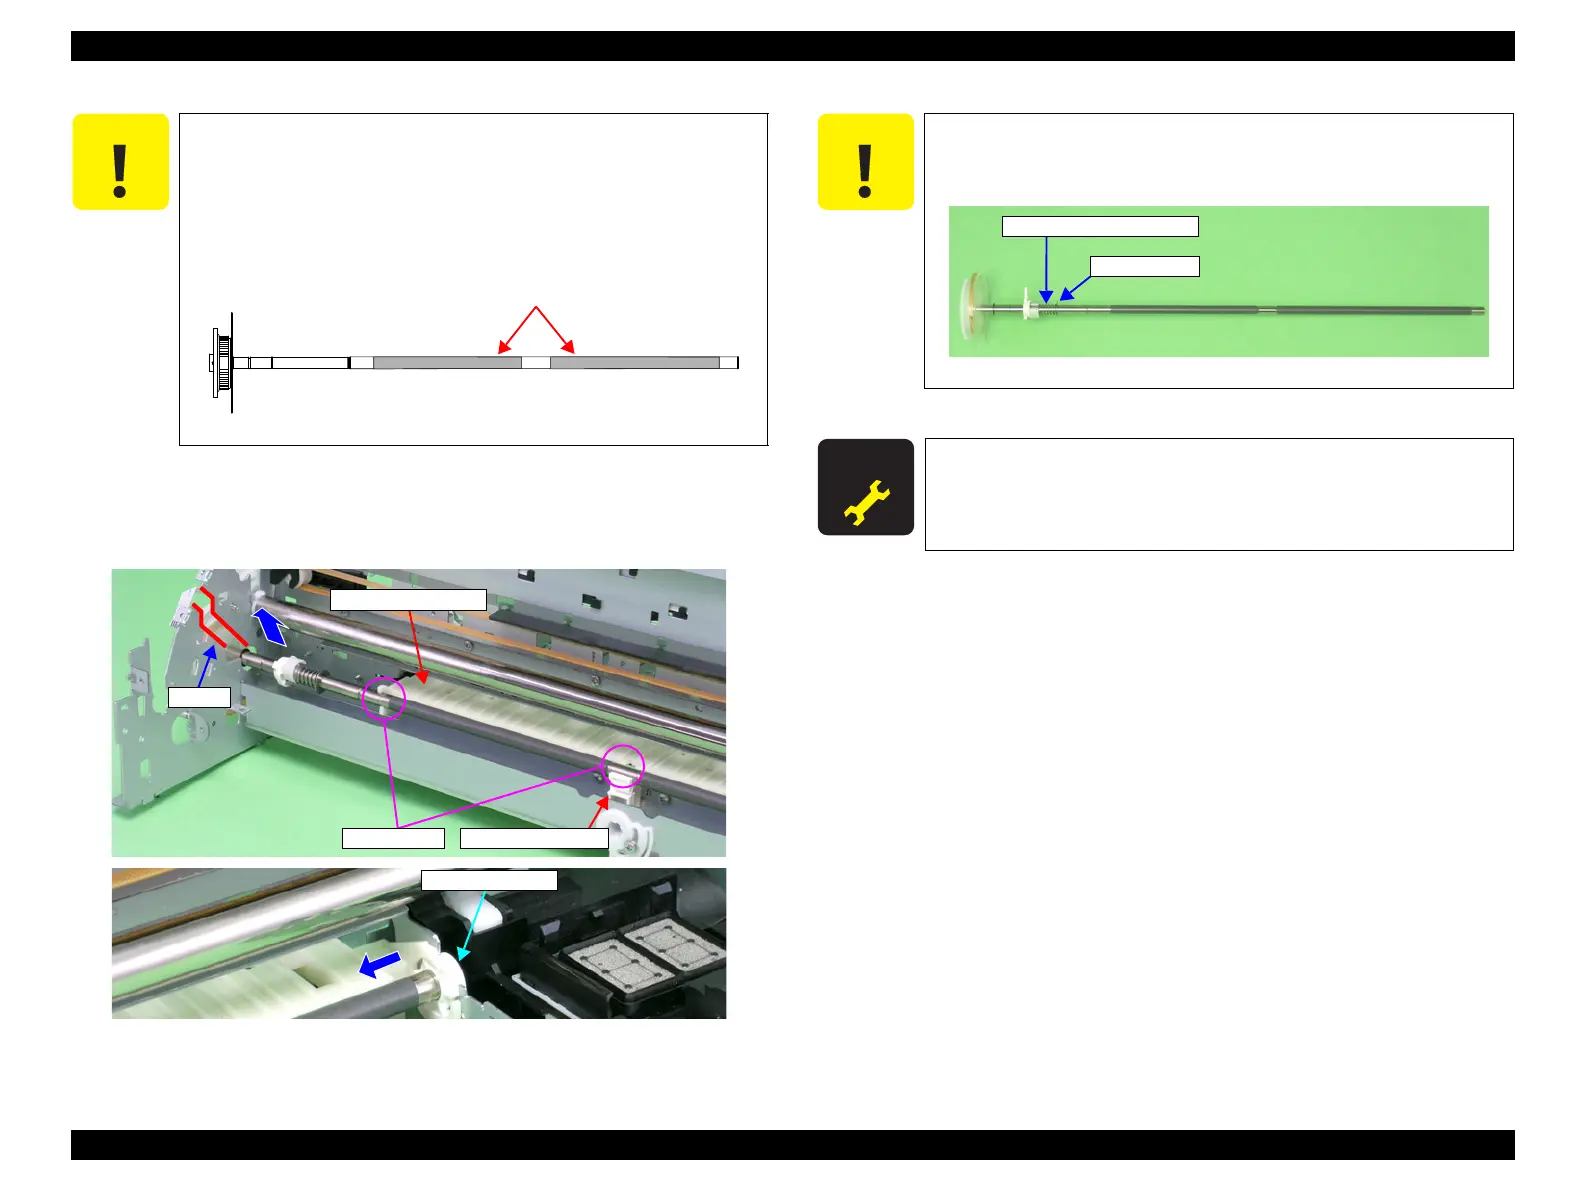
9. Remove the PF Roller Shaft from the Bushings on the Rear Paper Guide and the
Center Support, slide the PF Roller Shaft to the left to remove it from Right
Bushing 8, and remove the PF Roller Shaft along the notch of the Main Frame.
Figure 4-146. Removing the PF Roller Shaft
When performing the following procedure, pay attention to the
following points.
Prevent the coated surface of the PF Roller Shaft from being
scratched.
Do not touch the coated surface of the PF Roller Shaft with
bare hands.
Figure 4-145. Handling the PF Roller Shaft
Rear Paper Guide
Bushings
Notch
Center Support
Be careful not to move Compression Spring 4 and the Leaf Spring
on the left side of the PF Roller Shaft to the coated section on the
Shaft after removing the PF Roller Shaft.
Figure 4-147. Handling the PF Roller Shaft
A D J U S T M E N T
R E Q U I R E D
After replacing the PF Roller Shaft, always make the required
adjustments referring to the following.
•“Chapter 5 Adjustment (p.139)”
Compression Spring 4
Leaf Spring

 Loading...


