Stylus Photo R1900/R2880/R2000/R2000s/SC-P400 Series Revision I
Stylus Photo R2000/R2000s Disassembly 189
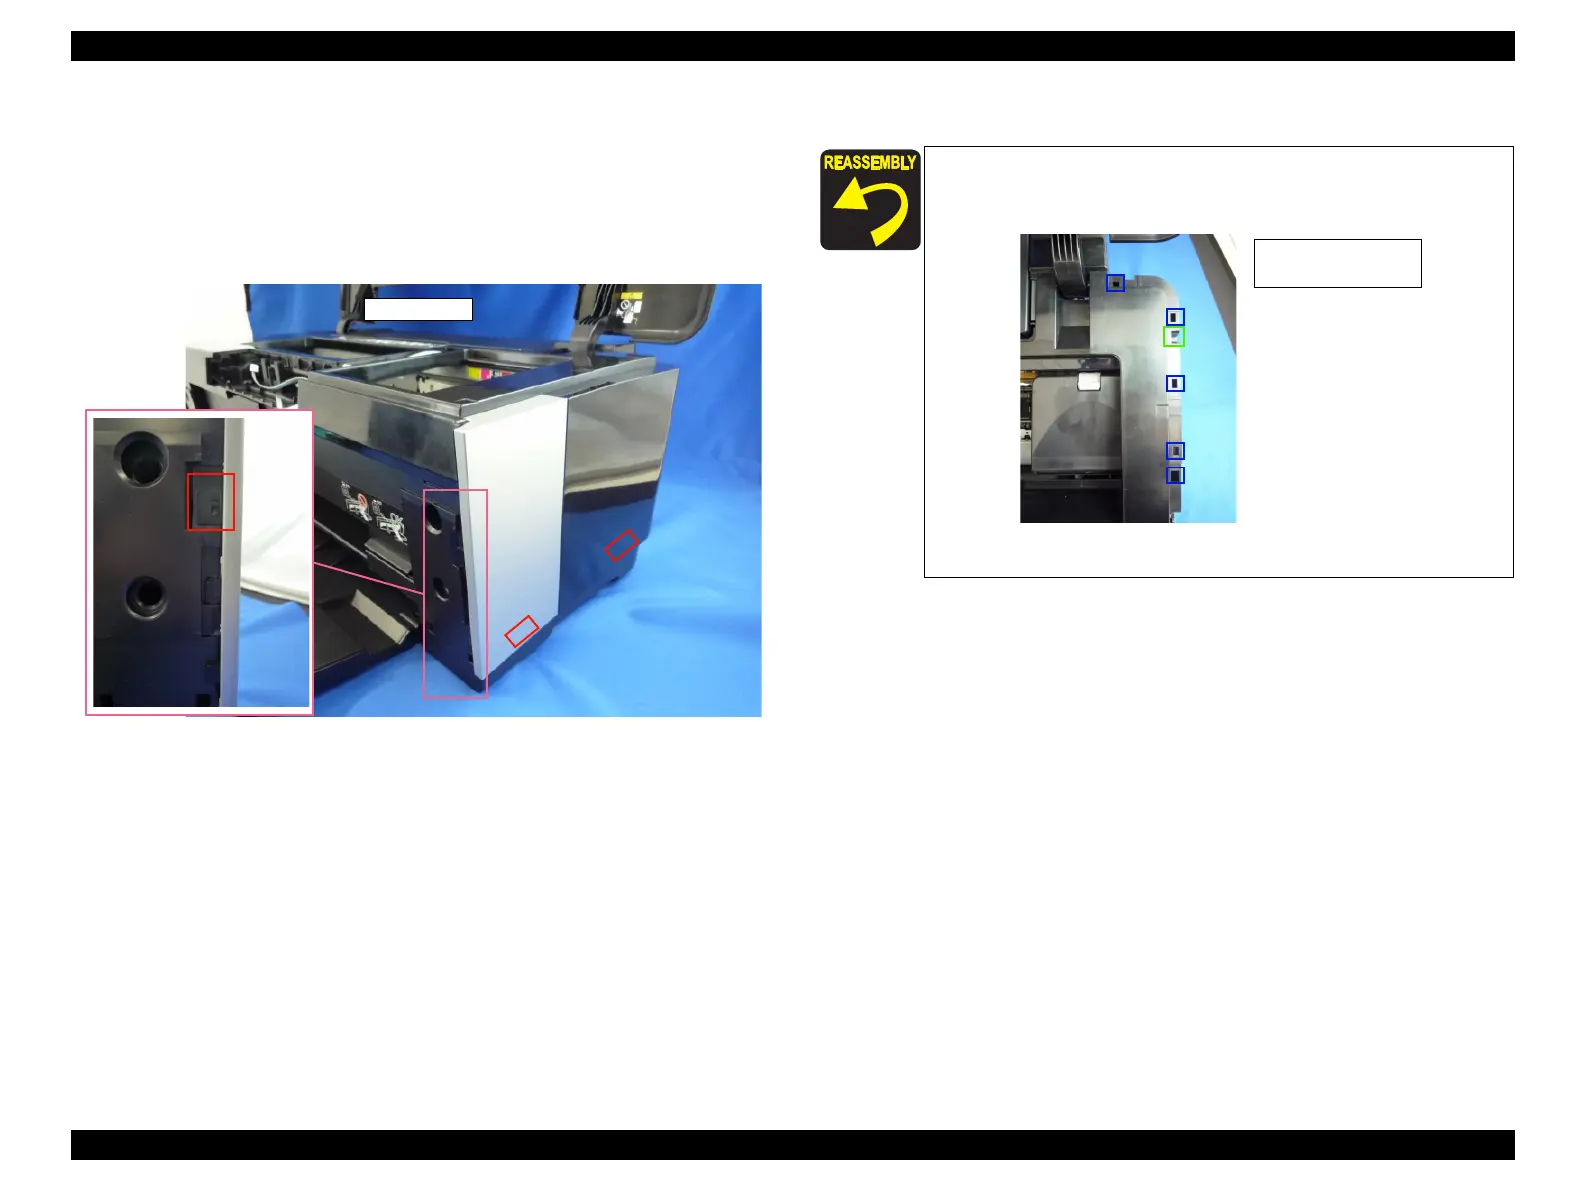
Decoration Plate Left/Right
1. For Decoration Plate Right, Disengage front of the hook (x1) , and lift the
Decoration Plate Right while disengaging bottom of the hooks (x2).
2. In the same way, remove the Decoration Plate Left.
Figure 8-9. Remove the Decoration Plate Left/Right
Attach the tabs (x6) to the tab holes (x5) and the positioning
hole (x1) from the upper-side of the printer.
Figure 8-10. Attach the Decoration Plate Left/Right
□ Tab hole
□ Positioning hole
□ Hook

 Loading...


