EPSON Stylus Photo R1900/R2880/R2000/R2000s/SC-P400 Series Revision I
Disassembly And Assembly Disassembling the Printer Mechanism 93
5. Remove the coil section of Torsion Spring 24.7 from the tab on the Left CR Shaft
Mounting Plate with tweezers.
Figure 4-45. Removing the Torsion Spring 24.7 (1)
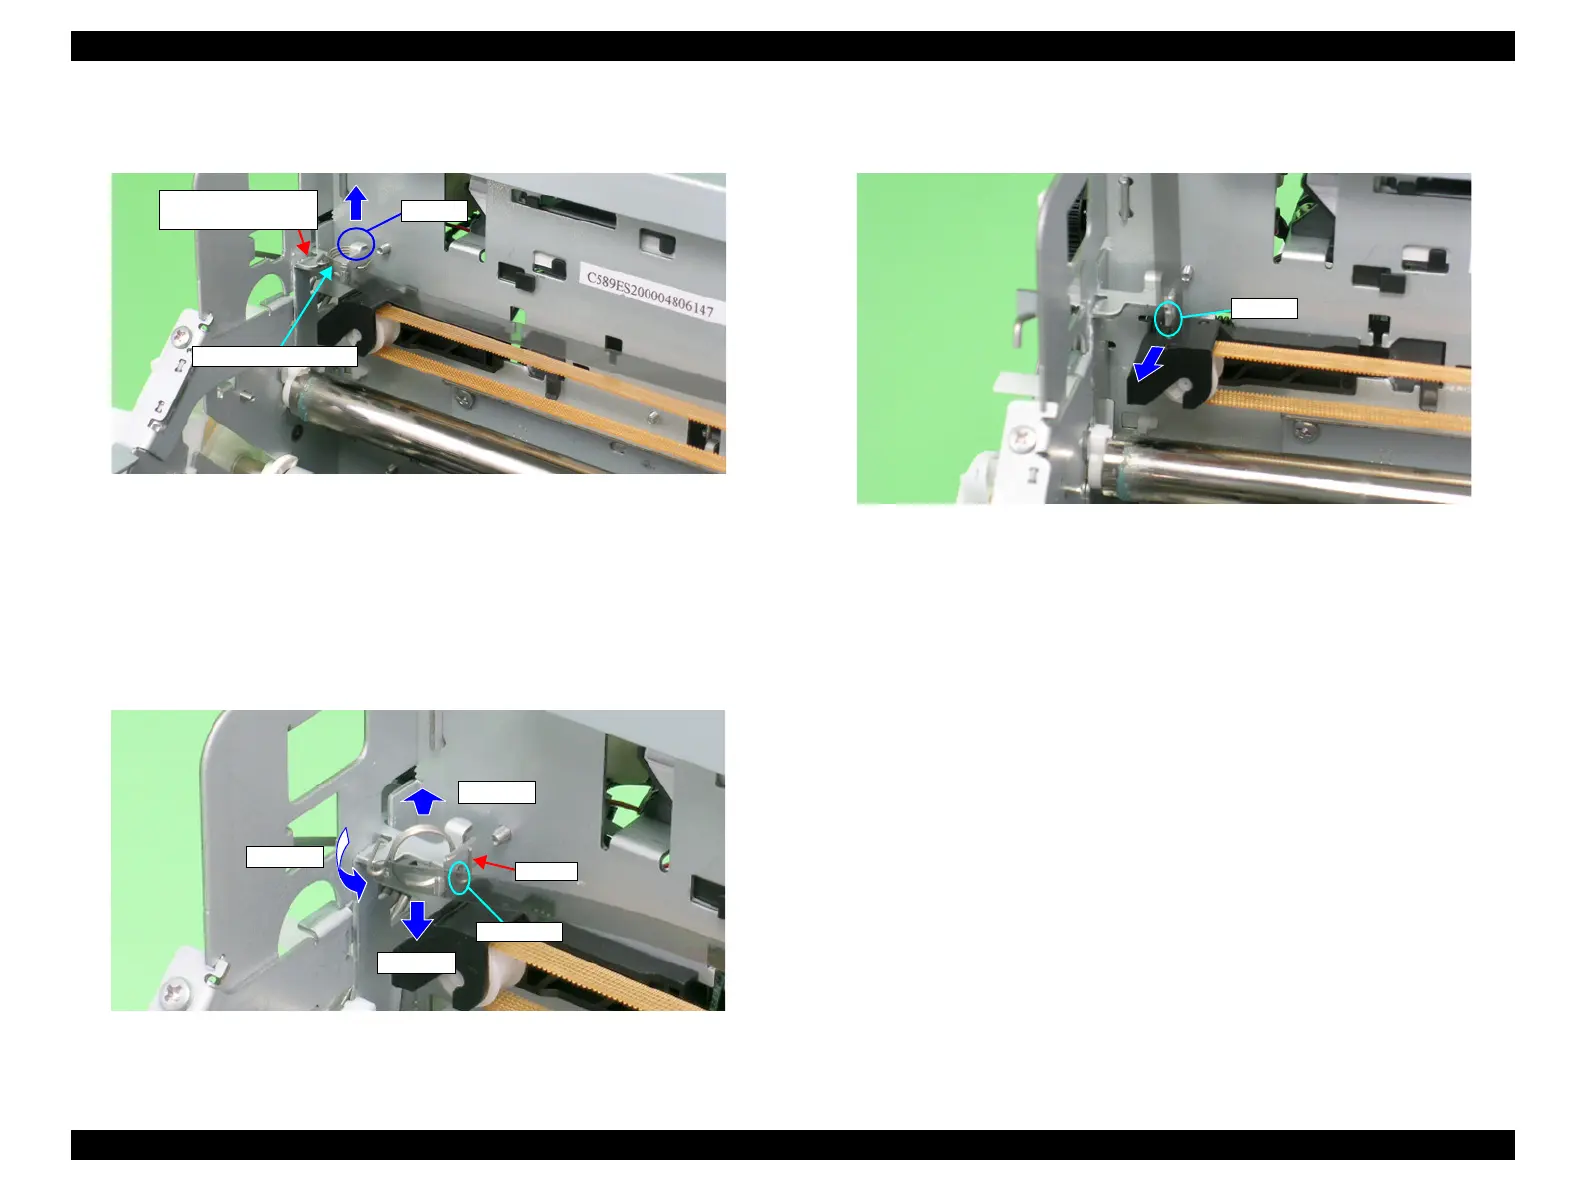
6. Remove Torsion Spring 24.7 from the CR Scale by the following procedure:
6-1. Stand the coil section.
6-2. Lower the coil section downwards to remove Foot 1 from the notch on the
Left CR Shaft Mounting Plate.
6-3. Turn the coil section counterclockwise.
6-4. Remove Torsion Spring 24.7 from the hole on the CR Scale.
Figure 4-46. Removing the Torsion Spring 24.7 (2)
7. Turn the CR Scale 90º, and remove it from the tab on the Left CR Shaft Mounting
Plate.
Figure 4-47. Removing the CR Scale
Left CR Shaft
Mounting Plate
Torsion Spring 24.7
Tab
Step 6-1
Step 6-2
Step 6-3
Foot 1
Notch

 Loading...


