31
Chapter 2 Setup
2
Hanging the Printer on a Wall
To hang the printer on the wall, follow the steps below.
Before installation, be sure that the printer and all equipment connected to the printer is turned off.
Detach all cables from the body of the printer.
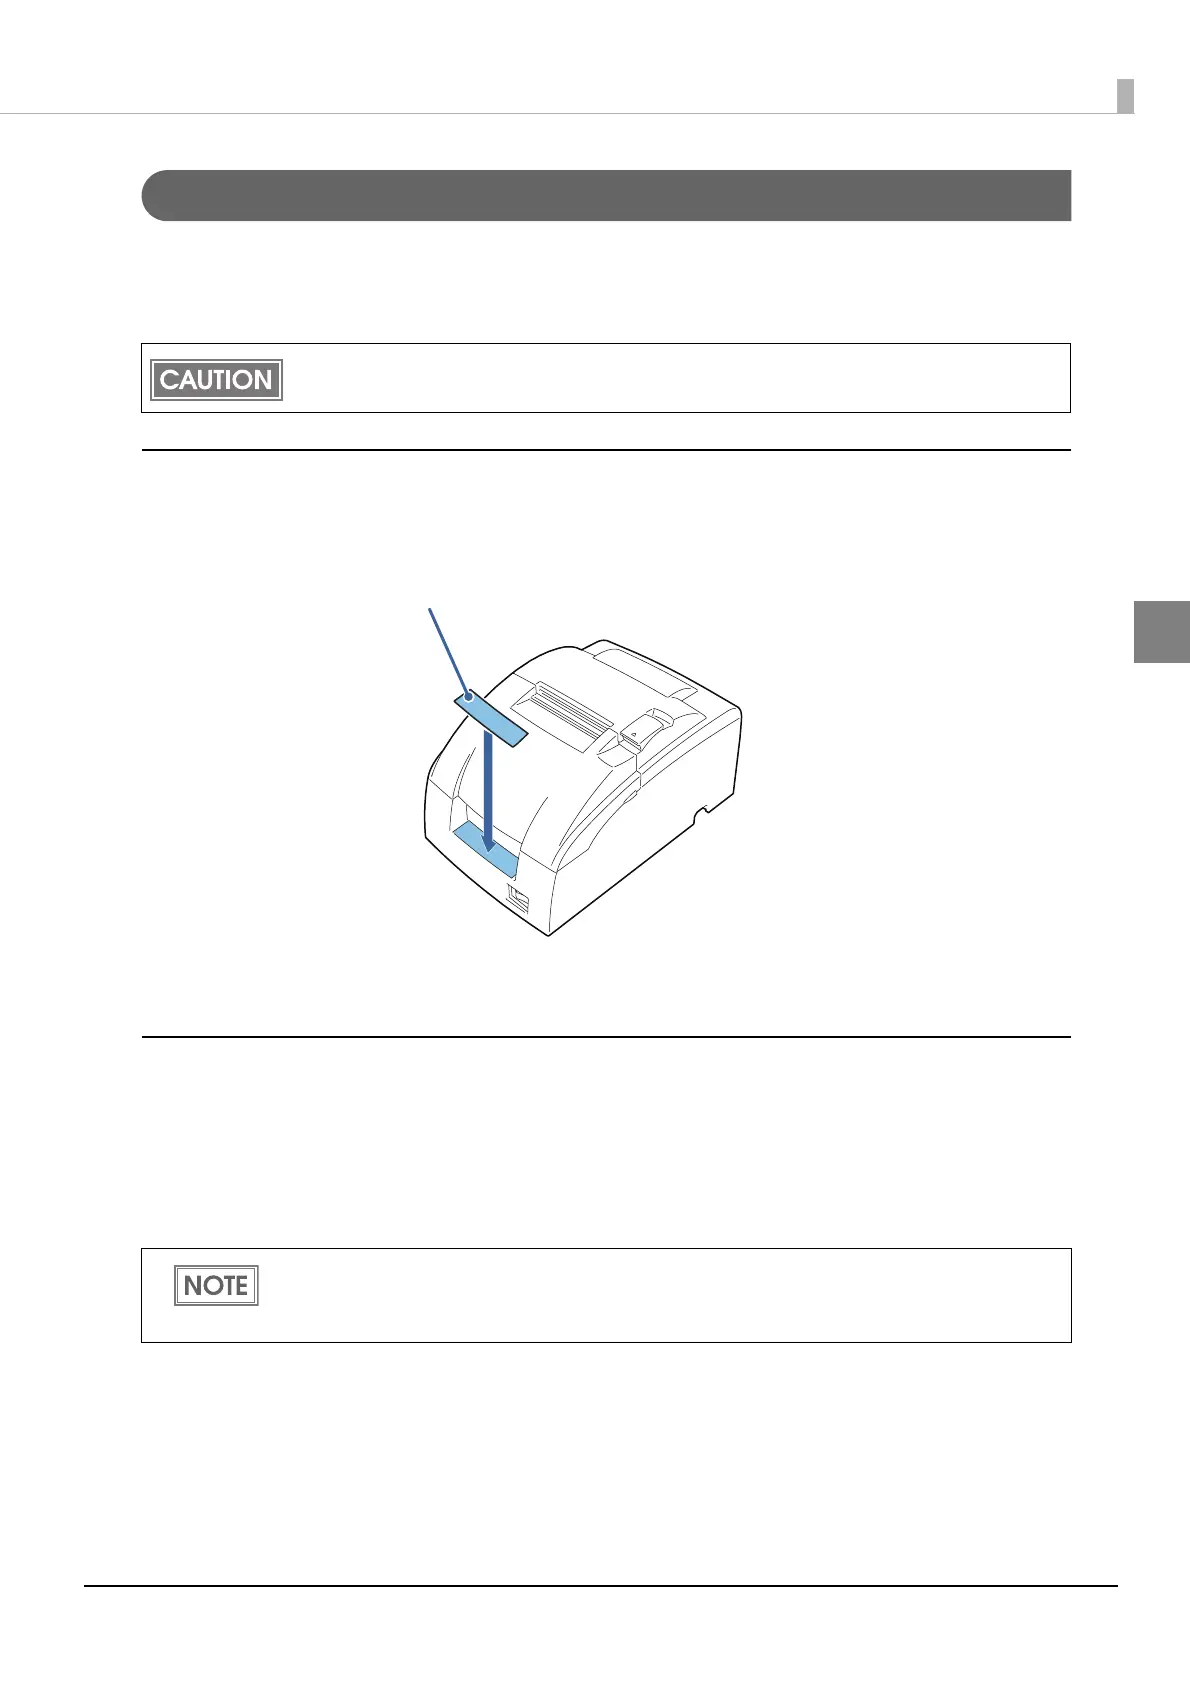
Affixing the operation panel sheet
Attach the included control panel label for vertical installation on the roll paper cover.
Changing the roll-paper detector position
Two types of screws are used with the WH-10: 3×6 and 3×10. The longest screw (3×12) will not be
used.
1
Open the roll paper cover.
Static electricity may cause cut paper to adhere to the printer case. This static electricity will not
affect the operation of the printer.
For a model that does not have a roll-paper near-end detector and does not need a change in
paper width, jump to step 7. For a model that does not have a roll-paper near-end detector and
needs a change in paper width, jump to step 3

 Loading...


