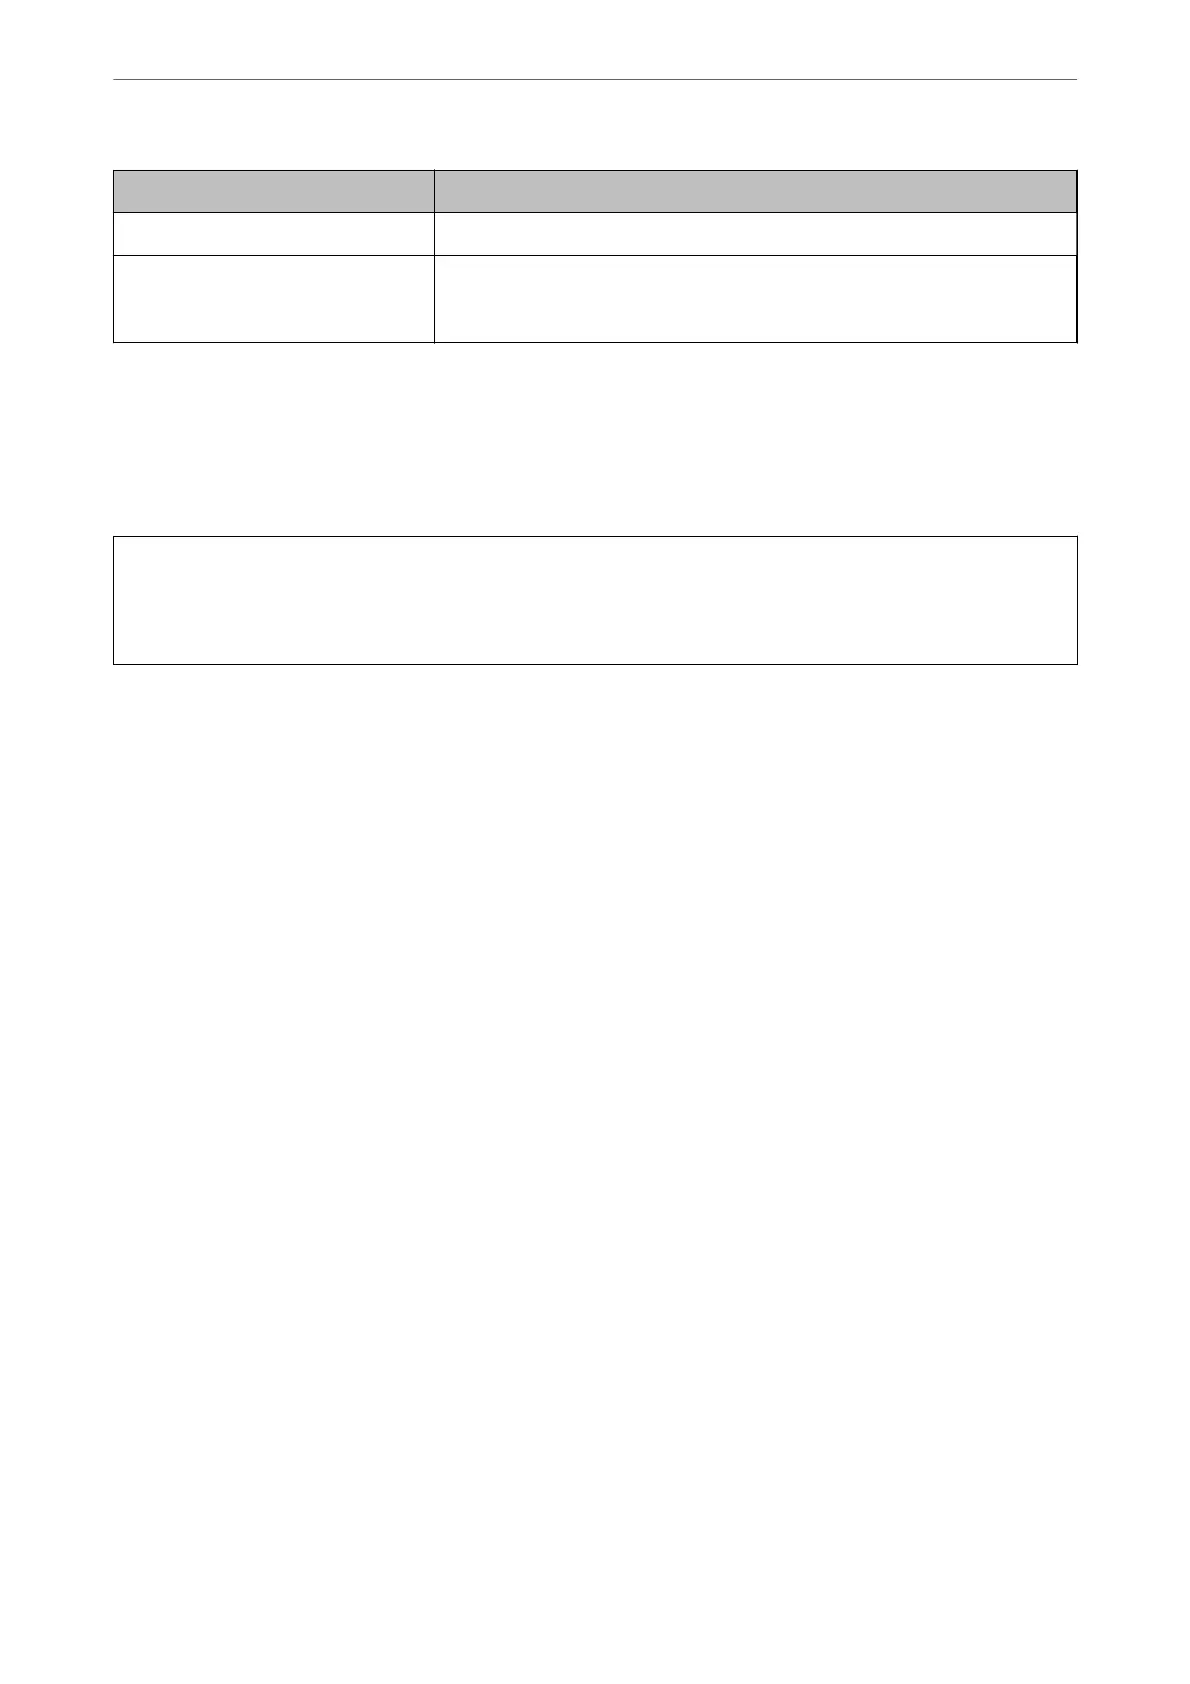
Items Settings and Explanation
Country Enter a country code in two-digit number specied by ISO-3166.
Sender's Email Address You can enter the sender's email address for the mail server setting. Enter the
same email address as the Sender's Email Address for the Network tab > Email
Server > Basic.
Related Information
& “Obtaining a CA-signed Certicate” on page 364
Importing a CA-signed Certicate
c
Important:
❏ Make sure that the printer’s date and time is set correctly.
❏ If you obtain a certicate using a CSR created from Web Cong, you can import a certicate one time.
1.
Access Web Cong and then select the Network Security tab > SSL/TLS > Certicate.
2.
Click Import
A certicate importing page is opened.
3.
Enter a value for each item.
Depending on where you create a CSR and the
le
format of the
certicate,
required settings may vary. Enter
values to required items according to the following.
❏ A certicate of the PEM/DER format obtained from Web Cong
❏ Private Key: Do not congure because the printer contains a private key.
❏ Password: Do not congure.
❏ CA Certicate 1/CA Certicate 2: Optional
❏ A certicate of the PEM/DER format obtained from a computer
❏ Private Key: You need to set.
❏ Password: Do not congure.
❏ CA
Certicate
1/CA
Certicate
2: Optional
❏ A
certicate
of the PKCS#12 format obtained from a computer
❏ Private Key: Do not
congure.
❏ Password: Optional
❏ CA Certicate 1/CA Certicate 2: Do not congure.
4.
Click OK.
A completion message is displayed.
Note:
Click Conrm to verify the certicate information.
Administrator Information
>
Advanced Security Settings
>
Using a Digital Certicate
366

 Loading...