1.
Set each item such as Print Settings and Layout (Paper Size, Media Type, and so on).
2.
Click Presets to save the current settings as a preset.
3.
Click OK.
Note:
To delete an added preset, click Presets > Show Presets, select the preset name you want to delete from the list, and then
delete it.
4.
Click Print.
e next time you want to print using the same settings, select the registered preset name from the Presets.
Related Information
& “Loading Paper” on page 30
& “Printing Using Easy Settings” on page 63
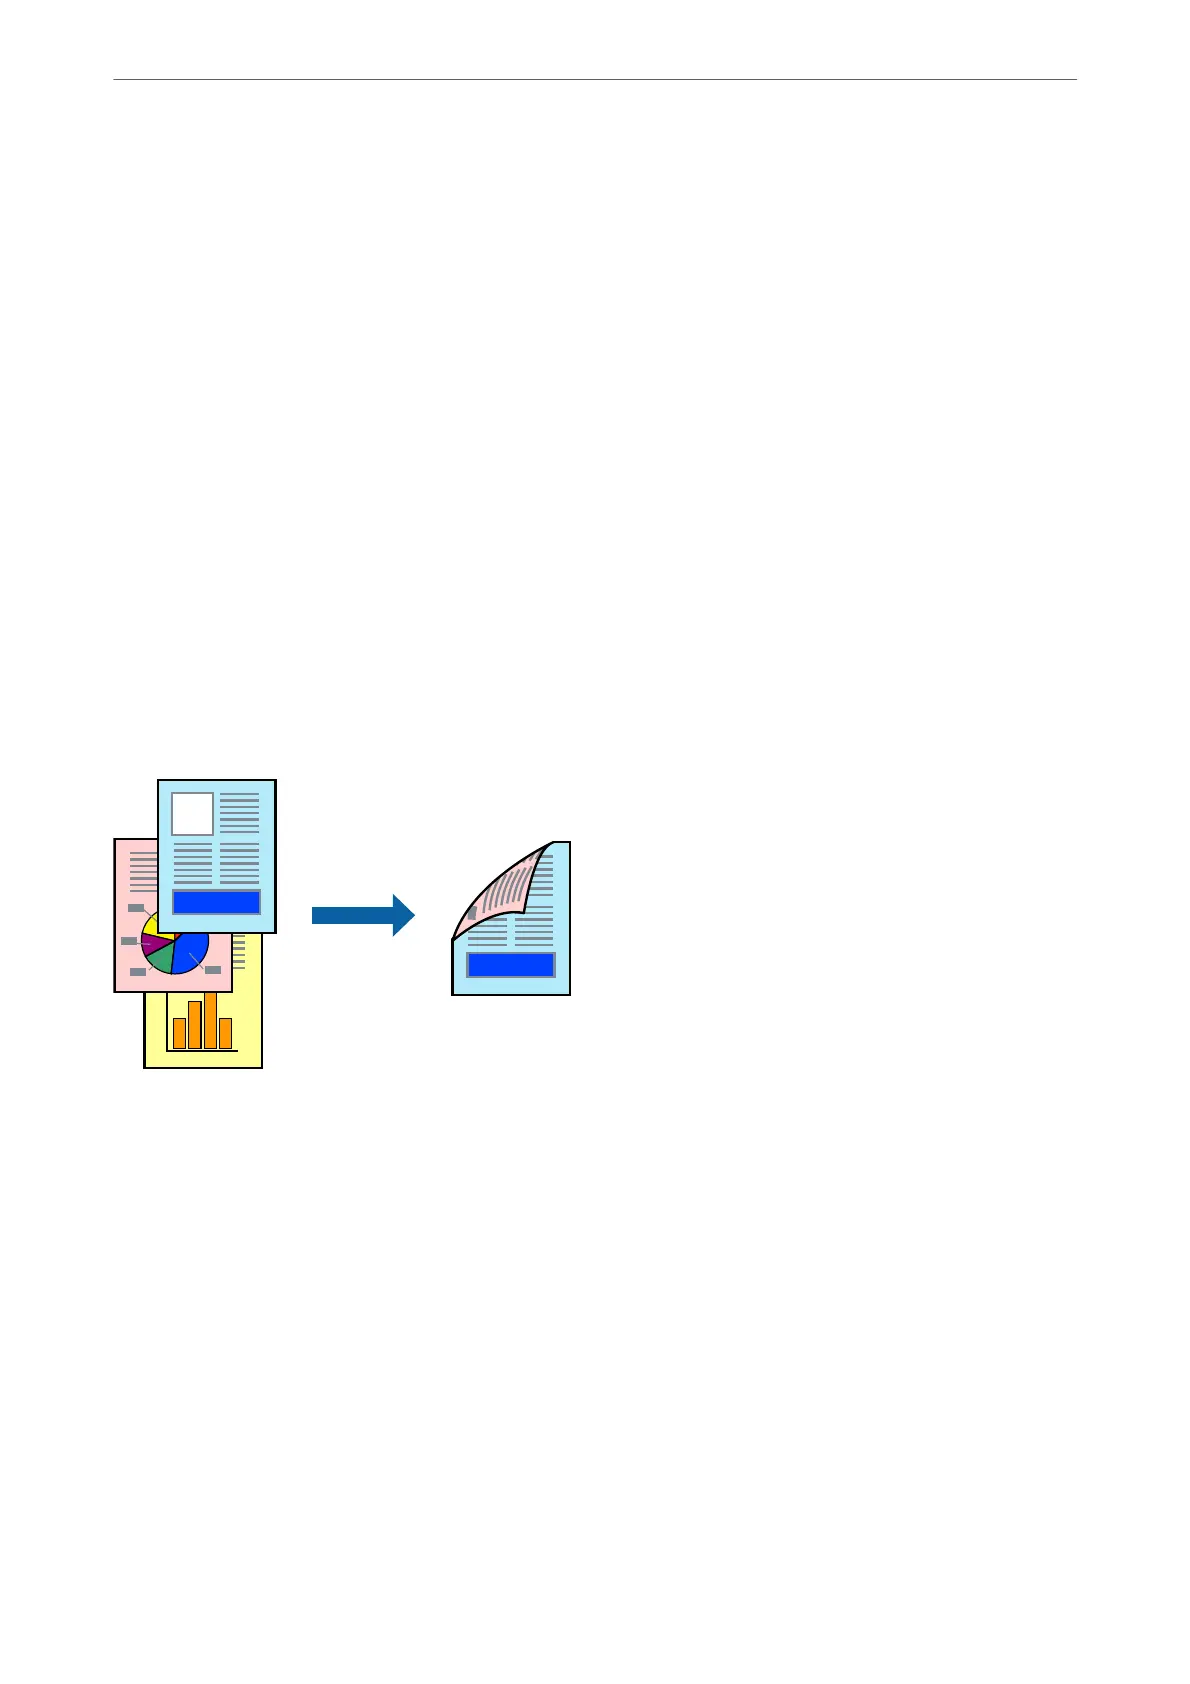
Printing on 2-Sides
You can print on both sides of the paper.
Note:
❏ is feature is not available with borderless printing.
❏ If you do not use paper that is suitable for 2-sided printing, the print quality may decline and paper jams may occur.
“Paper for 2-Sided Printing” on page 261
❏ Depending on the paper and the data, ink may bleed through to the other side of the paper.
1.
Select Two-sided Printing Settings from the pop-up menu.
2.
Select the bindings in Two-sided Printing.
3.
Select the type of original in Document Type.
Note:
❏ Printing may be slow depending on the Document Type setting.
❏ If you are printing high-density data such as photos or graphs, select Te xt & Ph oto s or Te xt & Grap hic s as the
Document Type setting. If scung occurs or the image bleeds through to the reverse side, adjust the print density
and ink drying time by clicking the arrow mark next to Adjustments.
Printing
>
Printing Documents
>
Printing from a Computer - Mac OS
67
 Loading...