F
53
630791 DS MKII INSTALLATION MANUAL
F12
The appliance’s remote contains the thermostat that will sense the room temperature and communicate this
back to the heater via Bluetooth.
A wall mount cradle has been provided for the wireless control and where possible the control should be
housed in this cradle.
The locaon of this cradle should be decided by taking into account the following factors:
ͳ Simple and convenient access for the user
ͳ Away from air ow and dras through the room
ͳ The parts of the room that people are likely to spend me
ͳ Away from direct sun light
ͳ A suitable distance away from the heater
ͳ Ideally 1.2 m to 1.5 m from the oor
The Bluetooth signal will go through some walls but for best results Escea suggest that the cradle posion is less
than 10 metres away from the heater and within the same room.
The best height o the ground to locate the cradle is about chest height. This gives a good average room
temperature and easy access for the user.
Please ensure that the cradle is aached rmly onto the wall using the screws provided.
F13
Charge the remote by plugging it into a USB-C cable.
To turn the re on, press the ‘ ’ buon once; within a few seconds the appliance will begin its startup
sequence.
NOTE: The appliance begins its startup with a 15 second pre-start purge, where the ue fan runs on its
own to clear the rebox before it tries to ignite. During the pre-purge the remote will show “Starng”.
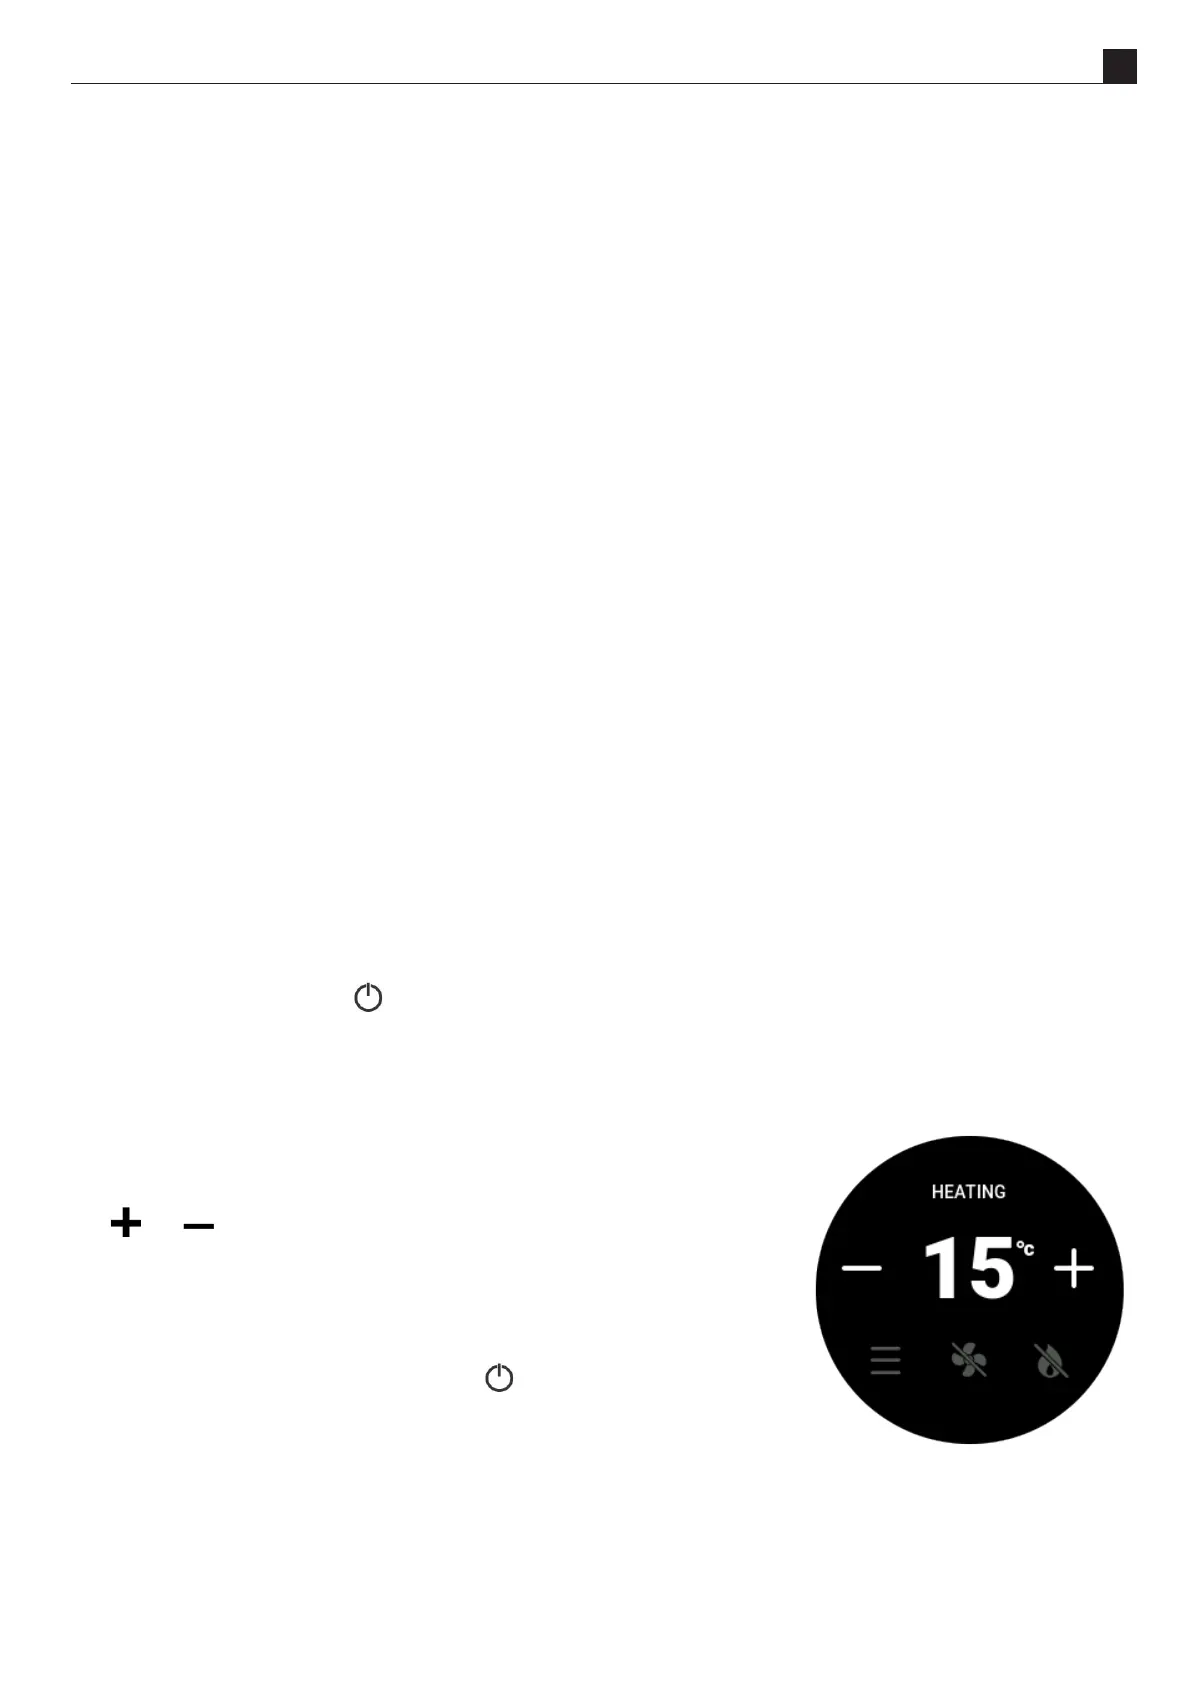
When the appliance has lit, set the desired room temperature by pressing
the ‘ ’ or ‘ ’ buons repeatedly unl the display is showing the desired
temperature.
Run the appliance on full for an hour with the windows and doors open in the
dwelling. This will ensure any inial smells have the chance to dissipate.
The appliance is turned o by pressing the ‘ ’ buon once more. The
remote will display “Standby”.
Run the appliance again and check the operaon of the thermostat by
increasing and decreasing the set temperature. Check that the Eect Only and Fan Boost funcons work
correctly.
For further operaon instrucons please refer to the User Guide.