EasyManuals Logo

Essilor Pro-E 700 edger User Manual

Essilor Pro-E 700 edger
198 pages
To Next Page IconTo Next Page
To Previous Page IconTo Previous Page
Page #113 background imageLoading...
Page #113 background image
Change the tool.
For more information, consult the Maintenance section and servicing>Maintenance and servicing> to
install and change the engraving tip (F p.171)
The engraving tip should only be in the edger when engraving cycles are being performed.
The chuck must always contain a tool to avoid any risk of oxidation.
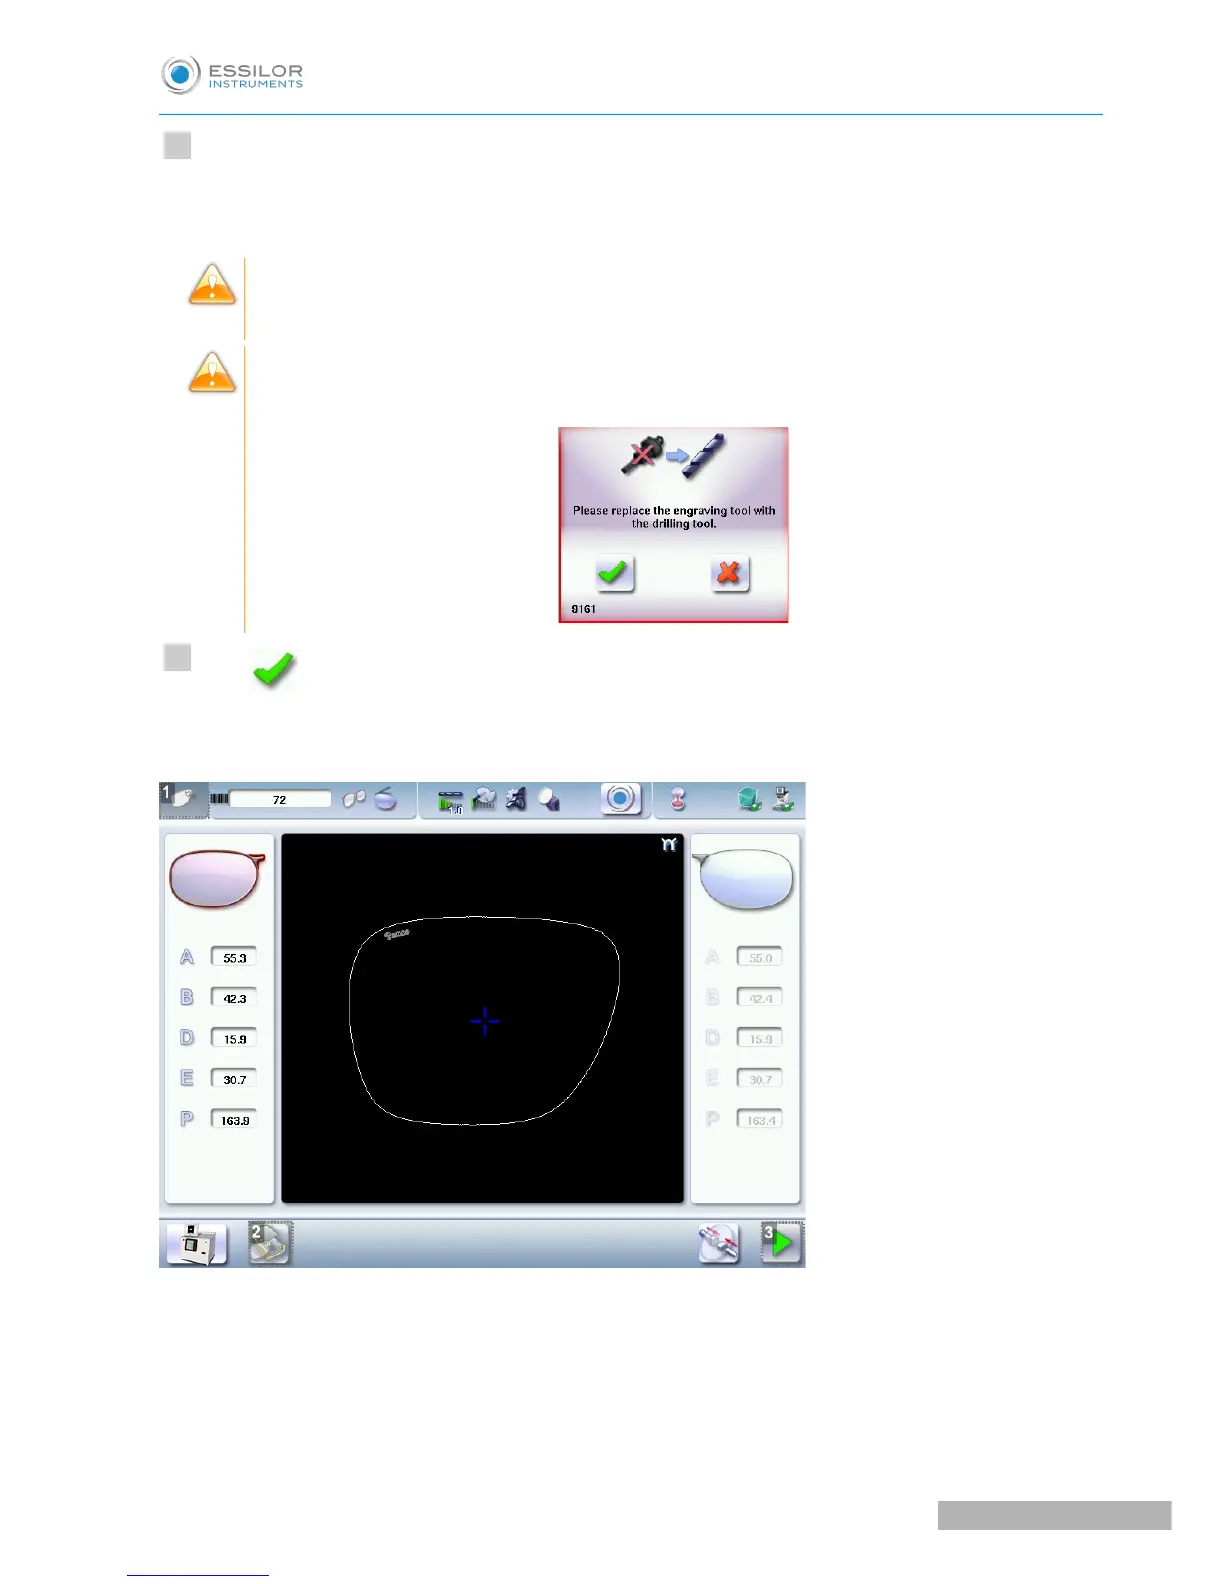
You must replace the engraving tip with the drill bit as soon as you go back to the edging menu.
A warning message indicates that:
Press to confirm the tool change-over.
The screen for starting the engraving cycle is displayed:
1. Engraving screen indicator
2. Series engraving mode
3. Launching the cycle
>
4
5
USER MANUAL> II. EDGING A LENS
113
Pro-E 600_Pro-E 700 > v1 -10.18

Table of Contents

Questions and Answers:

Question and Answer IconNeed help?

Do you have a question about the Essilor Pro-E 700 edger and is the answer not in the manual?

Essilor Pro-E 700 edger Specifications

General IconGeneral
BrandEssilor
ModelPro-E 700 edger
CategoryLaboratory Equipment
LanguageEnglish