73
(MT12 - Gb2004)
I
NTERCOMS *
V
IDEOINTERCOMS *
T
ELECOMMUNICATION
Videointercoms Project series
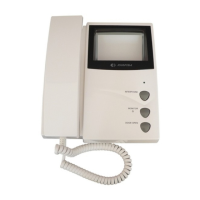
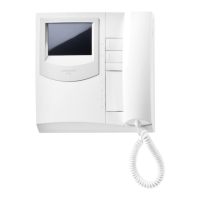
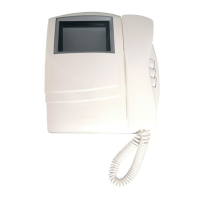
INTERNAL STATIONS
TA5160. Table adapter for videointercoms
PT5160, PT5160W and PT5160W-LCD.
With 20 wires connection cable, junction box
and bracket with 2 terminals board.
Terminals
The terminals have the same numbers, functions
and characteristics as those of wall bracket
WB5160.
Mounting instruction
Make the connection of the cable to
the terminals of the table adapter.
Make the connection of the conduc-
tors of the system to the junction box.
Plug-in the 2 flat cable to the table
adapter.
Fasten the videointercom to the table
adapter.
X1 X2 2C 1C P1 P2 P3 P4 P5 P6
24891011121314V
1
123
J1
W1
75
J1
J1
123
123
A
B
3
1
Position for the intercommuni-
cating service.
Position for the audio privacy.
WB 5160
TA 5160
U
P
Installation of the wall bracket WB5100 or
WB5160 to the wall, using a 83.5mm back
box and one expansion plugs.
Dismounting of videointercom from the
wall bracket.
Audio privacy or intercommunicating service
Installation of videointercom to
the table adapter.
Installation of videointercom onto the
wall bracket.
Plugging in of videointercom connectors to the termi-
nal boards of wall bracket.
U
P
J2
J3
U
P
Installation of the wall bracket WB5100 or
WB5160 to the wall, by means of expansion
plugs.
Junction box.
P
R
O
J
E
C
T