6. Commissioning
86
© Festo Didactic 655633
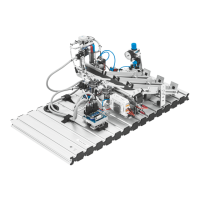
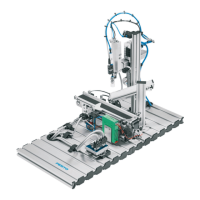
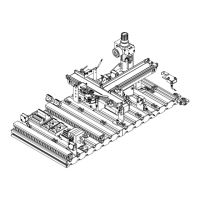
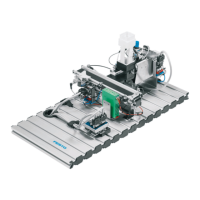
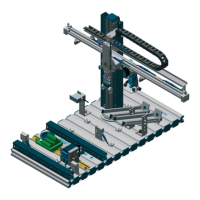
The linear axis moves to the 3 positions
• receptacle,
• slide 1 and
• slide 2.
The positions “receptacle” and “slide 2” are fixed by mechanical end stops with
shock absorbers.
Prerequisite
– The PicAlfa module is assembled.
– Gripper tubed up. Lifting cylinder and linear axis not tubed up
– Compressed air supply switched on.
Note
Maximum operating pressure 4 bar.
Execution
1. Manually move the slide of the linear axis to the position “receptacle”'.
2. Place a workpiece in the receptacle.
3. Use the manual override of the solenoid valve to open the gripper.
4. Manually move the lifting cylinder downwards to its end stop. The gripper
securely should pick-up the workpiece.
5. Shift the mechanical end stop of the linear axis against the slide of the linear
axis. Fix the end stop.
Note
Assemble the shock absorber in a way that the length of the retracted shock
absorber is aligned with the front edge of the threaded rod.
6. Manually move the slide of the linear axis to the position “slide 2”. The gripper
should place workpieces securely onto the slide.
7. Shift the mechanical end stop of the linear axis against the slide of the linear
axis. Fix the end stop.
8. Switch off the compressed air supply.
9. Tube up the lifting cylinder and the linear axis.
6.3
End stops of the linear axis