3-42 Section 3: Model 9100 Controls: Working with Front Panel Controls — Tutorials
Final Width = 215mm
V V
V
V
∆
∆
%
∆
V
.
+
time and date
Accesses
Deviation
and Offset
(Selected)
Selects
DC Voltage
(DC Voltage
Selected)
Selects
AC Voltage
(AC Voltage
not Selected)
Not Used
Screen Key
Effects
Numeric
Value of
Output
Not Used
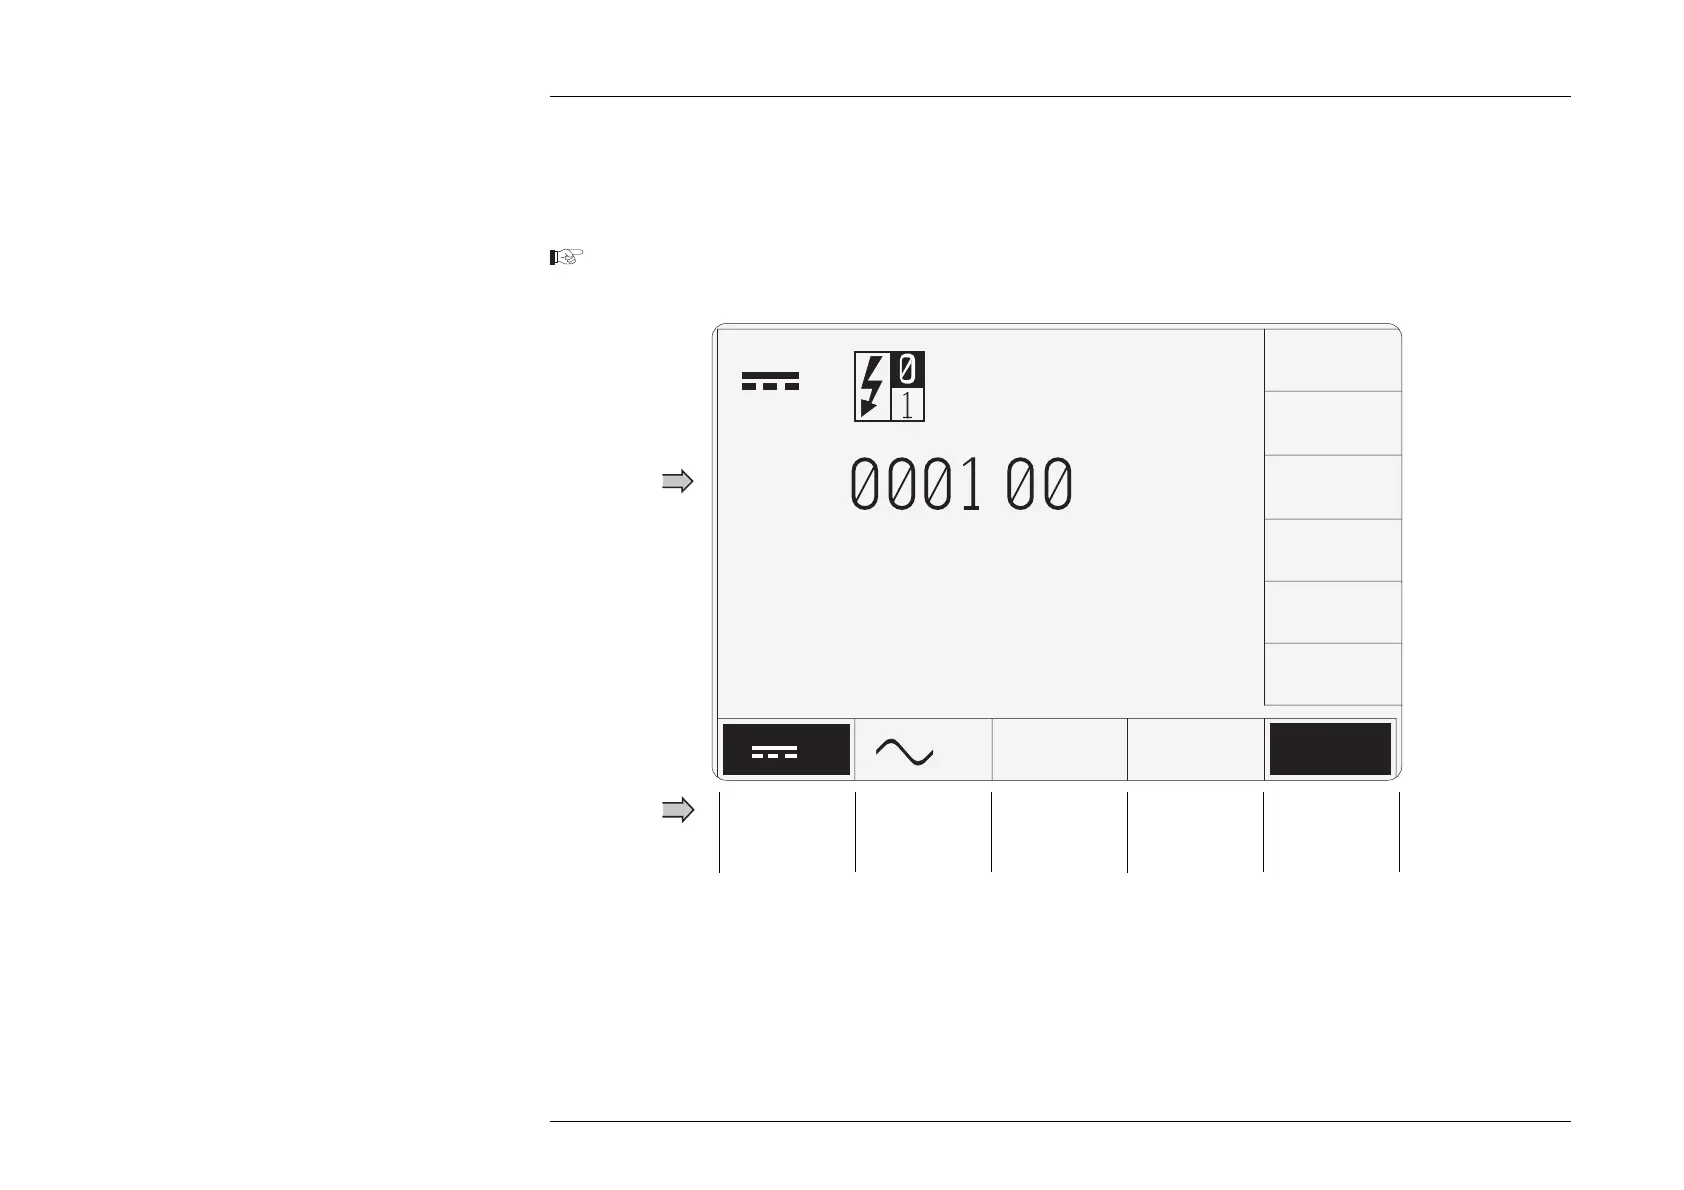
Fig. 3.4.3 DC Voltage Screen with
∆
Selected
Summary of Deviation and Offset Selection:
Pressing the '∆' key (bottom row) presents a screen with ∆% and ∆V labelling the two top right screen keys:
Pressing the '∆%' screen key adds the 'Percentage Deviation' value to the lower left of the display presentation and the screen reverts
to the main DC Voltage display. The Deviation value is limited to ±10% of the Output value.
Pressing the '∆V' screen key adds the 'DC Voltage Offset' value to the lower right of the display presentation and the screen reverts
to the main DC Voltage display.
3.4.4.18 Use of the ∆ Key to Access Voltage Deviation and Offset
So far, we have had only one value field on the screen — the target output voltage. There are many occasions when more than one
value field will be present, for instance when in AC Voltage function a frequency value is presented on the display. In our present
example of DC Voltage, we can place two more values on the display by pressing the deviation and offset screen keys:
Press and release the
∆
(Deviation and Offset access) Screen key.
The result will be as shown in Fig. 3.4.3, below: