Section 3: Model 9100 Controls: Working with Front Panel Controls — Tutorials 3-43
Final Width = 215mm
3.4.4.19 Use of the Tab
Key to Transfer between Value Fields
Now we can place more than one value field on the screen:
Press and release the
∆
% (Percentage Deviation) Screen key. The screen reverts to the main DC Voltage display, but with
the deviation value (and the digit-edit cursors) appearing in the bottom left corner.
Press and release the
∆
Screen key again to obtain the deviation and offset selection screen.
Press and release the
∆
V (Voltage Offset) Screen key. The screen reverts to the main DC Voltage display, but with the offset
value also appearing, in the bottom right corner. The digit-edit cursors have followed to the offset value.
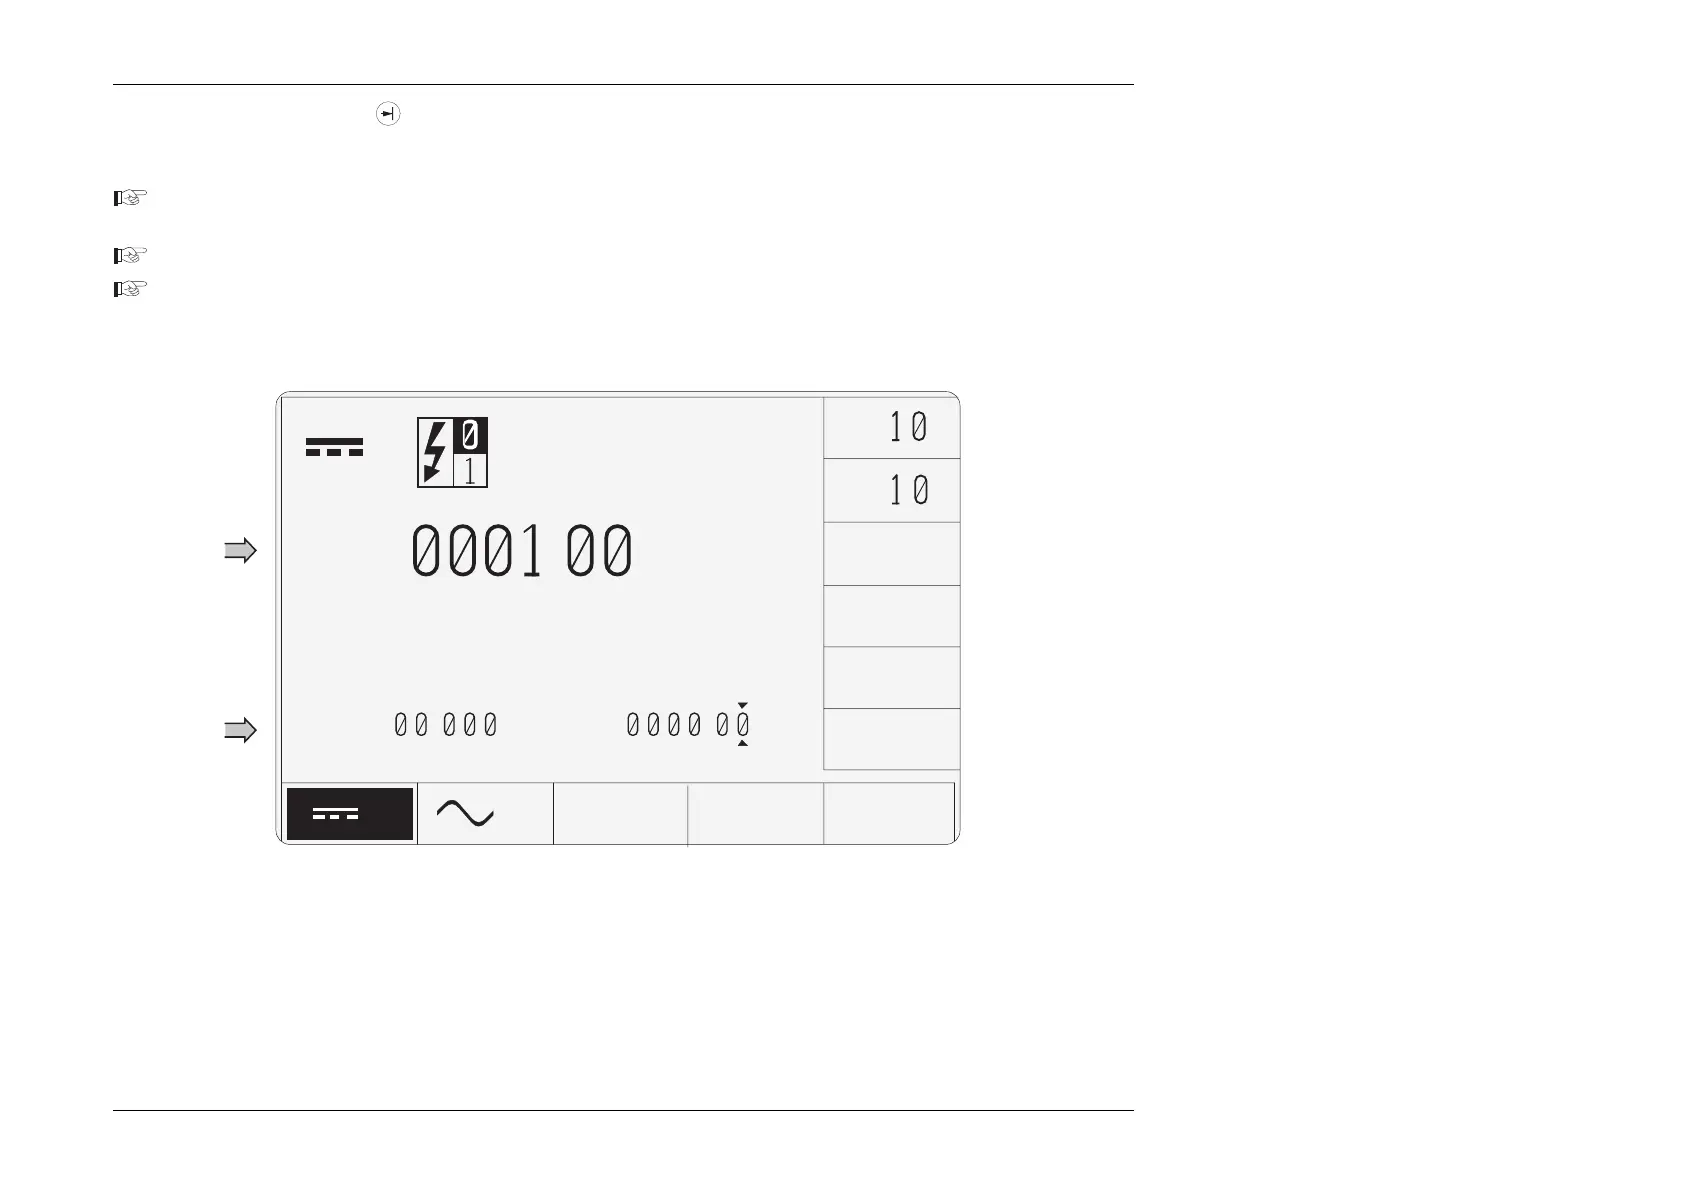
The result will be as shown in Fig. 3.4.4, below:
Numeric
Values of
Percentage
Deviation
and Voltage
Offset
Numeric
Value of
Output
Fig. 3.4.4 DC Voltage Screen with Deviation and Offset Selected
Note that the cursor will always move to the value field for the latest selection. In this case, it moved to the
∆
V value field, because
we pressed the Offset screen key last.
V
∆
%
=
.
V
∆
V=
.
V
±
x
÷
ZERO
∆
V
.
+
time and date
VV