3-50 Section 3: Model 9100 Controls: Working with Front Panel Controls — Tutorials
Final Width = 215mm
TODAYS DATE TIME
Note:
The screen keys on the right of the
display have been re-labelled. The
new '%' key is merely the equivalent of
the ↵ key on the numeric keypad. No
scaling of the Deviation % figure is
available.
3.4.6 Combined Practice using Digit Edit and Direct Edit
Facilities
Now we have seen both methods of moving around the screen and changing values, we
can use them to investigate other features. We shall start from the point at which we left
the tutorial.
If things have changed since then, please use Digit Edit to manipulate the screen
to conform with Fig. 3.4.8. Ensure that the cursor is as shown on the Output Value.
3.4.6.1 Editing Deviation Values
Press the Tab
key. The cursor moves to the deviation value.
Type the number '0.5' using the numeric keypad. The edit box will appear with
0.5 inside it (values of deviation are limited to a maximum of ±10%):
Press the screen key, on the right side of the display, labelled '%'. This is
equivalent to pressing the Enter (↵) key on the numeric keypad. The box
disappears, and its contents become the new deviation value, whose size on the
screen is restored. The new value adapts to the fixed deviation resolution:
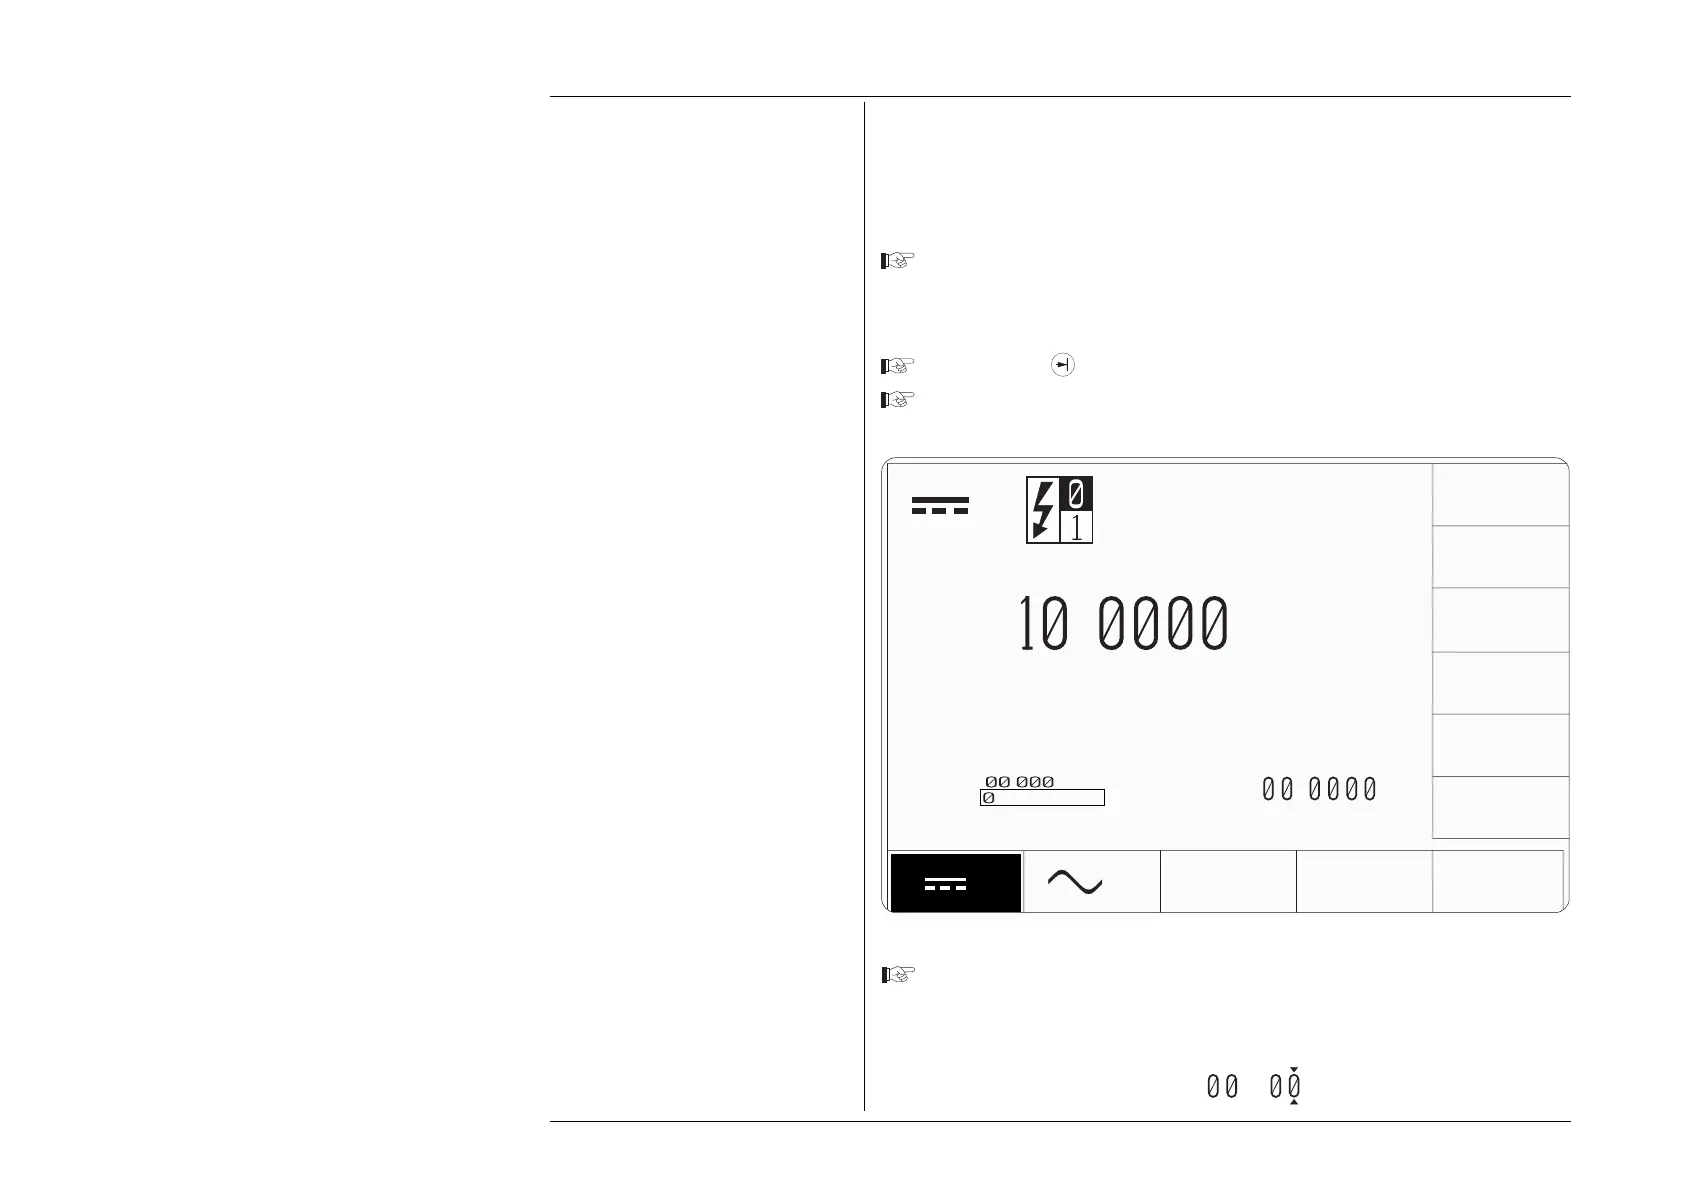
Fig. 3.4.9 Form of Display for Direct Edit of Deviation Value
∆%=
.5
V
+
.
∆
V
V
%
∆V=
.
V
∆%=
.
5
.
V