2. Place the MANTIS chip(s) into the chip port(s) on the chip changer.
3. Attach an input tube to every chip and put the other end of the tube into a waste
container (e.g. a 50 mL tube on the chip changer).
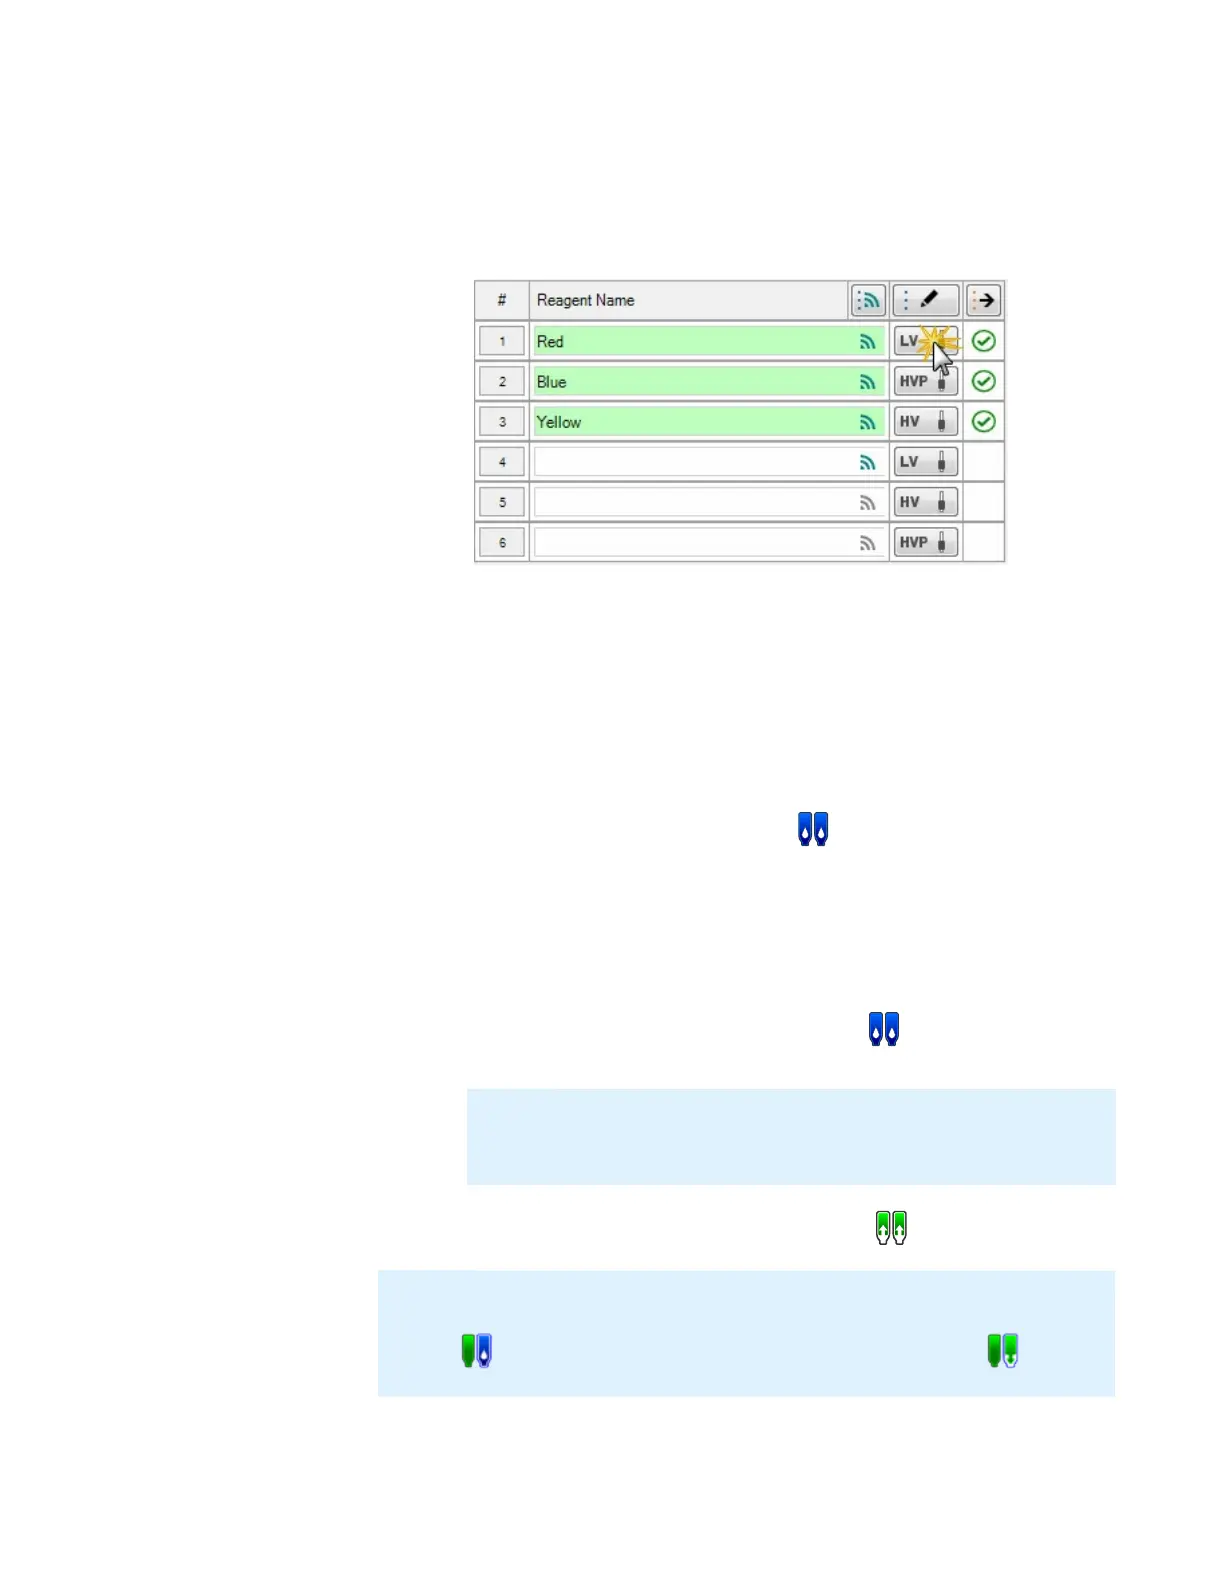
4. Click the Input button next to each chip you plan to sterilize.
5. Locate the Wash Step(s) and select the 3 (Station 1-2-1) option.
6. Type the volumes for Wash Volume 1 (Station 1), Wash Volume 2 (Station 2), and
Wash Volume 3 (Station 1). Please use reasonably large volumes (300-500 μL) to
ensure every chip gets washed. The first chip may receive lower wash volumes
due the priming of the wash stations. Please note that the last wash step is
necessary to rinse the chip from the sanitizing reagent and should not be omitted.
7. When you have finished, click OK to save your input settings.
8. Click the Wash All Available Inputs button to wash every assigned chip with
the sterilization solution and rinse them with water.
9. OPTIONAL: If you are using bleach or hydroxide as your sterilizing agent, follow
the steps below for the reagent neutralization or inactivation process:
a. Empty wash station 2 and fill it with a buffer of your choice to neutralize
the hydroxide, or sodium thiosulfate to inactivate the bleach.
b. Click the Wash All Available Inputs button on MANTIS to wash
every assigned chip with the solution and rinse them with water.
10. To dry the chips, click the Recover All Inputs button .
Note
: You can adapt these instructions to wash an individual chip. To do so, make the
MANTIS pick up the chip to be washed and click the
Wash Input on MANTIS Arms
button
followed by the
Recover Input on MANTIS Arms
button
.
Input Control Panel
Note: It is recommended to neutralize or inactivate your sterilization agent
if you want to use your chips immediately after sterilization or if you are
dispensing sensitive material, such as live cells.
MANTIS User's Guide | Chapter 14: System Maintenance