Setting up the MANTIS for initial use means connecting all of the cables, setting up the
wash and waste tubes and installing the .NET framework as well as the FTDI drivers to
your computer.
To set up the MANTIS for initial use:
1. Connect the power cable to the MANTIS and plug it into an available outlet.
2. Make sure the power supply adapter is ON. Find the switch at the back of the
power supply adapter.
3. Connect the USB cable to the MANTIS and plug it into your computer.
4. Find the power switch at the back of the MANTIS and turn the MANTIS ON.
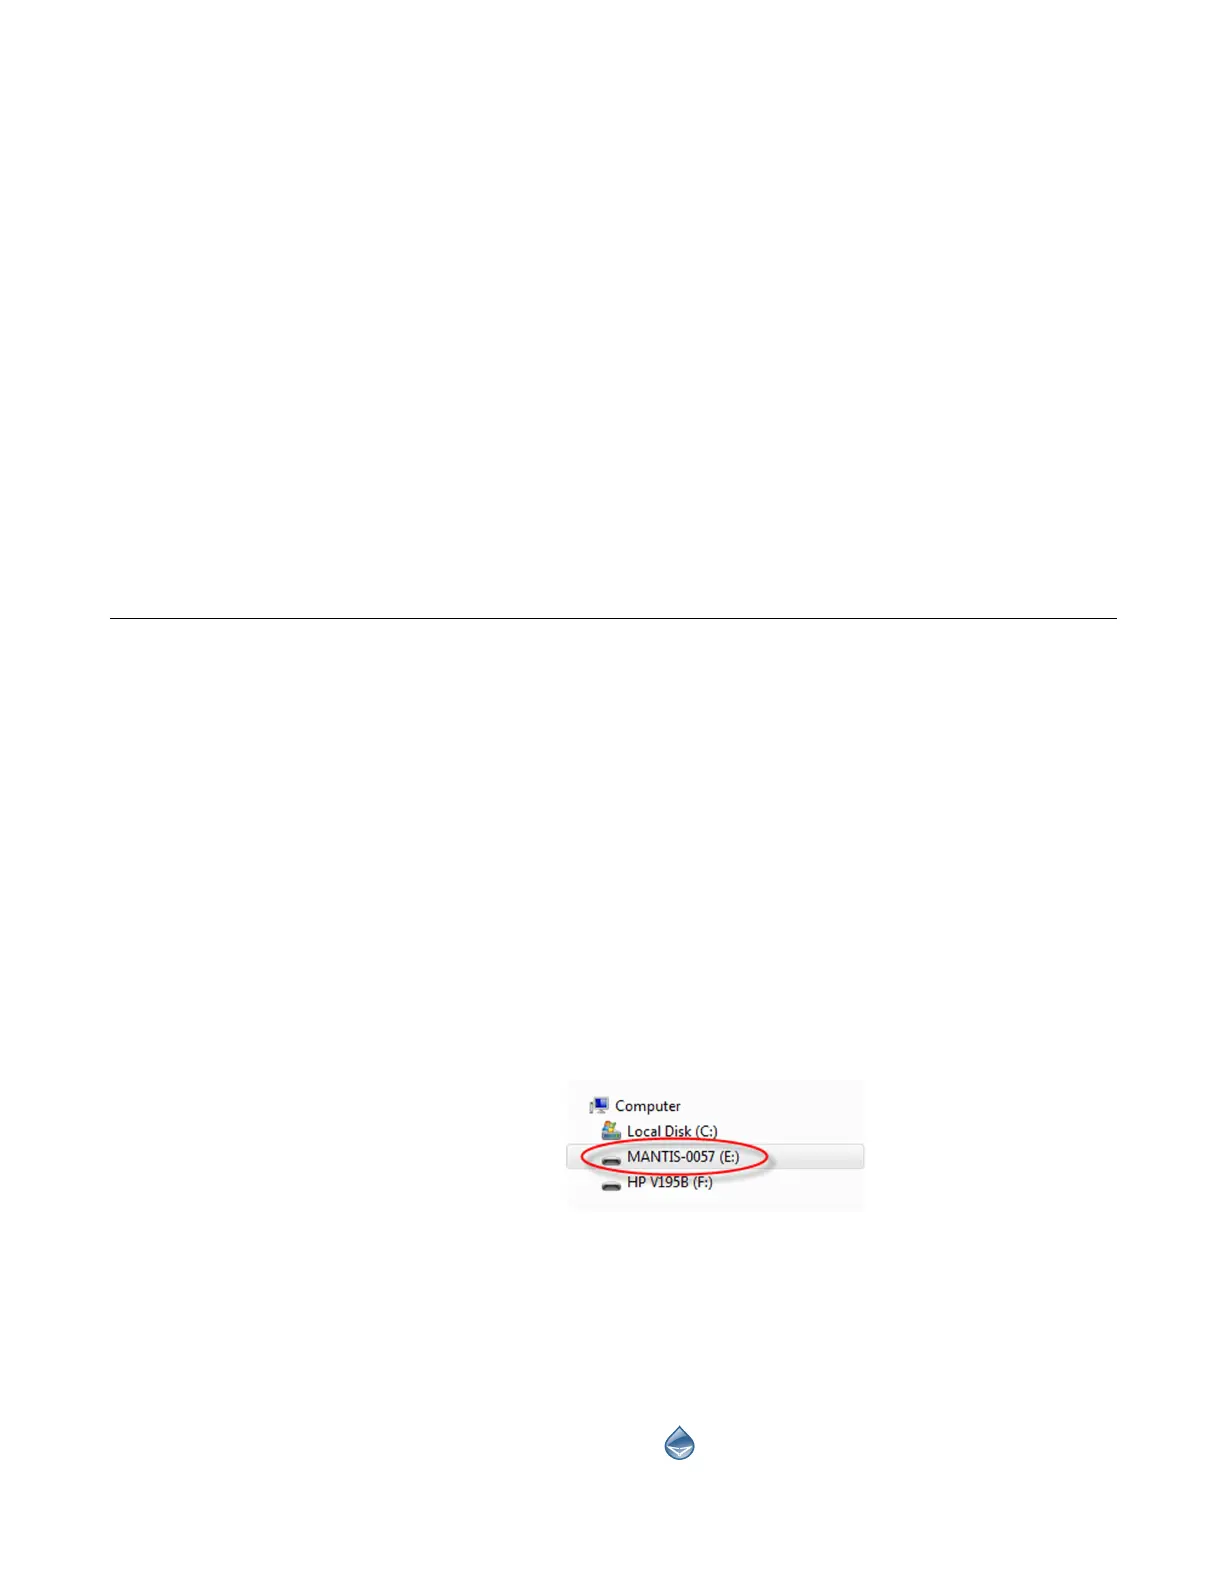
5. Once your computer detects the MANTIS, open Windows Explorer and locate
the MANTIS USB drive. Look for MANTIS-XXXX (the X’s represent your serial
number).
6. Double-click the MANTIS USB drive to display its contents.
● Double-click the Prerequisites folder. You will see the dotNET and
CDM20824_Setup.exe (FTDI driver). Install the dotNET driver and the FTDI
driver. You will be asked to restart your computer once you install the FTDI
driver.
● If you would like to have a shortcut for the MANTIS software on your
desktop, open the MANTIS folder, then open the Bin folder. Right-click the
MANTIS software icon , then point to Send to and select Desktop
(create shortcut).
Initial Setup
Chapter 6
Setting Up the MANTIS