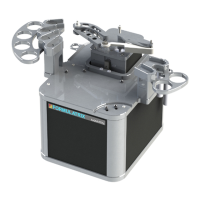
MANTIS User's Guide | Chapter 9: Dispensing With the MANTIS
7. Go to the File menu, point to Reagent Configuration, and then select Save.
8. Browse the file directory where you want to save your files.
9. Type a name for the reagent configuration in the File Name box and click Save.
10. To load the reagent configuration in the future, go to the File menu, point to the
Reagent Configuration menu, and then select Load.
11. If you do not find your reagent configuration files, click the Browse
button next to the Current Path box and locate your reagent configuration
files.
12. Select the reagent configuration from the list in the Select Reagent Configuration
box.
13. Click OK if you want to load the reagent configuration.
It's important to prime the chips before every dispense to ensure that the reagent has
moved through the chip to the dispense point, so that you are dispensing liquid and not air.
At this point, you should have already designed a dispense (or opened an existing
dispense).
Prerequisites
● You have set up the hardware.
● You have designed a dispense.
To prime all of the chips:
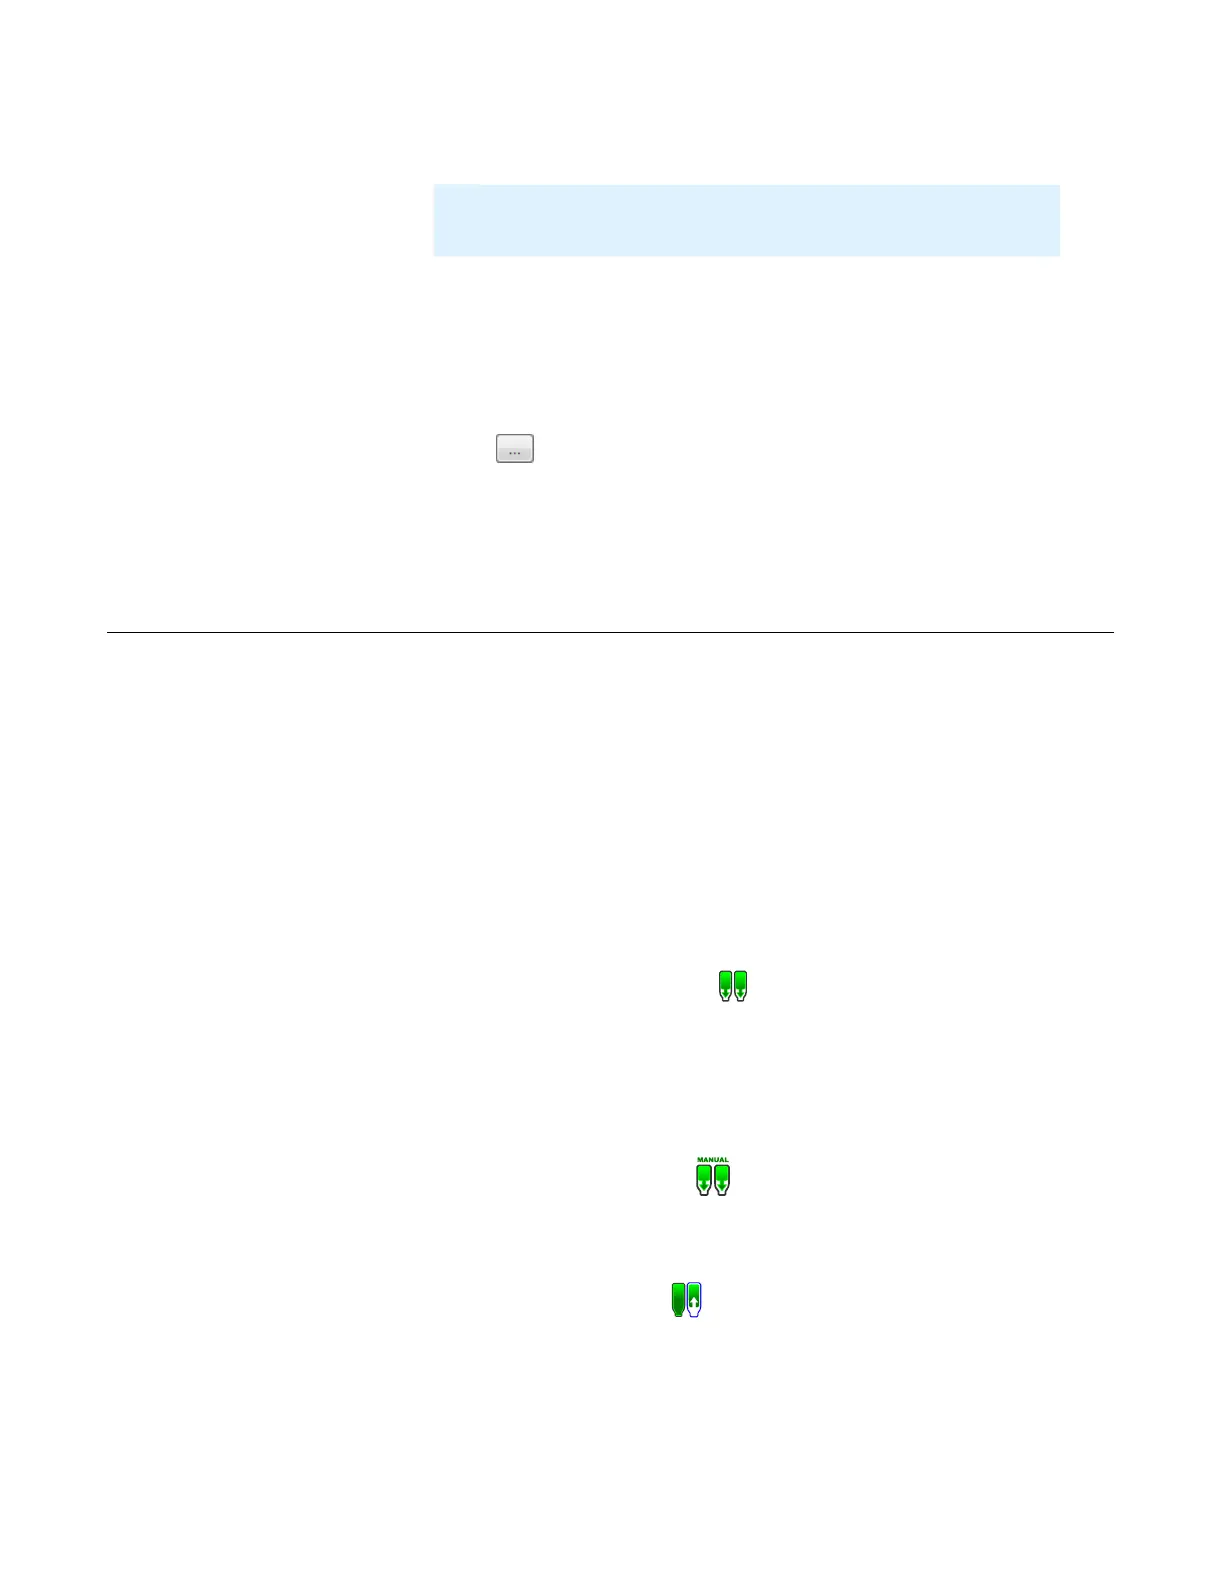
● Click the Prime All Inputs button if you want the MANTIS to prime each chip
attached to the MANTIS.
To prime an individual chip:
1. If you want to prime an individual chip, right-click on the reagent in the Device
Control panel and select Attach Input to Hand.
2. Click the Manual Prime button if you don’t know how much reagent you
need to dispense in order to prime the chip. Once you see a drop of reagent come
out of the bottom of the chip, the chip is primed.
OR
Click the Auto Prime button if you want to prime the chip with the fixed prime
amount (as defined in the input options menu).
You are now ready to execute the dispense!
Priming the Chips
Note
: Click
Save As
if you want to save an existing reagent configuration
to a different file name and/or directory.