6. If you want to add coordinates for a drop location on the plate (useful for
crystallography-type plates), go back to the A1 Offset tab, click the Add Drop
Location button . Then repeat the steps you took to define the A1 well location.
7. Go to the File menu in the Plate Type Editor wizard, click Save As, type a name
for your plate, and click Save.
OR
Go to the File menu in the Plate Type Editor wizard, and, click Save (Ctrl+S) to
save your changes.
Prerequisites
● You have the microplate data sheet that came with your plate.
● You have prepared a reagent for the test drop.
● You have attached the circular plate on the plate adapter.
● You have attached a chip to the MANTIS hand.
To add a circular plate to your plate type library:
1. Go to the Tools menu and select Plate Type Editor.
2. Go to the File menu, point to New, and then select Circular Plate.
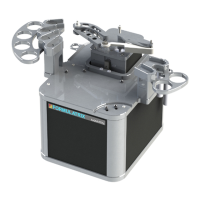
3. Click the Lock Plate Clamp button .
4. Place your circular plate with the plate adapter on the MANTIS plate holder.
5. Type the name of your plate in the Plate Type Name.
6. On the Plate Parameters tab, select the number of wells your plate contains from
the Number of Wells list.
Adding Circular Plates to the Plate Type Library
Note: You can use the keyboard keys to control the MANTIS arms
motion when adding or modifying plate types.
W: The key moves the MANTIS arms backward along the Y Axis.
S: The key moves the MANTIS arms forward along the Y Axis.
A: The key moves the MANTIS arms left along the X Axis.
D: The key moves the MANTIS arms right along the X Axis.
R: The key moves the MANTIS arms upward along the Z Axis.
F: The key moves the MANTIS arms downward along the Z Axis.
MANTIS User's Guide | Chapter 6: Initial Setup