1-7
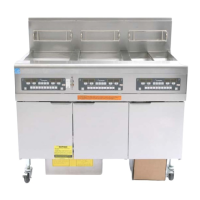
2. Disconnect the sensing wire from one of the burner ignitors and connect it to the positive lead of the meter.
Connect the negative lead of the meter to the terminal from which the sensing wire was removed.
3. Place the fryer power switch in the ON position to light the burners. After the frypot temperature reaches 200F
(93C), wait at least one minute before checking the reading. NOTE: The closer the unit is to normal operating
temperature, the more accurate the reading will be.
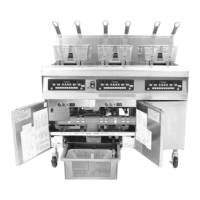
1.9 Replacing Fryer Components
1.9.1 Replacing the Controller or the Controller Wiring Harnesses
1. Disconnect the fryer from the electrical power supply.
2. Open the control panel by removing the screws on the bottom of the bezel. Carefully lower the bezel.
3. Remove the two screws from the upper corners of the controller. The controller is hinged at the bottom and will
swing open from the top.
4. Unplug the wiring harnesses from the connectors on the back of the controller marking their position for
reassembly and disconnect the grounding wires from the terminals. Remove the controller by lifting it from the
hinged slots in the control panel frame.
5. Install the replacement controller. Reverse steps 1 thru 4.
6. Setup the 3000 controller following the instructions on page 4-3 in the Installation and Operation manual. Setup
MUST be performed after replacement. See Frymaster Controller Manual 819-5871 for CM3.5 setup.
7. Once setup is complete on all replaced controllers, reset all control power following the instructions in section
1.13.6 on page 1-33 to readdress the new 3000 controller. Check software version and if necessary update the
software. If a software update was necessary, follow the instructions to update the software in section 1.15 on
page 1-40.
1.9.2 Replacing the Temperature Probe, ATO Probe or High-Limit Thermostat
1. Disconnect the fryer from the electrical supply.
2. Drain cooking oil below the level of the probe or thermostat.
3. Remove the screws on the bottom of the bezel. Carefully lower the bezel.
4. Remove the top two screws in the upper corners of the controller.
5. Swing the controller out from the top and allow it to rest on its hinge tabs.
6. Disconnect the controller wiring harness(es) and ground wire from the back of the controller and remove the
controller by lifting it from the hinge slots in the control panel frame.
7. Disconnect the ignition cables from the ignitors by grasping the boots and gently pulling toward you.
8. Disconnect the flame sensor wires from the flame sensors.
9. Disconnect the sound device lead from the interface board.
Flame Sensor Wire
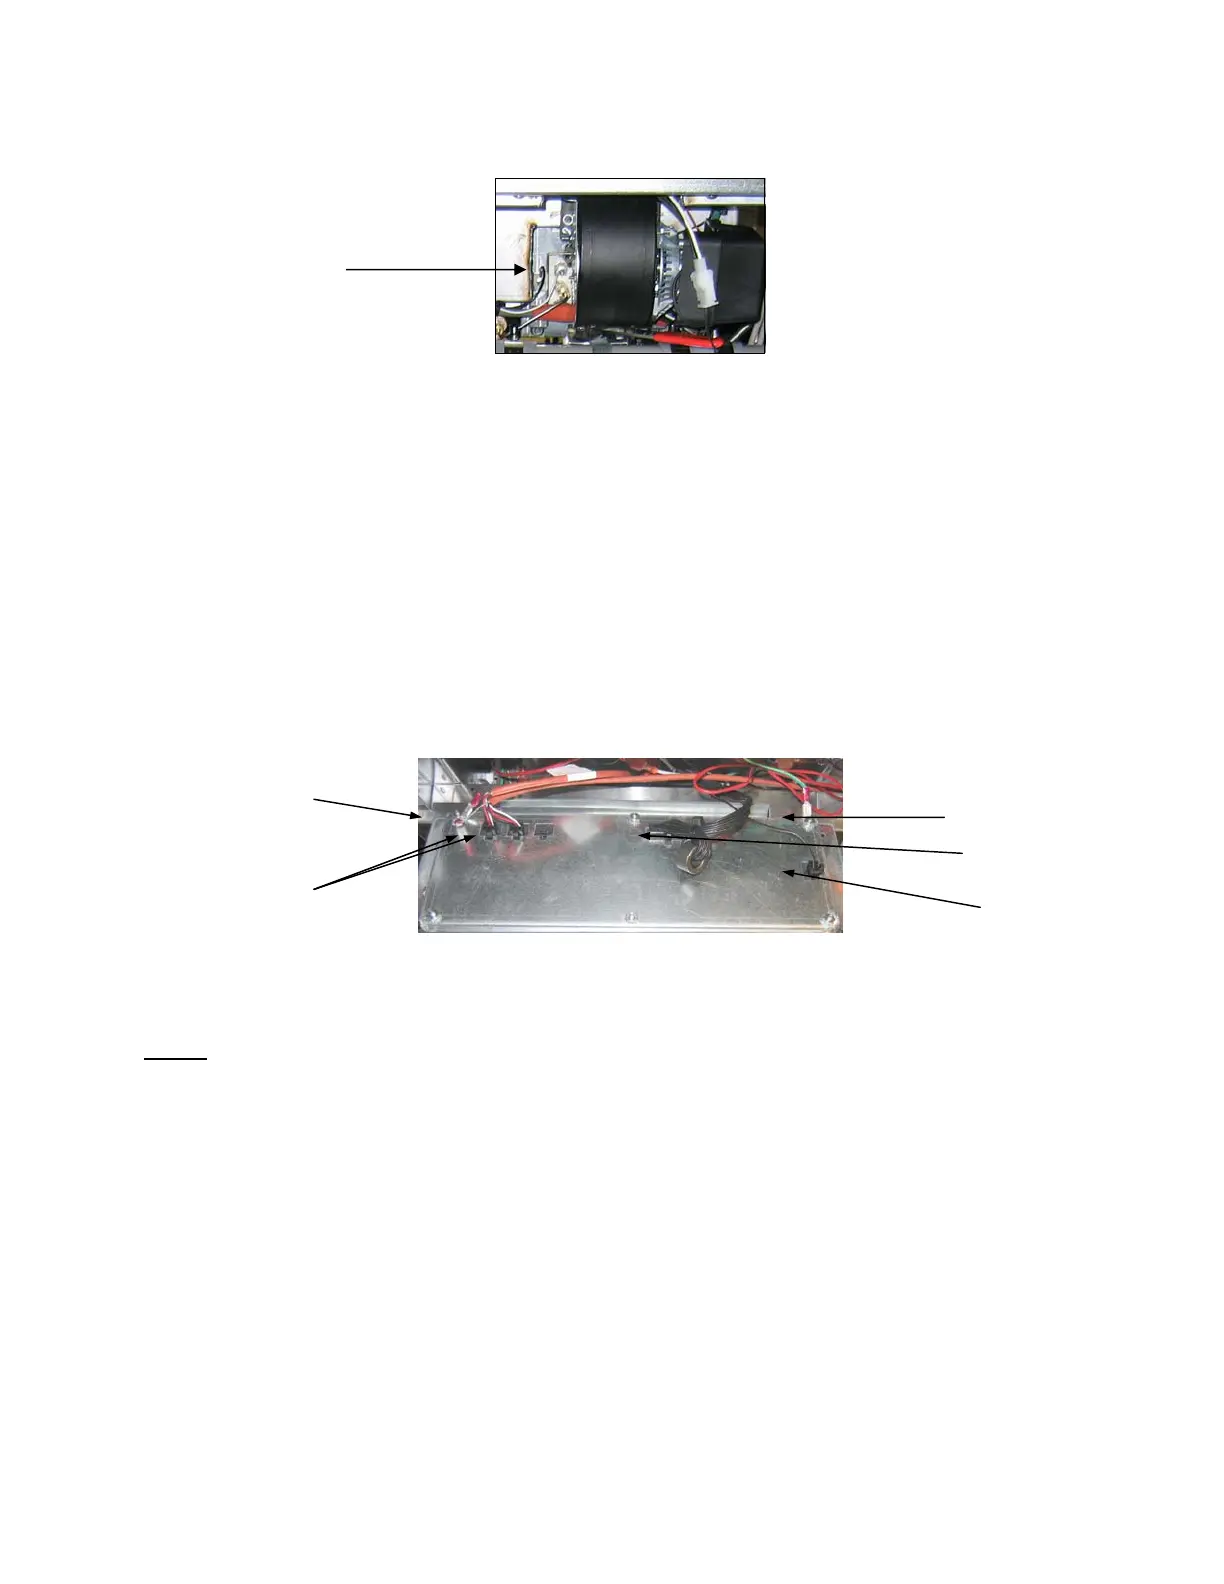
Ground Wire Terminal
20-Pin Connecto
Ground Wire Terminal
Communication Wires
Locator Wire
3000 controller illustrated. CM3.5 not illustrated.