1-31
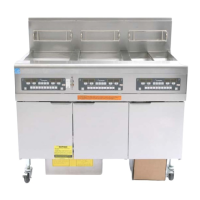
1.13.3 Replacing the ATO Board, ATO Pump Relay or Transformer
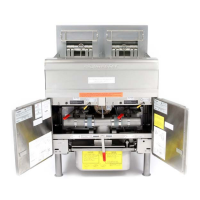
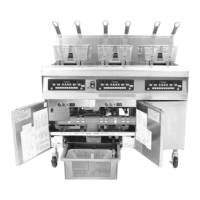
Disconnect the fryer from the electrical power
supply. Locate the ATO box (see Figure 1 on page
1-28), behind the JIB (Jug In Box). Remove the cover
to expose the transformer and ATO board (see Figure
2). Mark and unplug any wires or harnesses.
Replace the defective component and reattach all
wires or harnesses. Replace the cover. Once
replaced, reconnect the power. CYCLE POWER
TO ENTIRE FRYER SYSTEM. See section 1.13.6
on page 1-32 to reset control power. Check software
version and if necessary update the software. If a
software update is necessary, follow the instructions
to update the software in section 1.15.
Figure 2
Remove and restore power to ALL controllers after power has been restored to the ATO board. Press the
TEMP button on one of the 3000 controllers, with the controller in the OFF position, to verify software
version of the ATO. If the version is not visible, the ATO may not be connected properly.
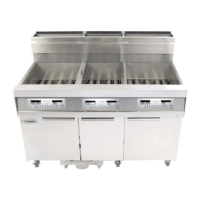
1.13.4 Replacing the ATO Pump
Disconnect the fryer from the electrical power
supply. Locate the ATO pump (see Figure 3), behind
the ATO box. Mark and unplug any wires or
harnesses. Press up from the bottom on the quick
disconnects to release the plumbing (see Figure 4).
The plumbing can be pulled from the pump. Loosen
the four nuts attaching the pump to the pump tray.
Replace the defective component and reverse above
steps. Once replaced, reconnect the power.
Figure 3 Figure 4
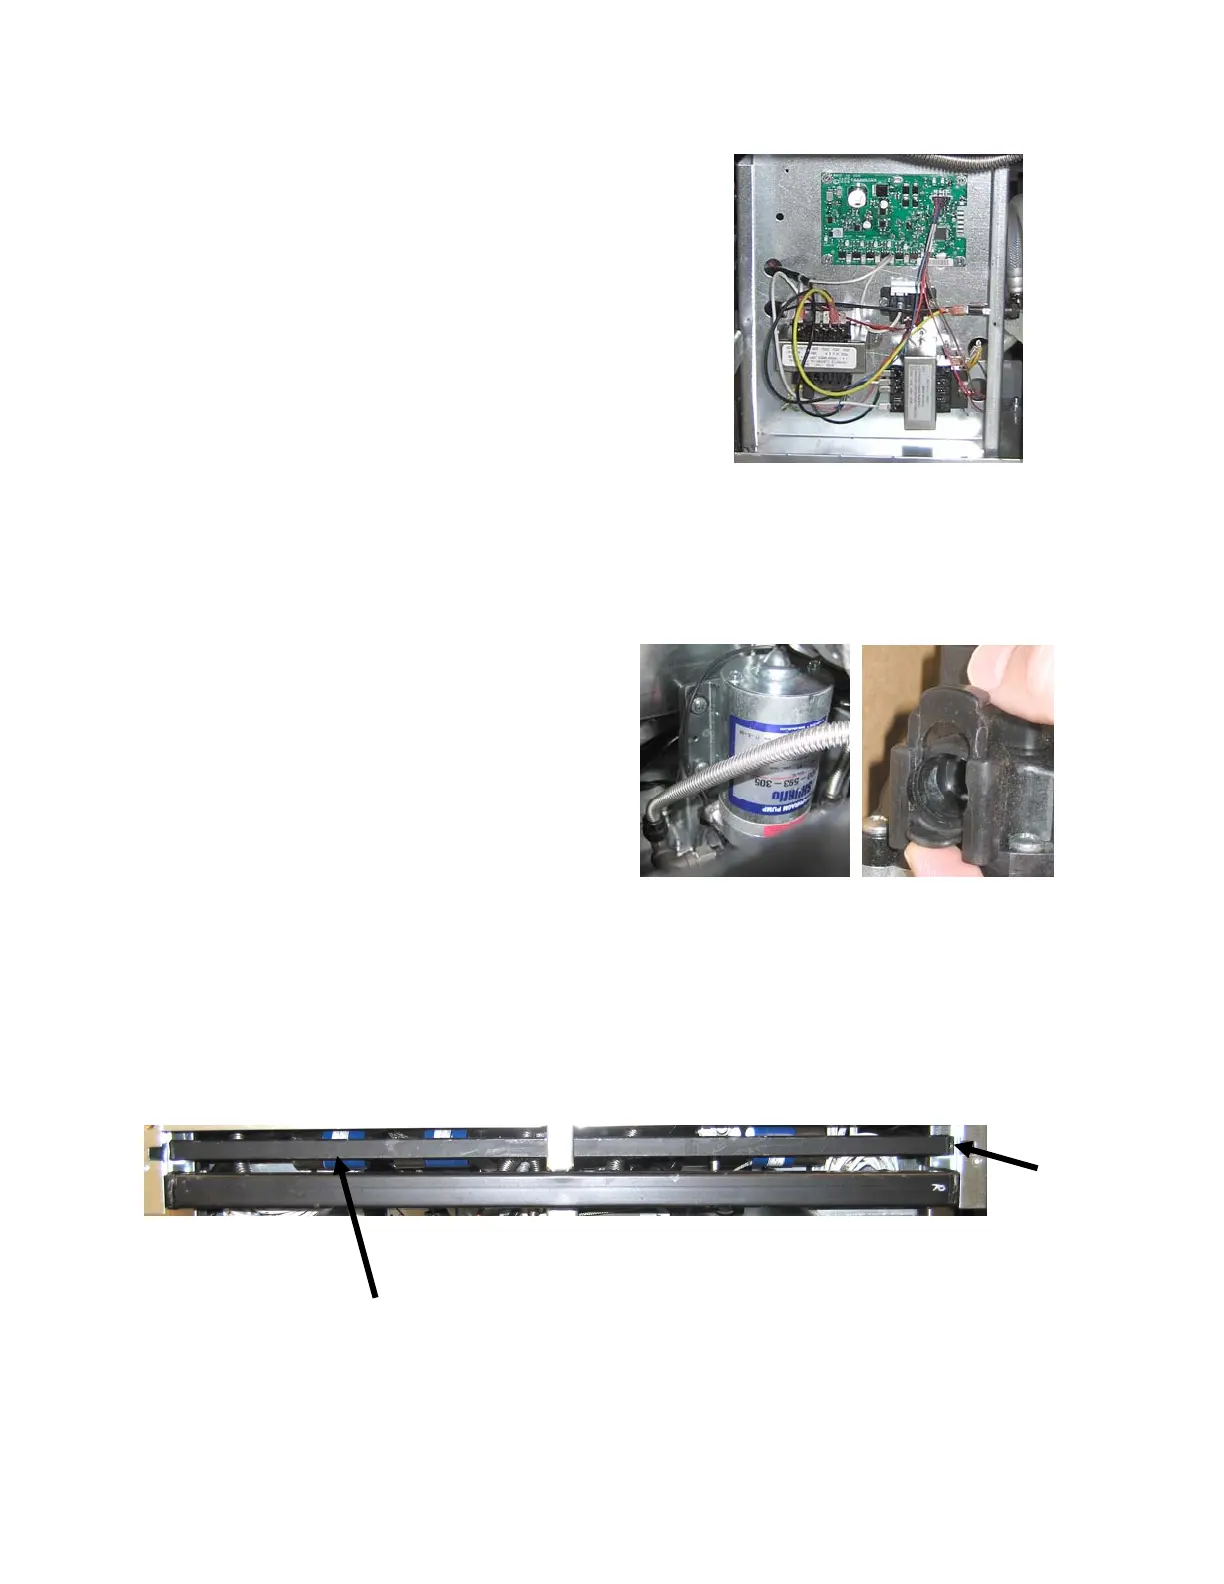
1.13.5 Replacing the ATO Solenoids
Disconnect the fryer from the electrical power supply. Locate the top off manifold in the rear of the fryer.
The top off manifold is the smaller of the two manifolds. The solenoids are attached to the manifold (see
Figure 5). Mark and unplug any wires. Replace the defective component and reattach all wires or harnesses.
Once replaced, reconnect the power.
Figure 5
Solenoid
Top off
manifold