Home > Scan > Scan Using the Scan Button on Your Fuji Xerox Machine > Scan to Email Attachment
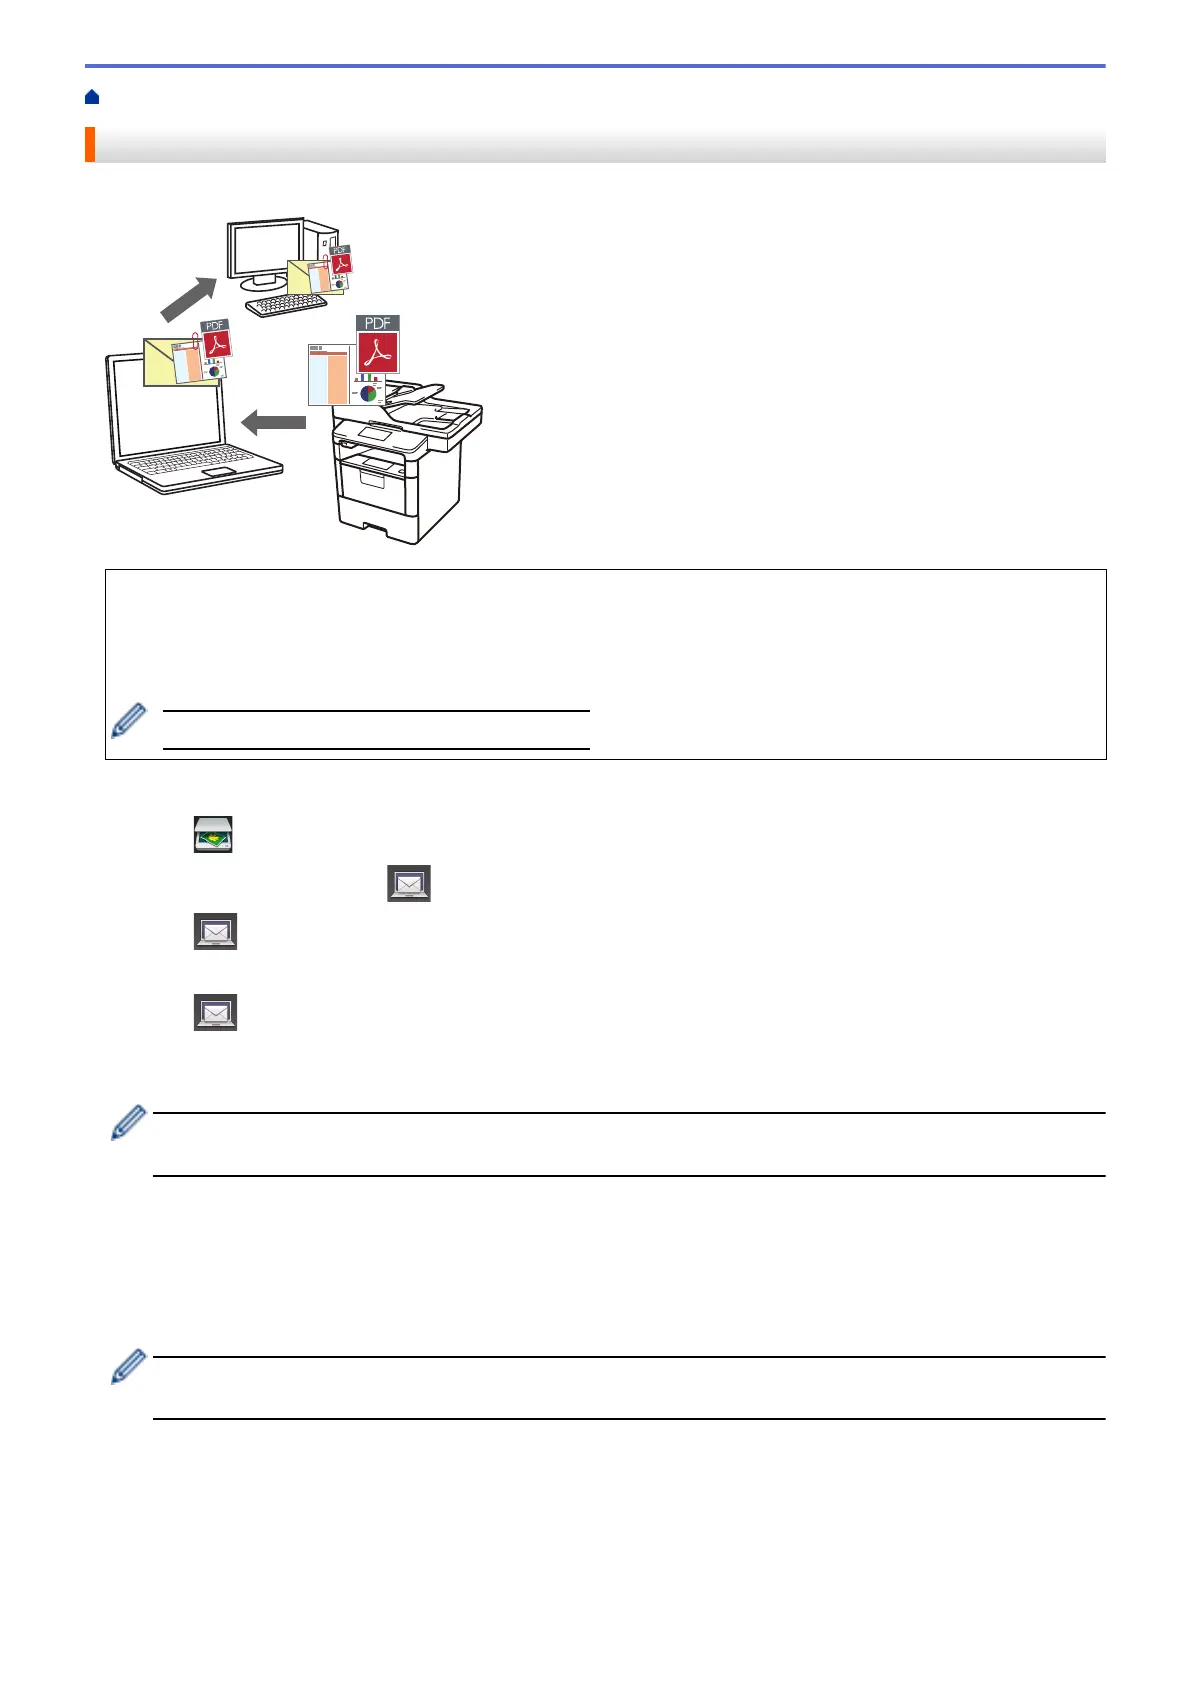
Scan to Email Attachment
Send a scanned document as an email attachment.
• Use the Scan button on the machine to make temporary changes to the scan settings. To make permanent
changes, use Fuji Xerox's ControlCenter software.
• The Scan to Email feature does not support Webmail services. Use the Scan to Image or Scan to File
feature to scan a document or a picture, and then attach the scanned file to an email message.
The machine scans to your default email client.
1. Load your document.
2. Press
[Scan].
3. Swipe left or right to display [to E-mail].
4. Press
[to E-mail].
The icon moves to the middle of the touchscreen and is highlighted in blue.
5. Press [to E-mail].
6. If the machine is connected over the network, swipe up or down or press a or b to display the computer
where you want to send data, and then press the computer name.
If the LCD prompts you to enter a PIN for the computer, enter the four-digit PIN on the LCD, and then press
[OK].
7. Do one of the following:
• To change the scan settings, press [Options], and then go to the next step.
• To use the default scan settings, press [Start].
The machine starts scanning. If you are using the machine's scanner glass, follow the touchscreen
instructions to complete the scanning job.
To change scan settings, a computer with Fuji Xerox's Control Center software installed must be connected
to the machine.
8. To scan both sides of the document (DocuPrint M375 z):
• Press [2-sided Scan], and then select the document type.
96
 Loading...