195
PRIMERGY RX100 S3 User’s Guide
Installing Internal Options
7
7.6 Installing an Internal Hard Disk
Unit
This section explains how to install internal hard disk units.
7.6.1 Installation Location of Internal Hard Disk Unit
■ SCSI-ID of Internal Hard Disk Unit and Installation Order
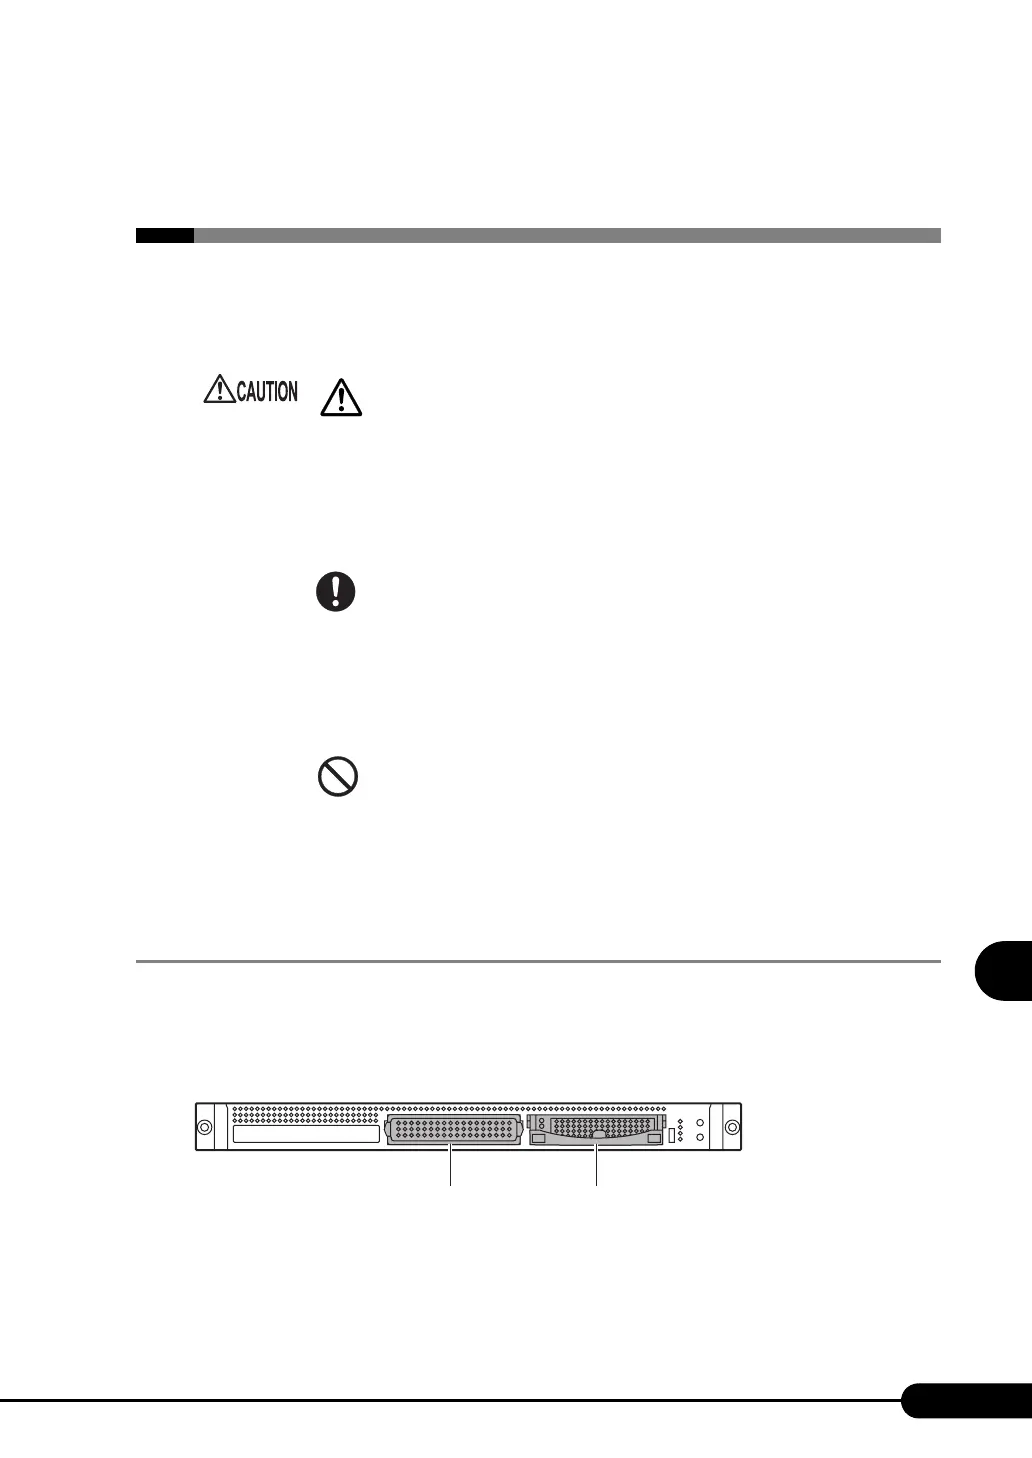
The following shows bay numbers of 3.5-inch storage bays and each SCSI-ID.
The Internal hard disk unit is hot-pluggable, so that the SCSI-ID is set automatically.
Install the internal hard disk units in the order of bay 1 and bay 2.
• The circuit boards and soldered parts of internal options are exposed. They
can be damaged by static electricity.
Before handling them, first touch a metal part of the server to discharge static
electricity.
• Do not touch the circuitry on boards or soldered parts. Hold the metallic areas
or the edges of the circuit boards.
• Before removing the unit, turn the power off and wait for about 30 seconds until
the disk stops completely.
• Rough handling of the hard disk unit can damage the stored data. To cope with
any unexpected problems, always back up important data. When backing up
data to another hard disk unit, you should make backups on a file or block
basis.
• Use the unit in a dry place with low airborne dust levels.
• Take great care so that you do not hit the hard disk or bring it into contact with
metallic objects.
• Use the device on a shock-and-vibration free surface.
• Keep the device away from direct sunlight and from radiators or other heat
sources.
• Do not use the unit in a place where the temperature is extremely high or low,
or experiences extreme temperature changes.
• Do not disassemble the hard disk unit.
Bay 2 : ID=1 Bay 1 : ID=0

 Loading...