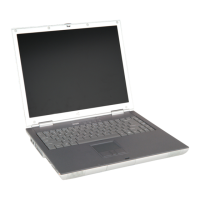
CHAPTER 2: Checking Out Your Notebook
8
Monitor port Plug an analog VGA monitor or projector into
this port. For more information, see “Viewing
the display on a projector or monitor” on
page 63.
Docking port Connect the optional port replicator to this port.
Warning: Power is passed through this port.
This docking connection is certified to UL 1950
for use only with port replicators designed for
your Gateway convertible notebook.
Ethernet jack Plug an Ethernet network cable into this jack.
Plug the other end of the cable into a cable
modem, DSL modem, or an Ethernet network
jack. For more information, see “Connecting to
a broadband modem or network” on page 21.
PC Card slot Insert one Type II PC Card into this slot. For
more information, see “Adding and removing a
PC Card” on page 59.
Memory card
reader
Insert a memory card from a digital camera,
MP3 player, PDA, or cellular telephone into the
memory card reader. For more information, see
“Using the memory card reader” on page 58.
The memory card reader supports Memory
Stick®, Memory Stick Pro®, Mini Secure
Digital®, MultiMediaCard™,
RS-MultiMediaCard™, and Secure Digital™
cards.
Digital pen Write, tap, and input directly on your
convertible notebook’s display using the digital
pen.
Component Icon Description