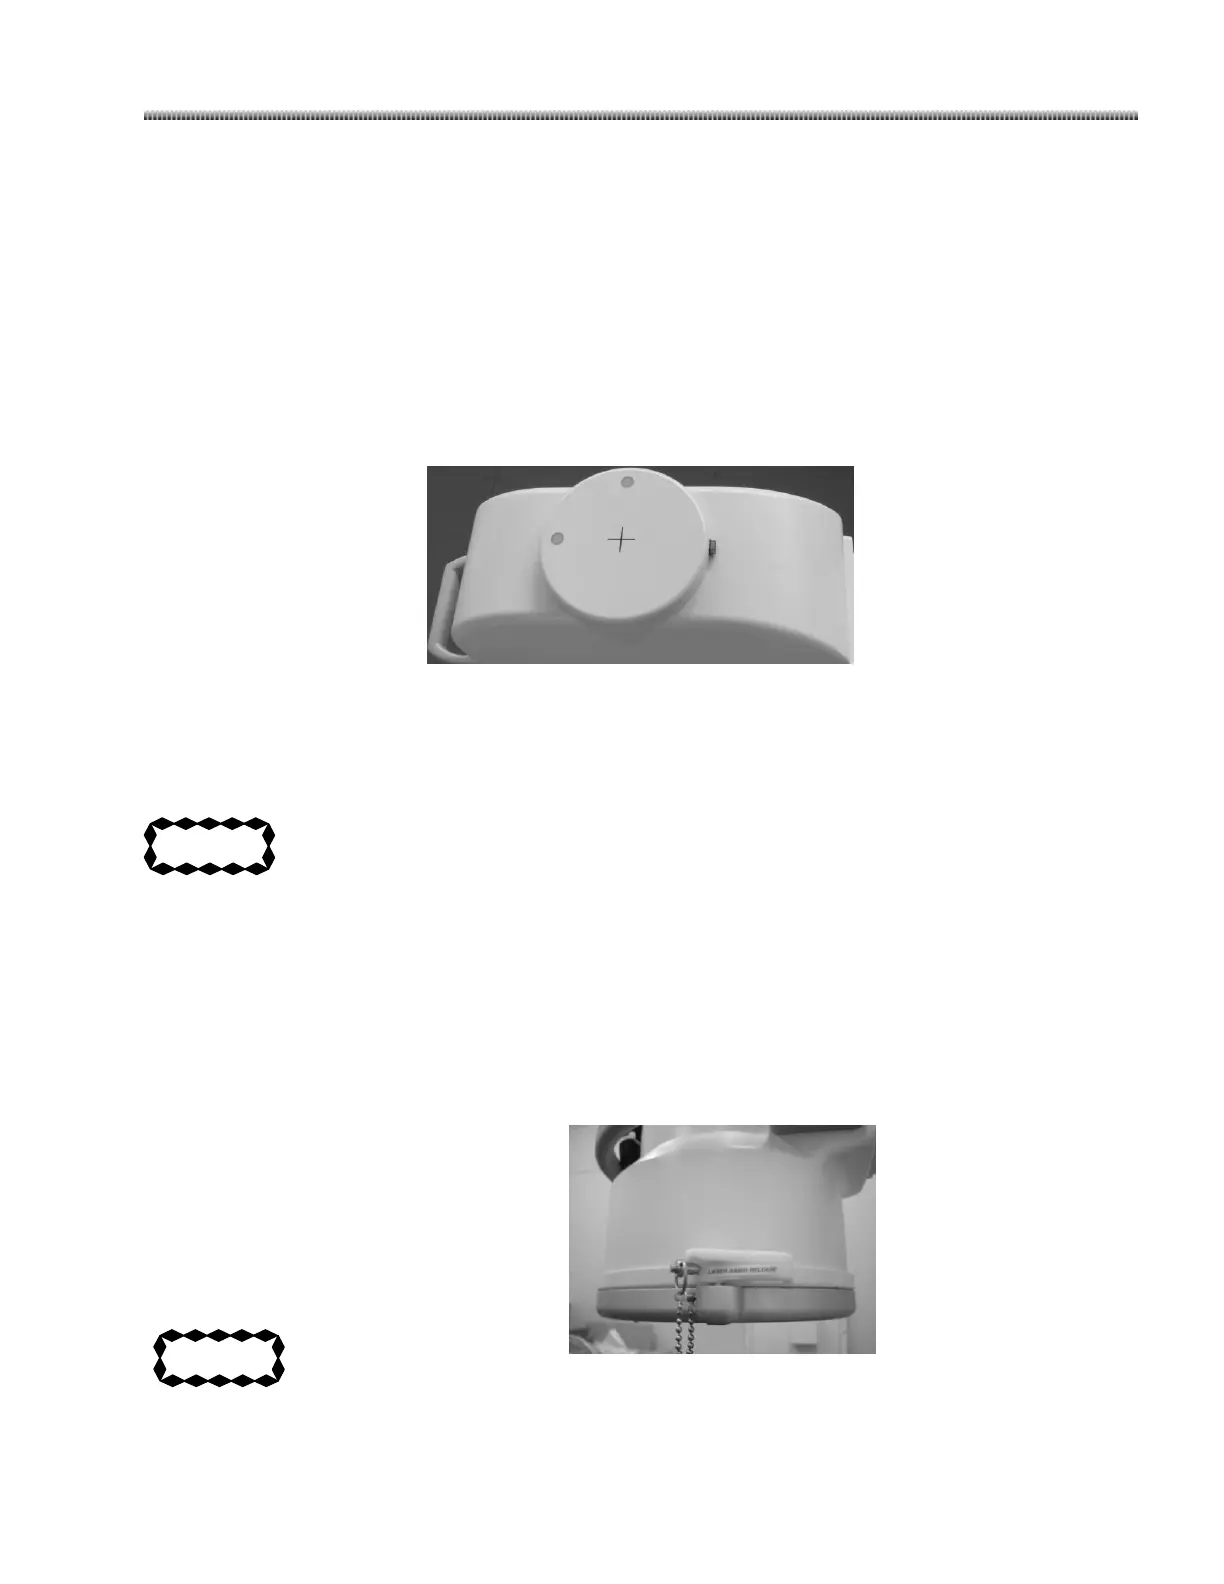
12.7.2. Laser Aimer
The laser Aiming Device produces a laser beam, which is used to indicate the central axis of the X-Ray
beam. An opaque cross-hair located on the laser aimer provides a reference point in the X-Ray image that
can be used in conjunction with the laser beam to obtain an accurate placement angle during alignment
procedures.
Brivo OEC 715/785/865 Mobile C-Arm X-Ray Product provides two laser aimer options, which are attached
to the tube and Image Intensifier.
Laser Aimer, which is attached to the tube, is incorporated with the tube cover. Press the laser aimer’s ON
switch to generate the laser beam.
Perform the following procedure to install and operate the laser aimer on the Image Intensifier. The C-Arm
can be placed in any orientation that is convenient for attaching the laser aimer. There are
no alignment marks or notches on the laser aimer that need to match any points on the
image intensifier.
When the laser aimer is attached to the C-Arm, releasing the orbital or rotational brake
could cause the C-Arm to move. Make sure to hold the C-Arm to control its movement
whenever a brake is released.
1. Place the laser aimer’s attachment handle in the open position.
2. Move the laser aimer flush with the Image Intensifier, but slightly off center.
3. Center the laser aimer with the relation to the Image Intensifier. As you center the laser aimer, the
attachment hooks catch on the edge of the image intensifier.
4. Turn the attachment handle inward until the handle is completely closed and the laser aimer is securely
attached to the image intensifier. Insert the metal bolt to the hole of the handle to lock.
Do not grasp the Laser Aimer's handle to position the C-Arm or to move the system. Pulling
the handle may cause the Laser Aimer to release from the image intensifier and fall.
5. Use the image intensifier handle to position the C-Arm or to move the system to the desired location.

 Loading...