5.2.3. Digital Spot Imaging
Digital Spot mode creates a short-duration, high mA exposure to produce a high quality single image.
After the image has been acquired, image attributes such as edge enhancement or contrast/brightness
can be modified. Pulsed operation is not allowed in digital spot mode.
To produce a Digital Spot image
1. Select the Digital Spot from the Mode Setup screen. Verify Dig. Spot is displayed on the status bar.
2. Press the left X-Ray switch ( ) on the foot/handswitch to confirm positioning and obtain
appropriate exposure parameters.
3. When the desired image appears on the monitor, release the left X-Ray switch ( ) and then press
and hold the right X-Ray switch ( ) on the foot/handswitch to obtain the digital spot image.
4. The system automatically terminates the exposure and saves the Digital Spot image on the hard disk.
5. If the image positioning and exposure parameters have been set, you can press the right X-Ray switch
( ) on the foot/handswitch to obtain the digital spot image.
Continue pressing the switch until the system automatically terminates the exposure. If you
release the X-Ray switch early, the exposure will prematurely terminate.
5.2.4. Pulsed Fluoro Imaging
This section describes how to switch between continuous and pulsed imaging.
Pulsed mode generates a preset number of X-Ray pulses each second while the X-Ray switch is pressed.
Pulsed X-Rays can be used to reduce total radiation.
To produce a pulsed fluoro image
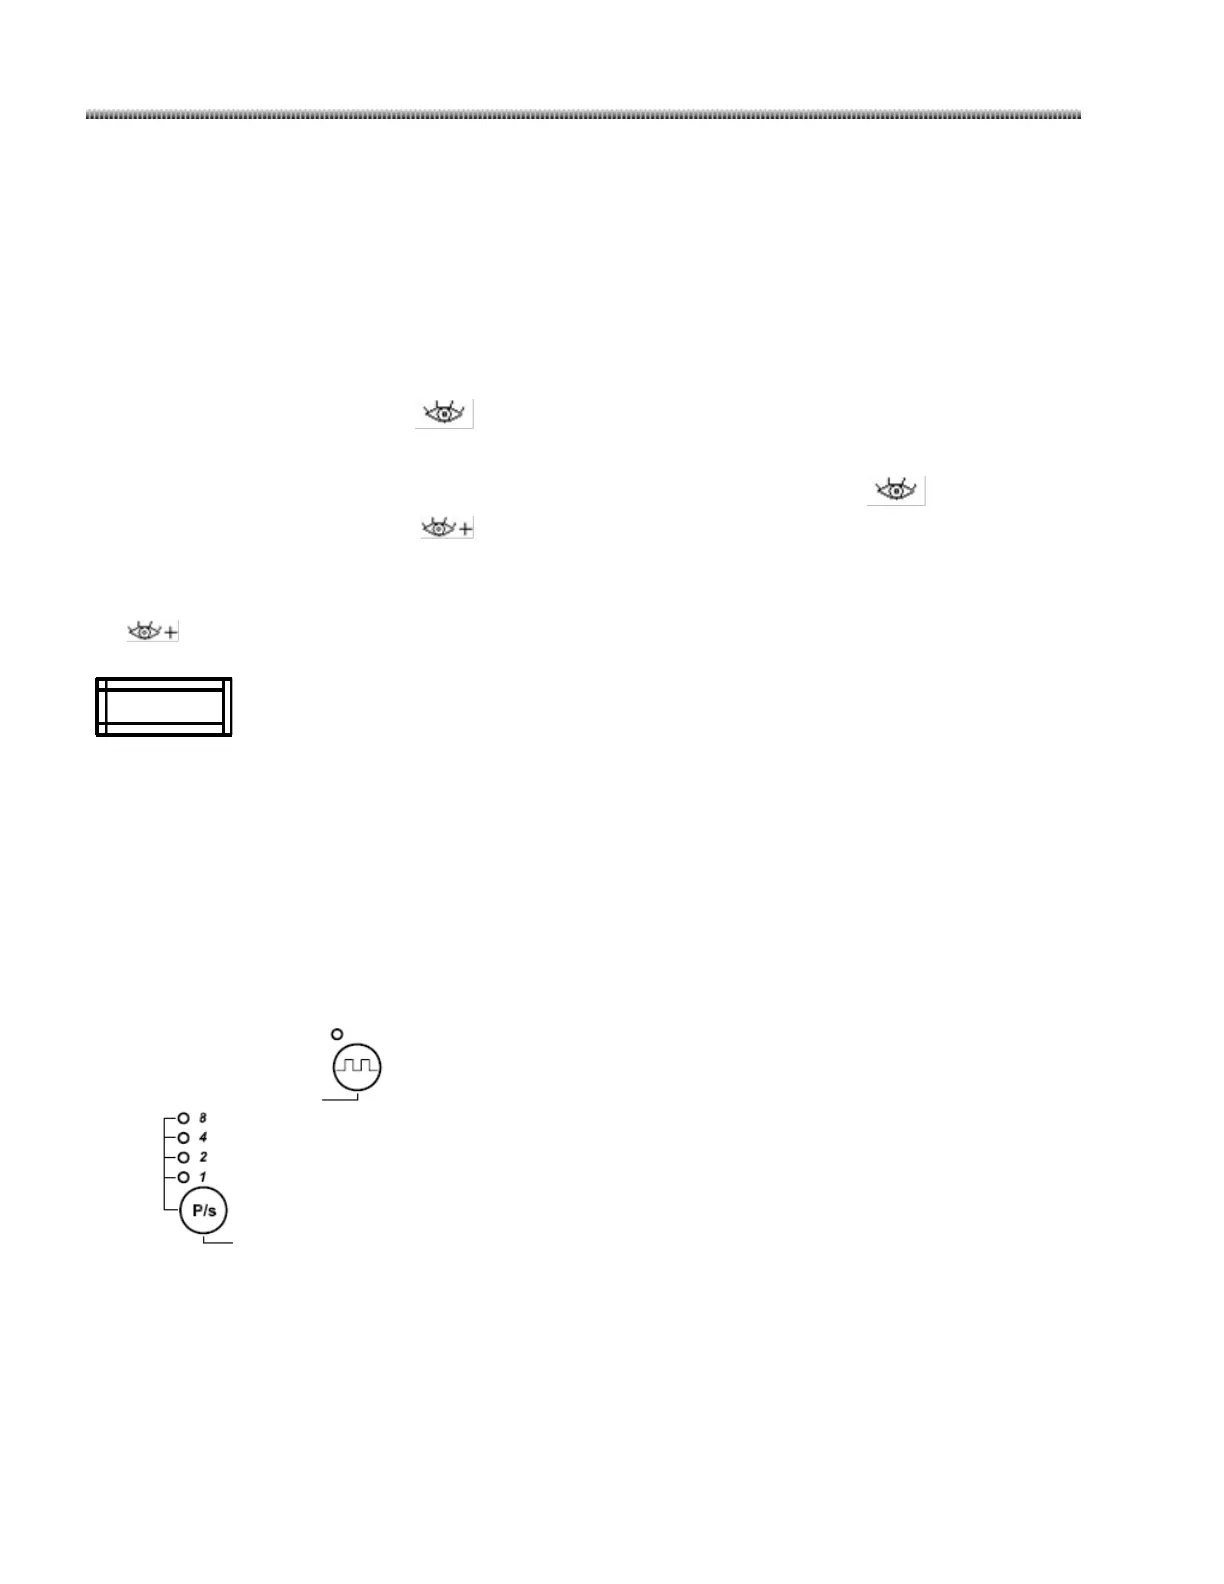
1. Press the “Pulse” key on the C-Arm control panel to enable pulsed operation. Press “Pulse Rate”
key to select pulse rate. The default pulse rate is 4 PPS. The selected pulse rate displays
automatically on the status bar.
2. Press the related X-Ray switch on the foot/handswitch to make Pulsed Fluoro exposures.

 Loading...