EasyManuals Logo

GE LOGIQ E9 User Guide

GE LOGIQ E9
256 pages
To Next Page IconTo Next Page
To Previous Page IconTo Previous Page
Page #60 background imageLoading...
Page #60 background image
Getting Started
1-48
LOGIQ E9
User Guide
Direction 5454884-100 English
Rev. 1
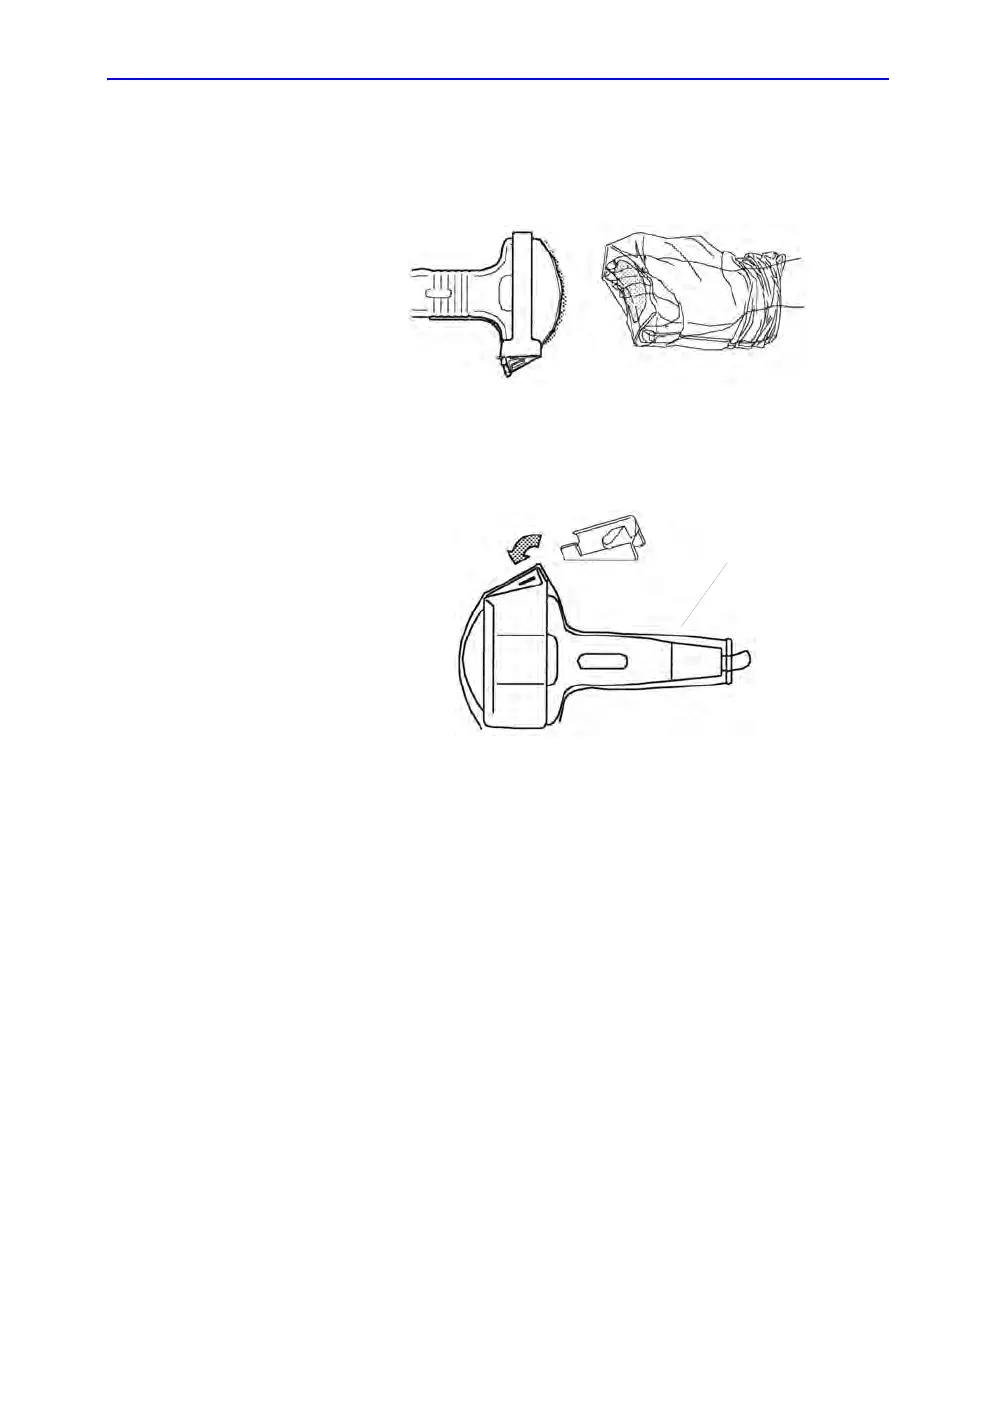
Fixed Needle Biopsy Guide Assembly (continued)
5. Place the proper sanitary sheath over the probe and biopsy
bracket. Use the rubber bands supplied to hold the sheath in
place.
Figure 1-21. Applying Sanitary Sheath
6. Snap the fixed or adjustable needle clip onto the biopsy
guide bracket.
Figure 1-22. Fixed Needle Clip Attachment
a. Sheath
a

Table of Contents

Other manuals for GE LOGIQ E9

Questions and Answers:

Question and Answer IconNeed help?

Do you have a question about the GE LOGIQ E9 and is the answer not in the manual?

GE LOGIQ E9 Specifications

General IconGeneral
TypeUltrasound System
3D/4D ImagingYes
Transducer Ports4 active ports
ConnectivityDICOM, USB, Ethernet
ApplicationsAbdominal, Vascular, Musculoskeletal, Small Parts, Urology, Pediatric, Cardiac, Obstetrics/Gynecology
TransducersLinear, Convex, Phased Array, Volume
Doppler ModesColor Doppler, Power Doppler, Pulsed Wave Doppler, Continuous Wave Doppler
ElastographyYes
Advanced FeaturesB-Flow, Volume Navigation
PortabilityCart-based system
Display19-inch high-resolution LCD monitor

Related product manuals