EasyManuals Logo

GE LOGIQ E9 User Guide

GE LOGIQ E9
256 pages
To Next Page IconTo Next Page
To Previous Page IconTo Previous Page
Page #61 background imageLoading...
Page #61 background image
Probes
LOGIQ E9
User Guide
1-49
Direction 5454884-100 English
Rev. 1
Fixed Needle Biopsy Guide Assembly (continued)
7. Push the locking mechanism towards the bracket to secure
the lock. Make sure the needle guide is firmly attached to
the bracket.
Figure 1-23. Locking the Needle Clip
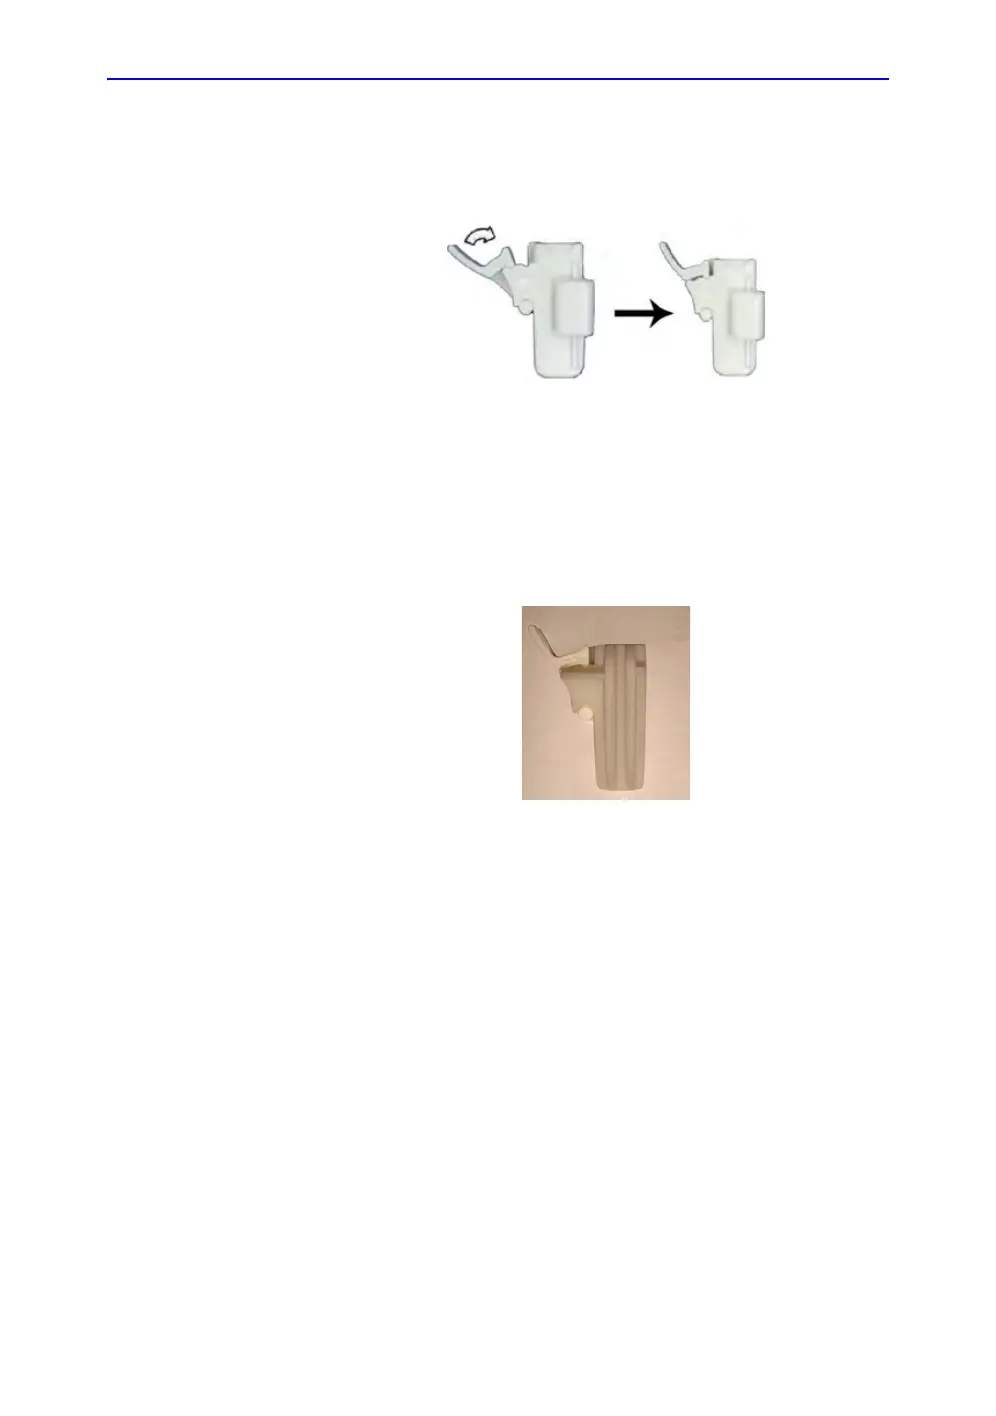
NOTE: If using an in-plane needle guide, the needle clip appears as
shown here. Be sure to choose an in-plane guide that
matches the gauge of the needle being used. The in-plane
guide does not support any on-screen graphics. This is
because the guide allows variable angles. For in-plane
needle guides, steps 8 and 9 are not applicable.
Figure 1-24. Example of In-Plane Needle Guide

Table of Contents

Other manuals for GE LOGIQ E9

Questions and Answers:

Question and Answer IconNeed help?

Do you have a question about the GE LOGIQ E9 and is the answer not in the manual?

GE LOGIQ E9 Specifications

General IconGeneral
TypeUltrasound System
3D/4D ImagingYes
Transducer Ports4 active ports
ConnectivityDICOM, USB, Ethernet
ApplicationsAbdominal, Vascular, Musculoskeletal, Small Parts, Urology, Pediatric, Cardiac, Obstetrics/Gynecology
TransducersLinear, Convex, Phased Array, Volume
Doppler ModesColor Doppler, Power Doppler, Pulsed Wave Doppler, Continuous Wave Doppler
ElastographyYes
Advanced FeaturesB-Flow, Volume Navigation
PortabilityCart-based system
Display19-inch high-resolution LCD monitor

Related product manuals