345
(XI) Cpillar inside trim and rear door sill
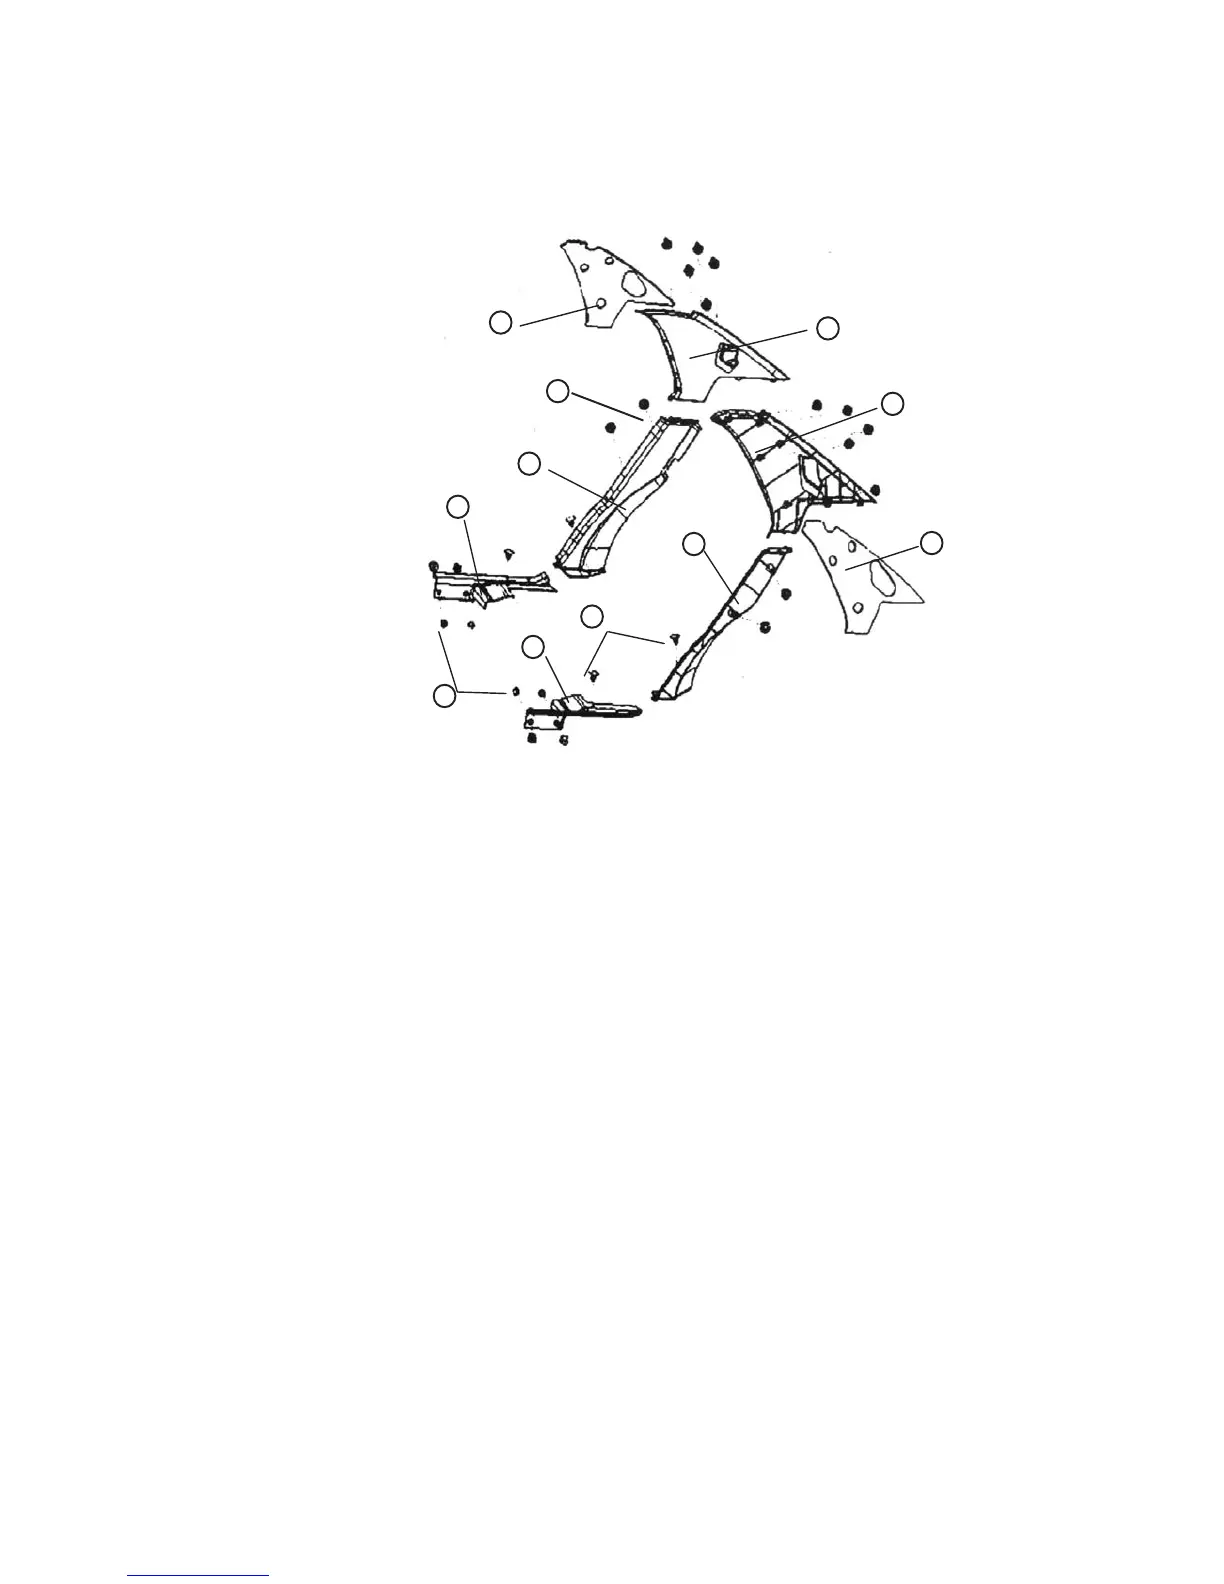
C pillar inside trim and rear door sill diagram:
C pillar inside trim& rear door sill diagramdiagram
1.Right C Pillar Upper Inside Trim 2.Left C Pillar Upper Inside Trim 3. Right C Pillar Upper Inside
Trim Sound Insulator 4. Left Sound Insulator 5. Right C Pillar Lower Inside Trim 6. Left C Pillar
Lower Inside Trim 7. Right Rear Door Sill 8. Left Rear Door Sill 9. E-Clip 10. Cross Pan
Head Self-tapping Screw 11. D-Clip
1. Removal
1 Remove the installed door sill and C pillar lower inside trim tapping screw and E-clip with a cross
screwdriver;
2 Remove C pillar upper inside trim with a opener ;
3 Remove C pillar lower inside trim with a opener
2.Installation
1 Clip C pillar inside trim and rear door sill onto the corresponding position in order;
2 Tap C pillar upper inside trim and C pillar lower inside trim lightly with a rubber hammer to ensure D-clip
clipped in the vehicle inner panel;
3 Fix the rear door sill onto the vehicle body with a tapping screw.
11
2
1
10
8
4
3
5
7
9
6