4. In the Geovision DDNS Server page, type a desired Hostname and Password. Re-type
Password and type the verification letters shown in the image. Click Send.
5. In the Web interface of your camera, type Username. The username is the hostname
registered in DDNS Server.
6. Type Password, and Confirm Password.
7. Click Save.
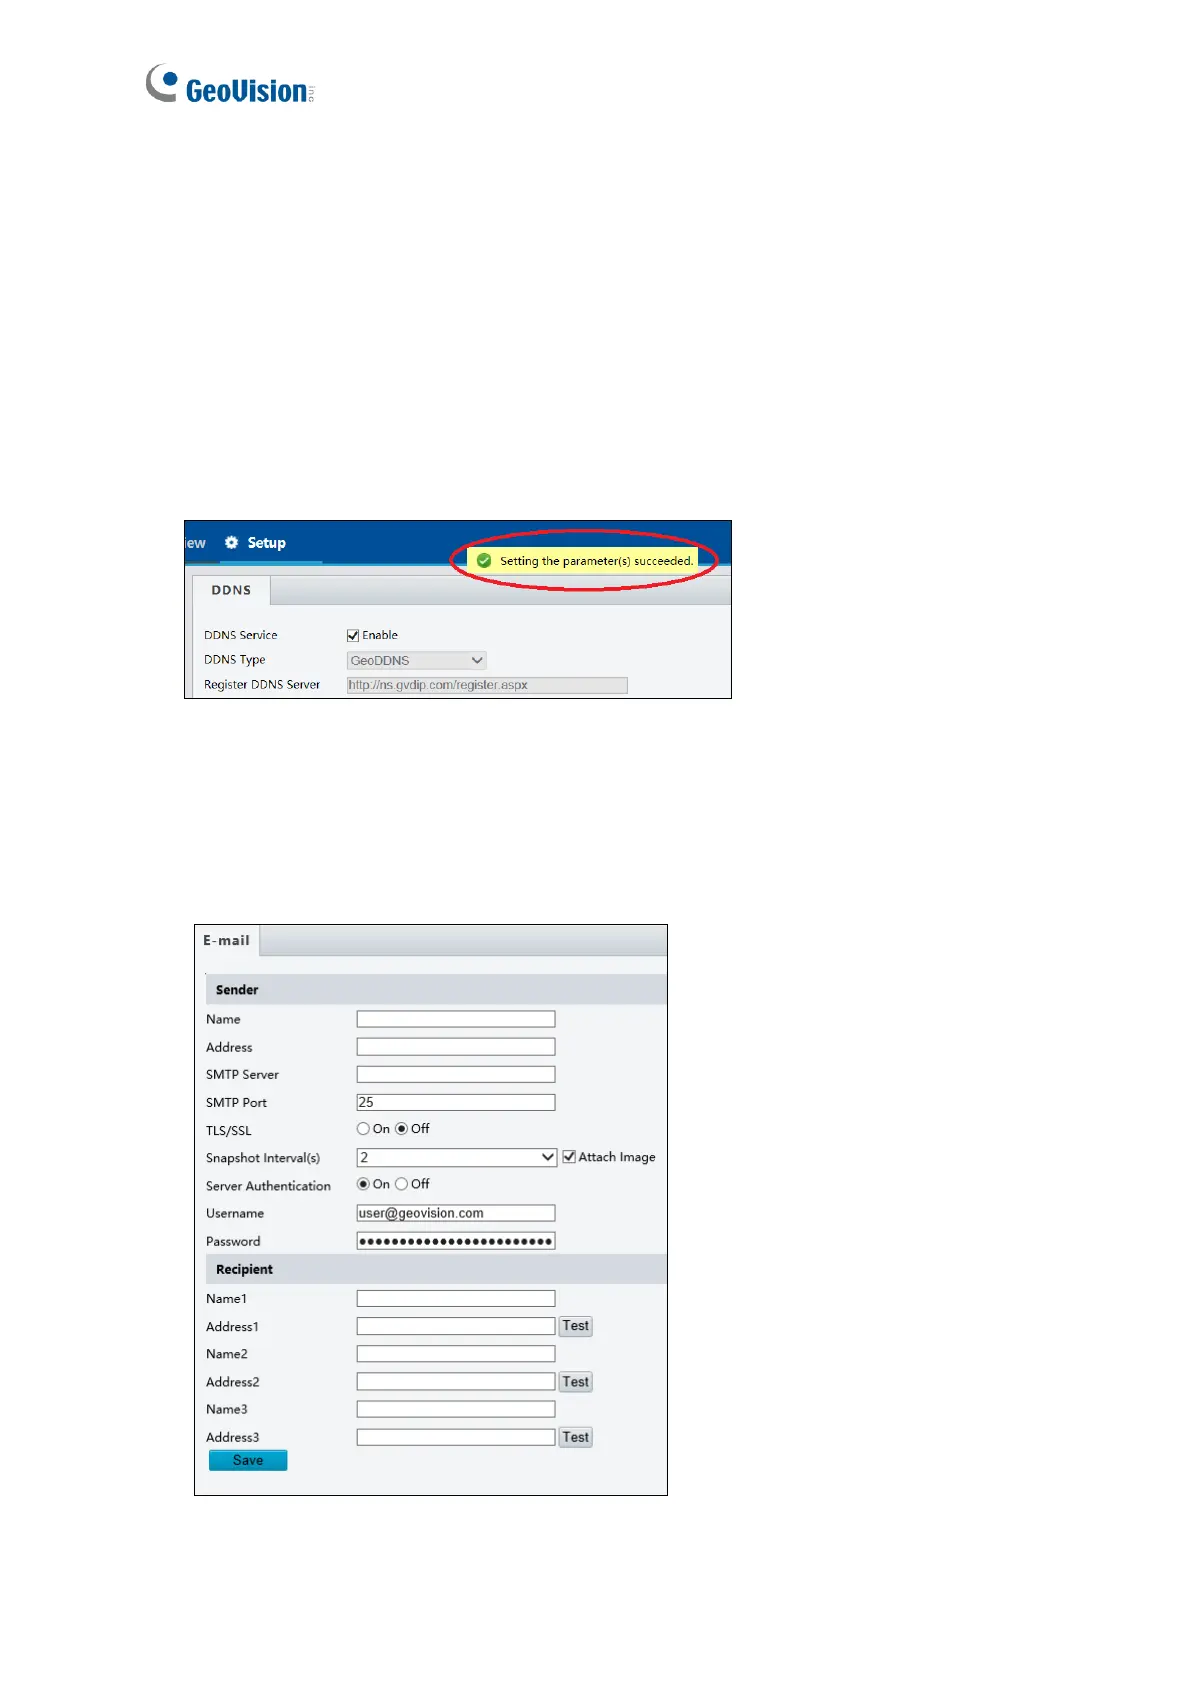
After the DDNS is successfully configured, a notification bar will be displayed as shown in
Figure 4-10. Next time when you want to log in the camera, type the domain name like this:
(hostname).gvdip.com, for example, geovision.gvdip.com.
Figure 4-10
4.2.6 E-mail
After the configuration of the E-mail server, you will be able to send messages to the
specified e-mail address when alarms are triggered.
Figure 4-11

 Loading...