Operation
18
1
E
EE
E
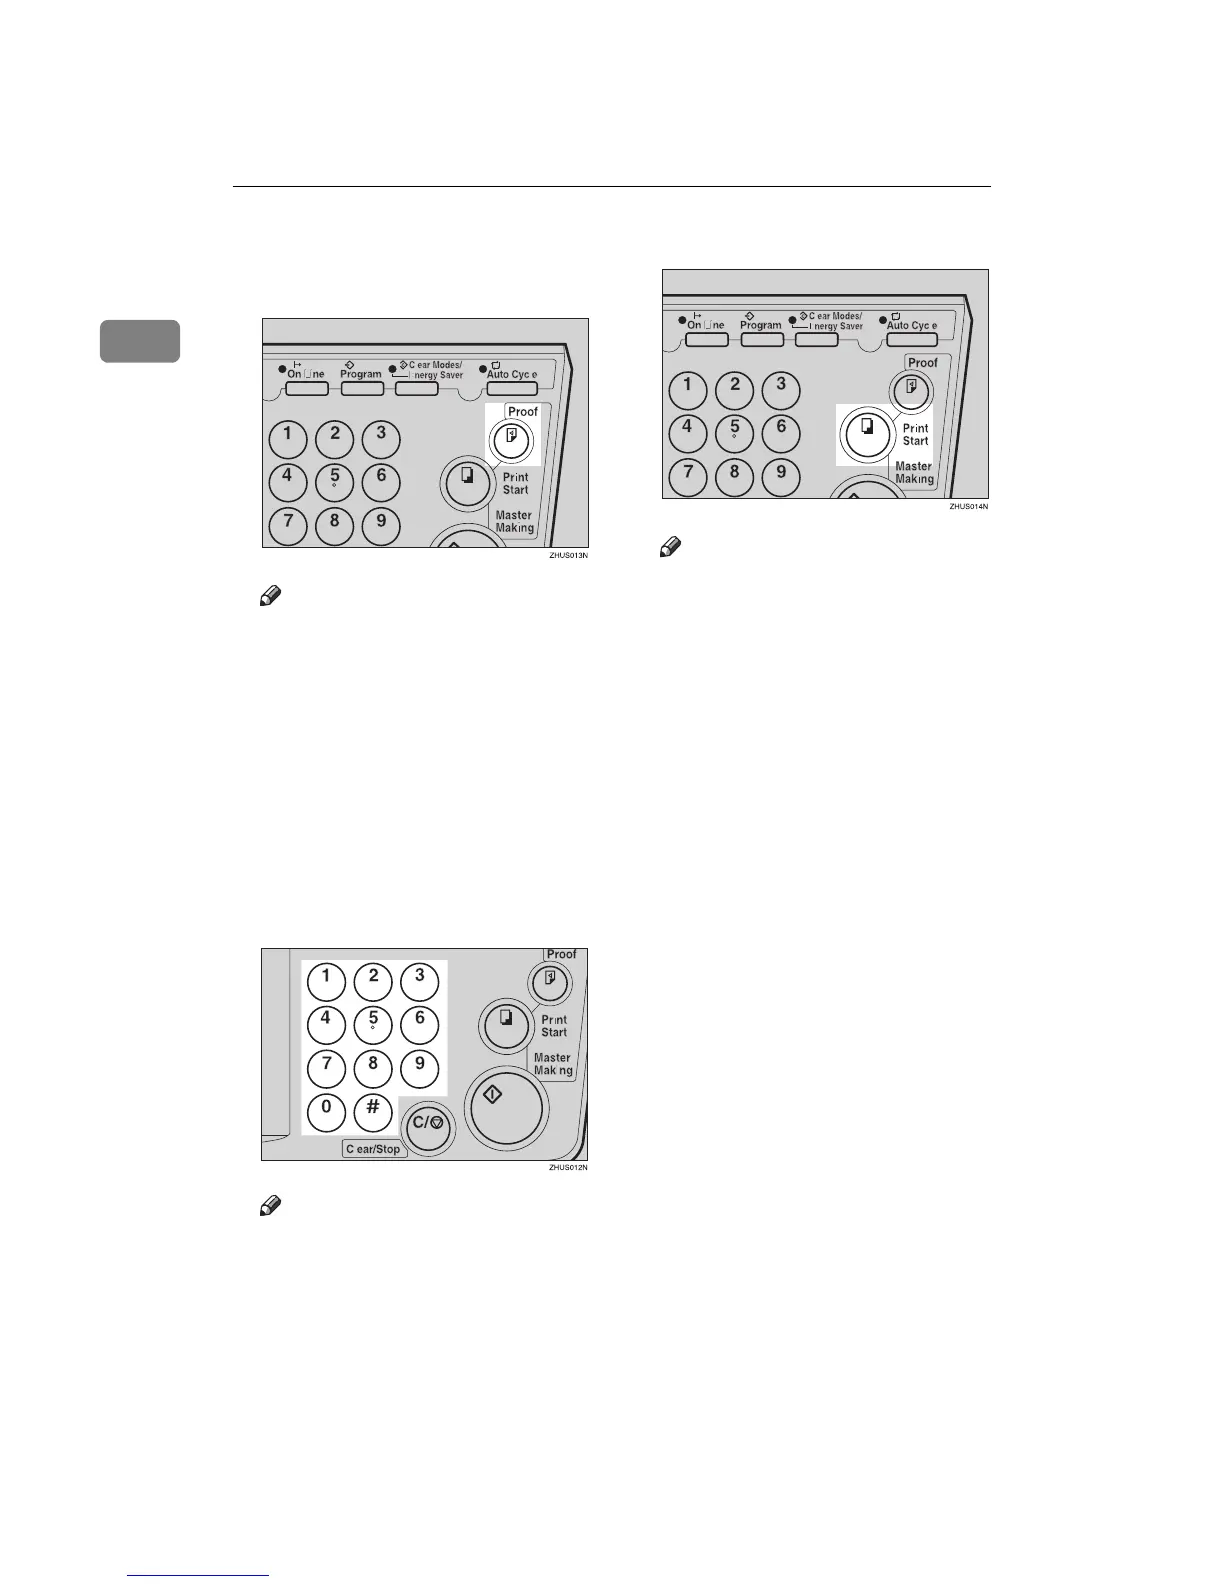
Press the {
{{
{Proof}
}}
} key and check
the image density and the image
position of the proof print.
Note
❒ If the image position is not cor-
rect, adjust it using the {
{{
{Image
Position}
}}
} keys or the fine adjust-
ment dial. See ⇒ p.21 “Adjust-
ing the Print Image Position”.
❒ If the image density is slightly
dark or light, adjust the image
density using the {
{{
{W
WW
W}
}}
} or {
{{
{V
VV
V}
}}
}
key. See ⇒ p.23 “Adjusting the
Print Image Density”.
F
FF
F
Enter the number of prints re-
quired with the number keys.
Note
❒ Up to 9999 prints can be entered
at a time.
❒ To change the number entered,
press the {
{{
{Clear/Stop}
}}
} key and
enter the new number.
G
GG
G
Press the {
{{
{Print Start}
}}
} key.
Note
❒ After printing is completed, the
same number of prints is auto-
matically set for the next job.
❒ To stop the machine during the
multi-print run, press the
{
{{
{Clear/Stop}
}}
} key.
❒ To return the machine to the ini-
tial condition after printing,
press the {
{{
{Clear Modes/Energy
Saver}
}}
} key.