34
EOF 10-10/20
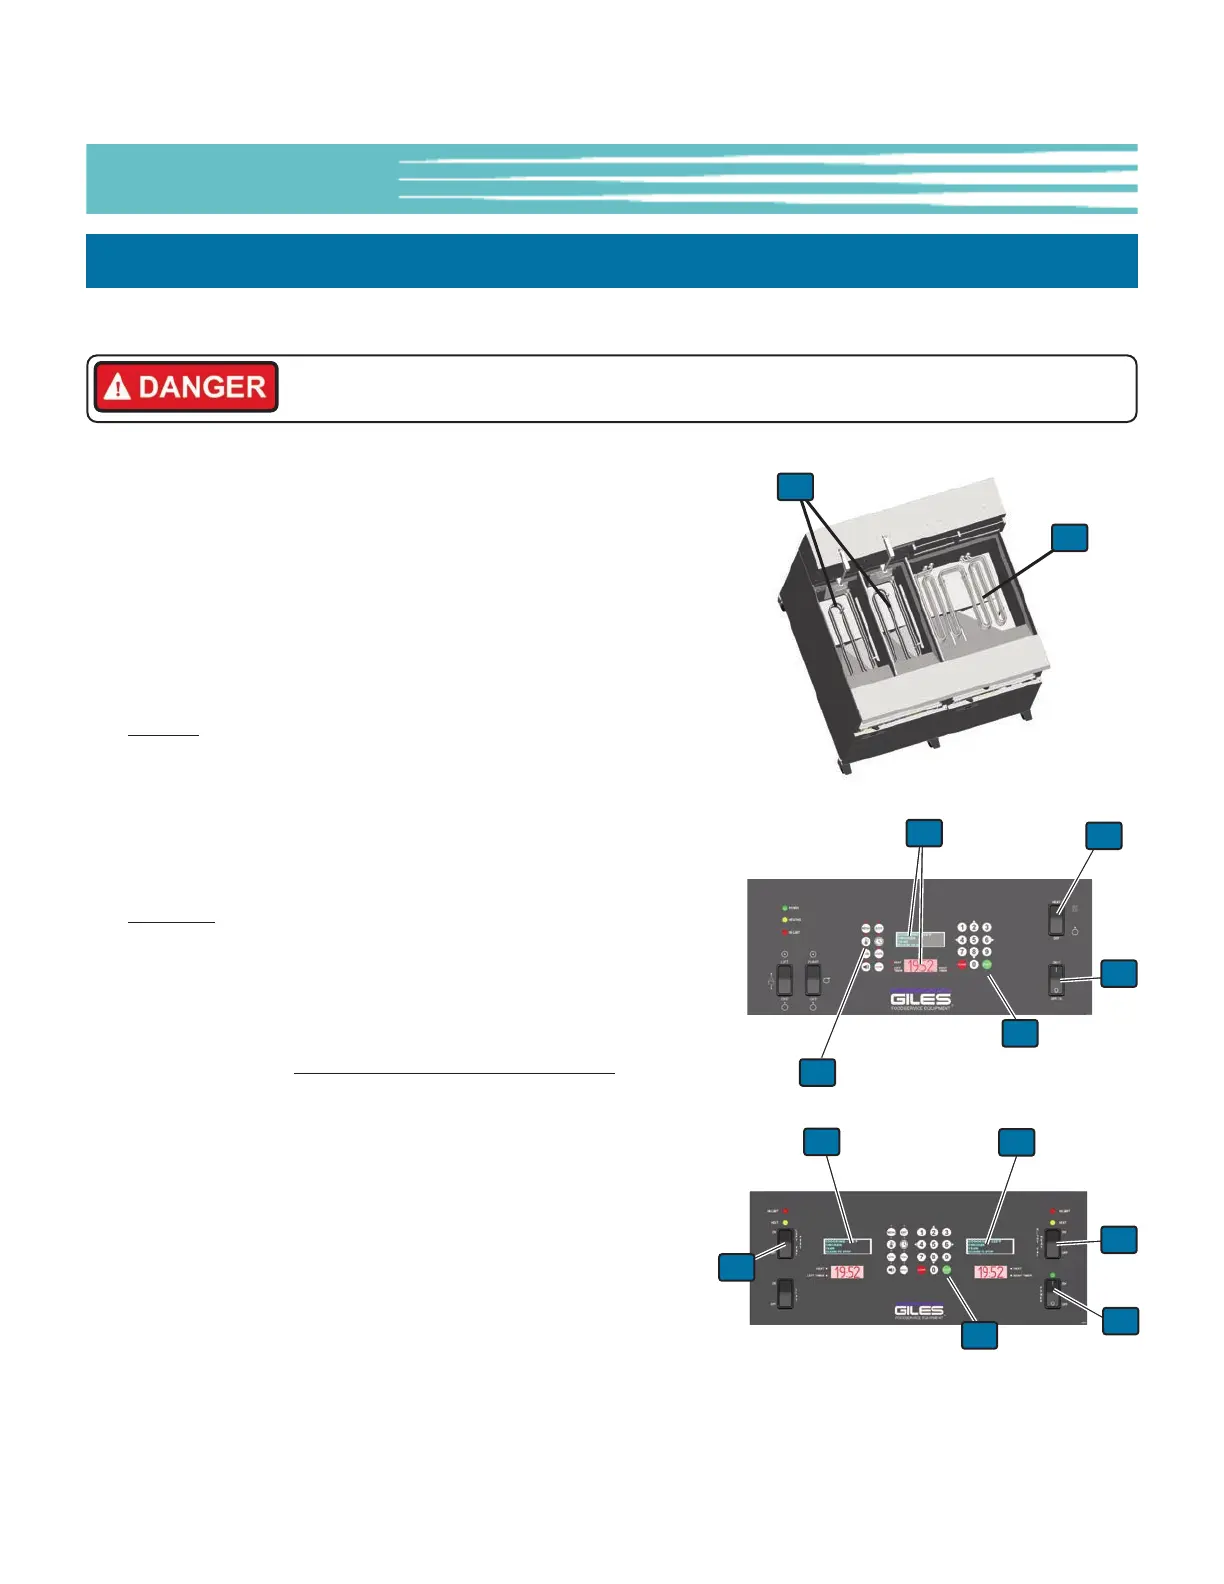
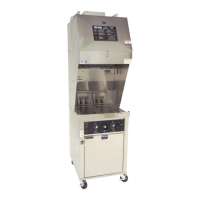
4-03. Heating Element Test
2
5
1. Follow steps shown in Section 4-01.
2. Be sure Power Switch is in the OFF position.
3. Liberally dampen a sponge with water and wipe down the
Heating Element
①, leaving them visibly wet.
4. Place the Power Switch
② in the ON position.
5. EOF-20:
Wait for the Controller to power up, sound the alarm
signal and show the message POWER FAILURE PRESS [START]
TO PREHEAT on the OLED Display and [HOLD] on the 7-Segment
Display
③.
6. Press the [START] key
④ ... the alert signal will silence, and the
Controller wil indicate PREHEAT.
EOF10-10
: Message START WHICH SIDE ... [4]=LEFT, [5]=BOTH,
[6]=RIGHT is shown on the OLED Display ... select BOTH
[keypad 5] then Controller will indicate PREHEAT.
7. Set the Heat Switch
⑤ to the HEAT position (both switches on
EOF10-10). The HEAT light(s) should turn on. Leave switch(s) in
the HEAT position NO MORE THAN 10 to 12 SECONDS
.
Note: During this time, should the HEAT light turn off, an alarm
sound and the OLED Display show a MAX ELEMENT TEMP or
LOW OIL LEVEL error; return Power Switch to the OFF position
and proceed on to the next step.
8. Return Heat Switch
⑤ to the OFF position.
9. The moisture on the heating elements should quickly dry and
heat should be felt rising from the Vat. Proceed to Section 4-04.
If the moisture does not dry within 15-30 seconds, or no heating
is detected, refer to the Troubleshooting procedure in Section 7-
01.
8
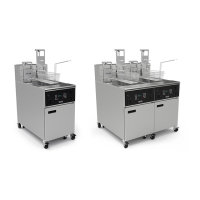
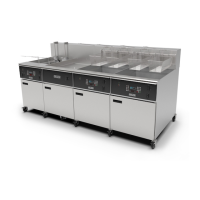
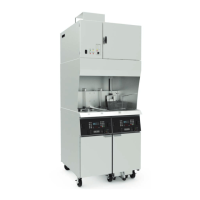
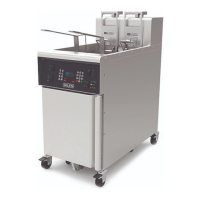
The following test will ensure the Heating Element is being powered. Perform this test on each Fry Pot.
EOF-10-10
EOF-20
2
5
3
3
5
1
1
3
4
4
Installation Checkout & Prep
Heating Elements become extremely hot when energized! Any skin contact with them
may result in severe burns.