76
Cleaning
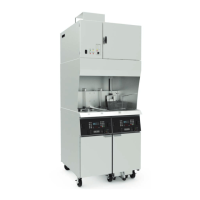
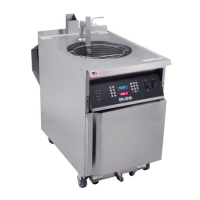
EOF 10-10/20
6-01. Boil Out Procedure - Continued
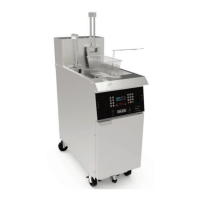
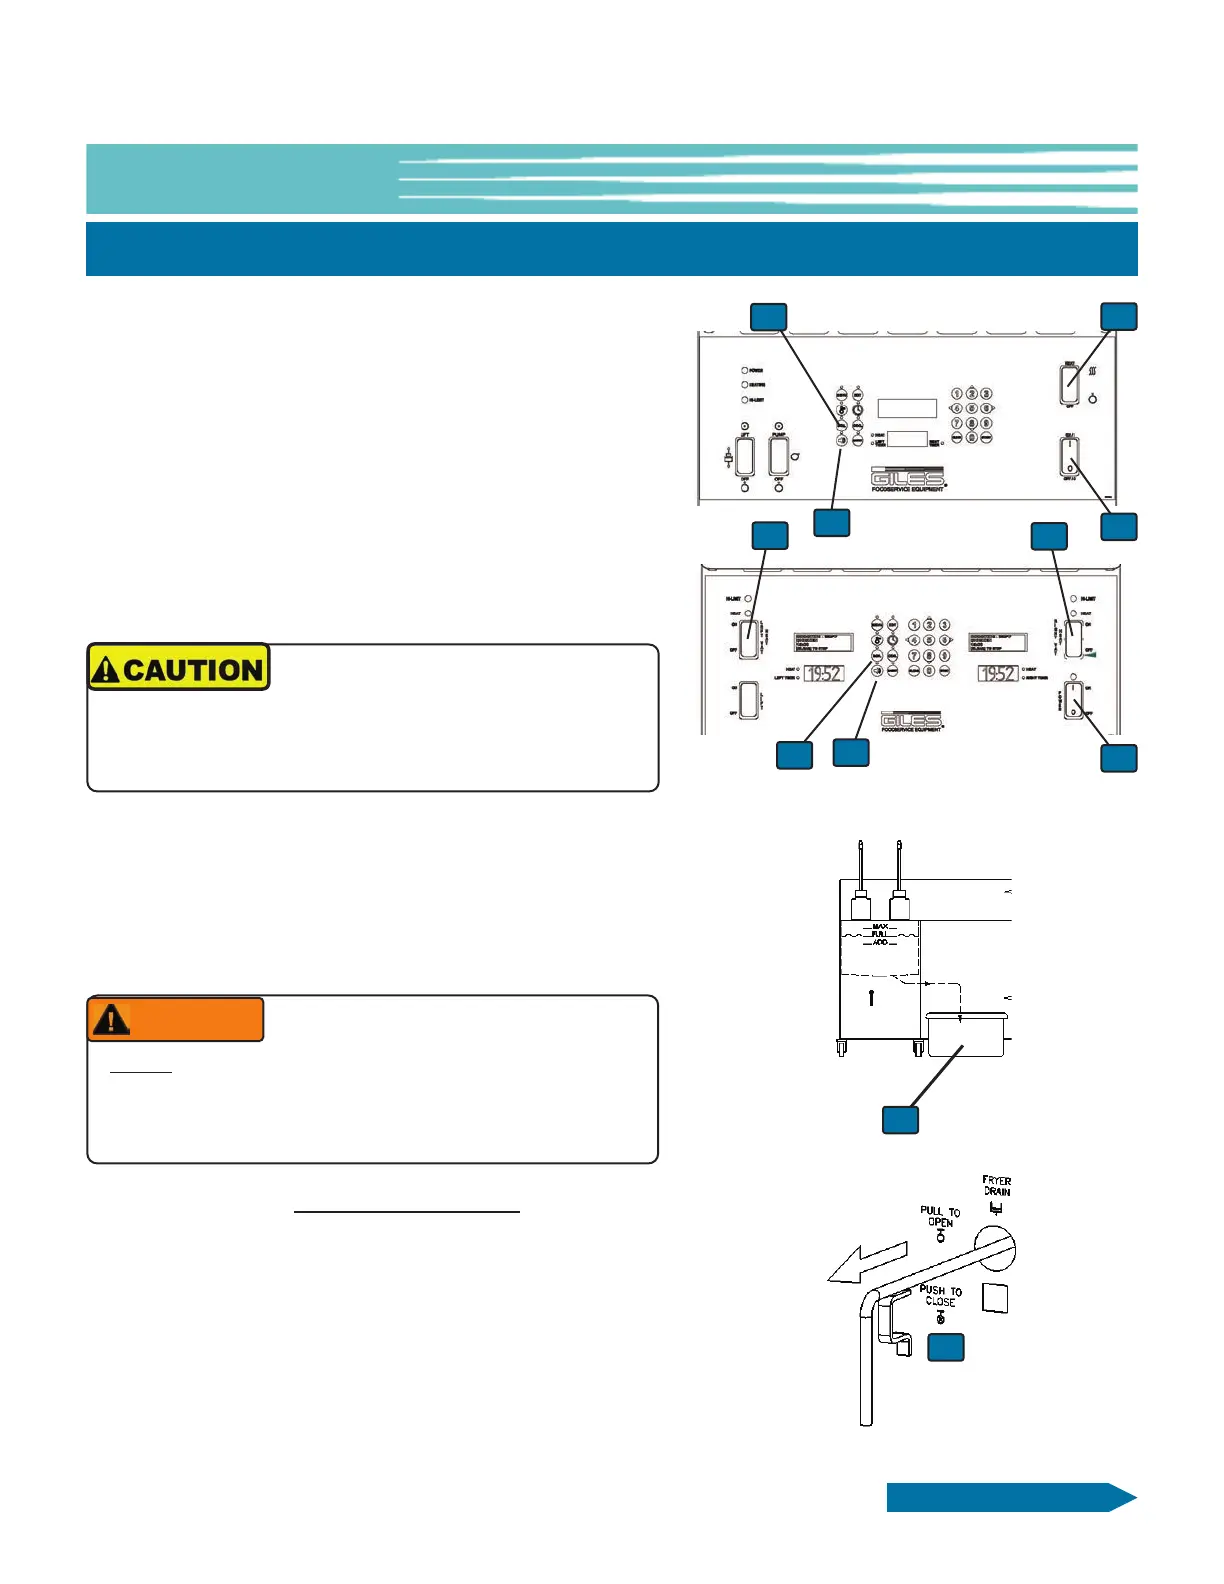
11. Position a suitable Heat Resistant Container ⑦ (not sup-
plied) beneath the Fryer Drain. IMPORTANT! General pur-
pose plastic containers are typically not suitable as they may
break or melt, resulting in spillage.
12. Unlock and slowly pull the Drain Valve Handle
⑧ to the
OPEN position.
8
Continued next page
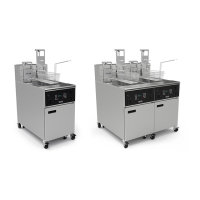
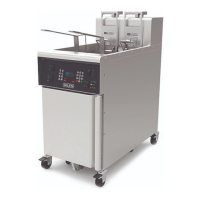
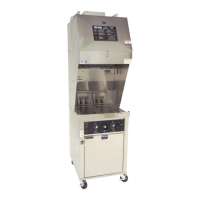
EOF-20
EOF10-10
3
4
3
4
4
5. Place the Power Switch
③ in the ON position and proceed
through power-up, see Section 5-01.10, Power Up Procedure.
6. Place the Heat Switch
④ in the HEAT or ON position.
7. When the fryer enters PREHEAT, press the [BOIL] key
⑤.
The Controller enters BOIL OUT MODE, temperature setpoint
changes to 200°F, and cycle time begins to countdown from
30 minutes. Boil-Out solution will begin to heat. On EOF10-
10, both Vat sides will begin Boil Out simultaneously.
NOTE: If a different boil-out temperature or time is required,
the settings can be changed in USER SETTINGS, Section 5-
01.8. BOIL TEMP is variable between 185° - 208°F. BOIL OUT
TIME is variable between 1 - 45 minutes.
8. At the completion of the Boil-Out cycle time, an alarm sounds
and the OLED Display shows the message DONE COOKING.
9. Press the [ALARM] key
⑥.
10. Return the Power Switch
③ and the Heat Switch ④ in the
OFF position.
5
5
6
6
DO NOT allow a “rolling boil”, which can
result in overflow and cause damage to
the unit and possible personal injury. Rolling boil is not
necessary to achieve the cleaning action. Follow directions
for the cleaning product being used.
NOT THE FILTER PAN
NEVER drain boil-out solution into the Filter Pan or run it
through the filter system using the Filter Pump. The solu-
tion is caustic and will damage the pump and other com-
ponents. Doing this will void the warranty!
WARNING
7
 Loading...