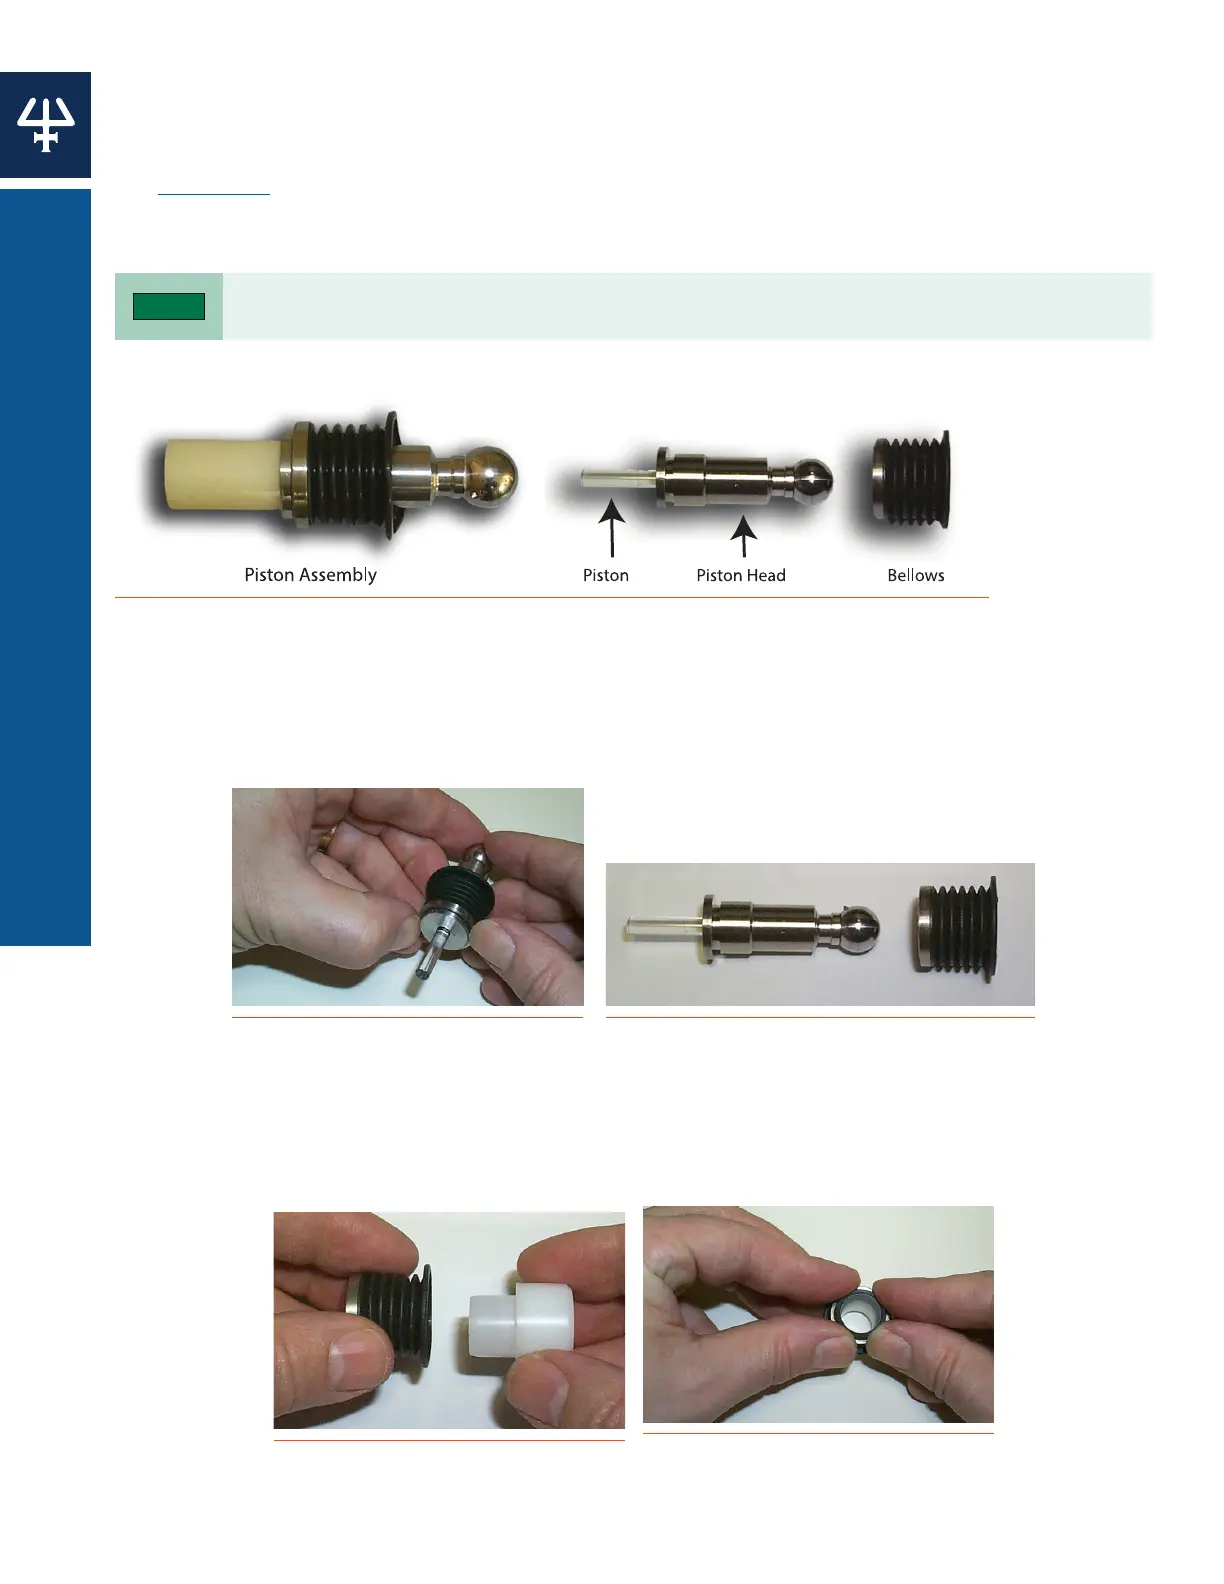
Piston and Bellows
The following steps should be carried out on a clean, dry surface. These instructions assume
that the pump head has been dismounted, removed and disassembled per the instructions in
the Pump Head section in this chapter.
Inspect the bellows for damage. If the piston bellows are cracked, damaged, corroded, or
degraded by use, follow these instructions for removal and replacement.
Although piston shafts vary in size, the procedure for bellows replacement is identical.
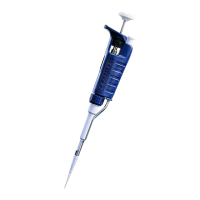
Figure 40
Intact H3 Piston Assembly (left) and Disassembled H1 Piston Assembly (right)
Remove Bellows
Use your thumbs to remove the bellows; moderate force is required. When removing the
bellows, support the piston by the head, not by the shaft.
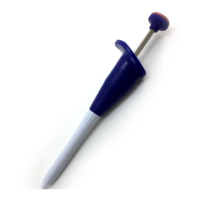
Figure 41
Removing the Bellows
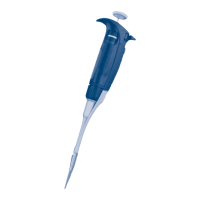
Figure 42
Individual Components (Piston and Bellows)
Replace Bellows
1. Insert the bellows tool (part number 38013235) into the open end of the bellows. This tool
helps ensure that the orifice at the end of the bellows remains open while you work.
Figure 43
Inserting the Tool
Figure 44
Opening the Orifice
46
MAINTENANCE | 333/334 HPLC PUMPS
PISTON AND BELLOWS