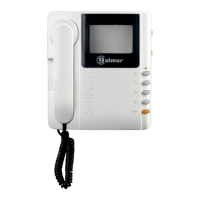
To show that the system is ready for programming, the door panel and the
telephone handset will emit a number of tones (the LED on the telephone will
light up), enabling audio communication to be established with the door panel.
Enter the code of the monitor to be programmed and then press the bell button.
At this moment, the door panel and the handset will emit a number of tones
(the LED on the telephone will blink slowly).
To programme the telephone as the , press the hang up button (the LEDMaster
will go out). Close the telephone.
Each apartment must only have one master unit; if there are parallel units, whether monitors or telephones, they must be
configured as slaves.
Make a call to check that the telephone has been successfully programmed. Programme the other
telephones in the same way.
After programming, exit by pressing .
To programme the telephone as the , press the P1 lock release button (theSlave
LED will blink rapidly), and then press the hang up button (the LED will go out).
Close the telephone.
Open the telephone to be programmed (see p. 157). In the SW1 DIP switch,
select the P2 button function mode (see p. 156) and then press the P3
programming button.
To programme the telephone as the + , press the P2 functionSlave Intercom
button (the LED will blink rapidly), and then press the hang up button (the LED
will go out).
Close the telephone.
M
S
SI
01
Programming T-540 Plus telephones:
PROGRAMMING THE TELEPHONES
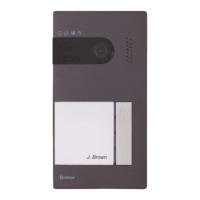
If it is a general entrance door panel in a residential complex, only programme the monitors from their inner door panels, as
indicated in the instruction manualssupplied.
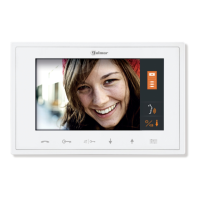
If it is an inner door panel in a residential complex or a door panel for a single building, programme the monitors as shown
below.
158
To enter configuration mode, press the key button
three times and then enter the secret
administrator pin (factory code 2718) as
described on p. 129.
CONFIGURATION
2 7 1 8
****
01
AUDIO AND VIDEO DOOR ENTRY SYSTEM - CODED PANEL WITH DISPLAY