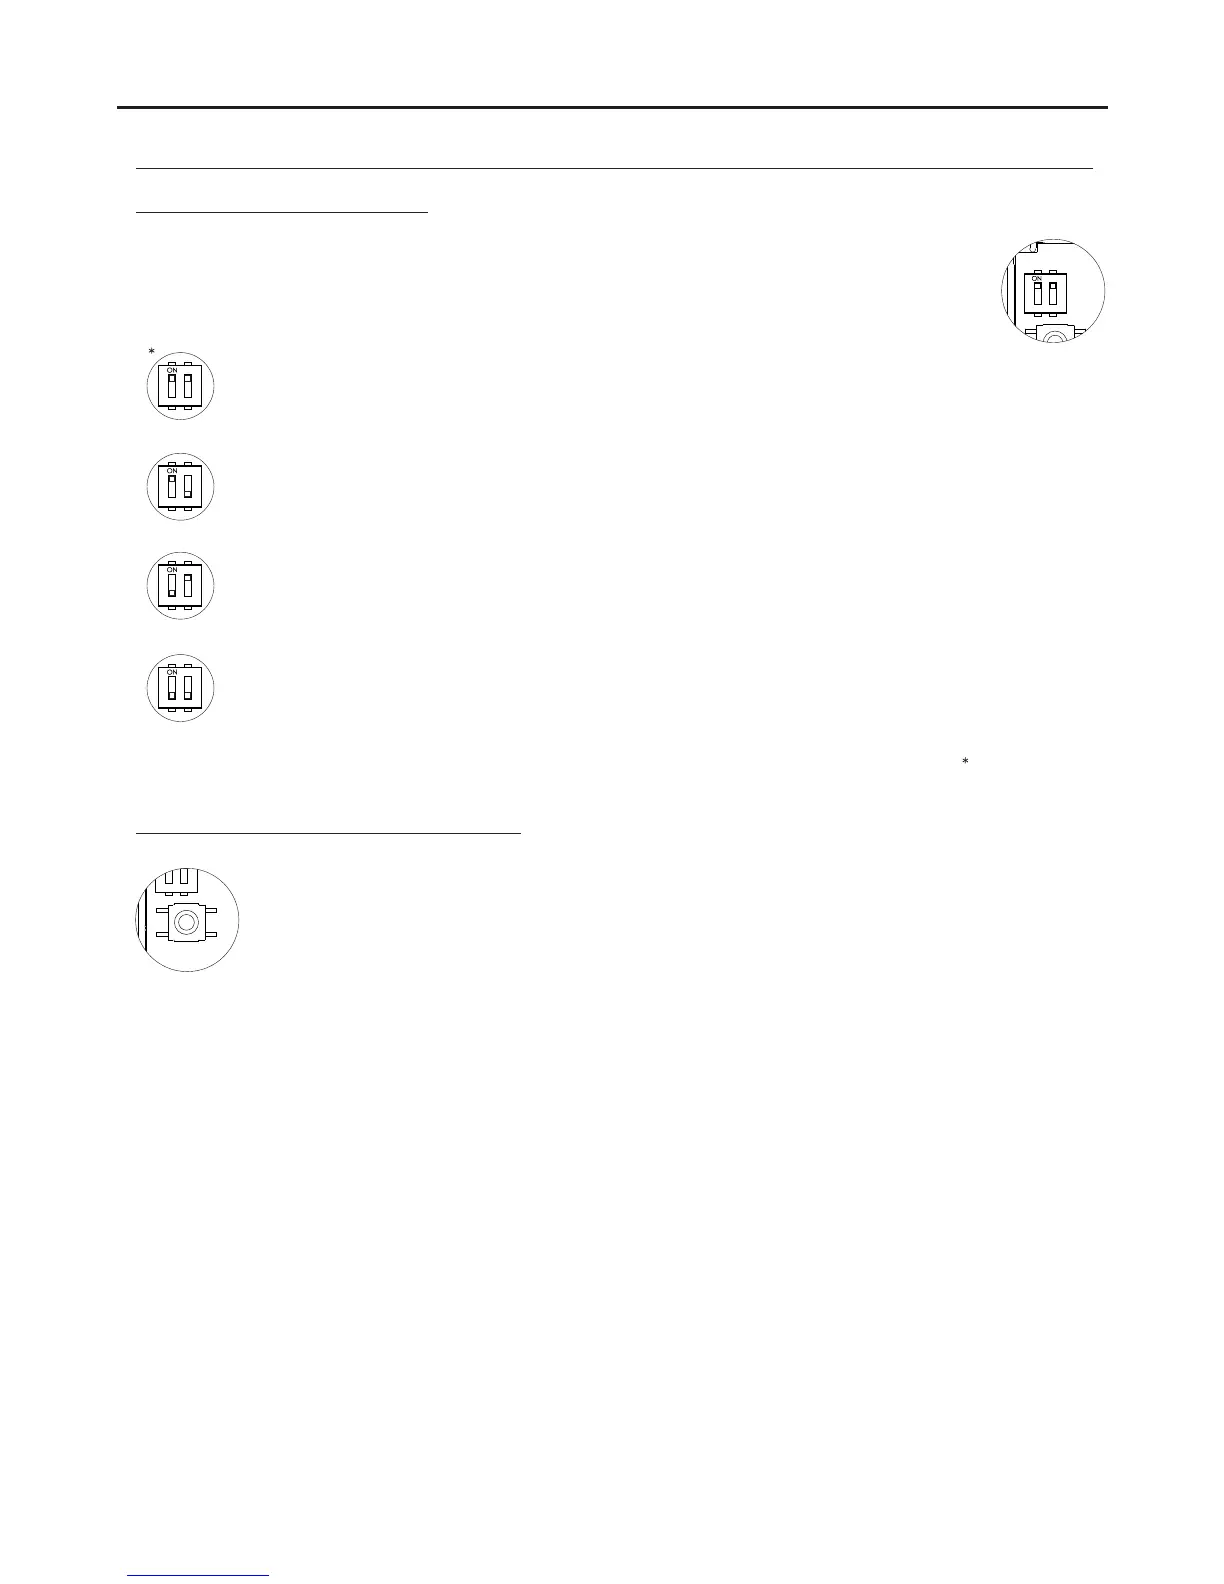
Factory setting
“Auto switch-on” mode: DIP switches 1 and 2 set to ON.
With the handset off the hook and then by pressing the function button, this enables audio communication to be
established with the door panel, if it has this function activated, without being called. This only functions if no
operation is in progress.
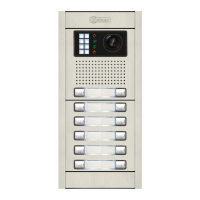
“PA output” mode: DIP switch 1 set to ON and DIP switch 2 set to OFF:
Regardless of the position of the handset and by pressing the function push button, this enables the
telephone's “PA” output to be activated.
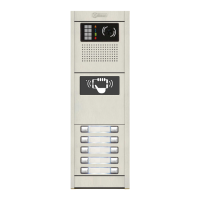
“Secondary CE call” mode: DIP switch 1 set to OFF and DIP switch 2 set to ON.
With the handset off the hook and then by pressing the function push button, this enables a call to be made to
the guard unit configured as secondary.
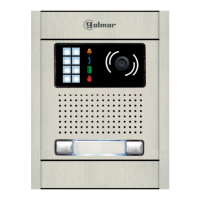
“Intercom” mode: DIP switches 1 and 2 set to OFF.
With the handset off the hook and then by pressing the function button, this enables the intercom function
between two points in the same apartment.
Description of the DIP switch:
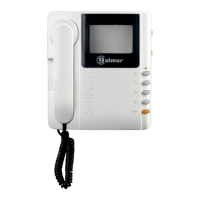
DESCRIPTION OF THE TELEPHONES
56
The SW1 DIP switch is located on the top left-hand side of the circuit and is accessible by opening the
telephone. It allows the following operating modes for the P2 auxiliary function button:
The P3 programming button is located on the top left-hand side of the circuit and is accessible by opening
the telephone. It enables the telephone to enter programming mode with the door panel (see the
programming process on p. 58-59).