If you have not set the automatic exposure time, readjust the exposure
time for each new image.
All calibration steps in the software have to be completed.
10.5 Calibration Result
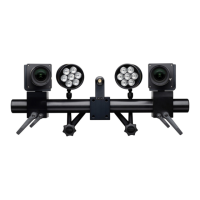
At the end of the calibration procedure, the software displays the calibra‐
tion result. The green icon
indicates a good calibration result. The red
icon
indicates an insucient calibration result.
If the calibration result is insucient, repeat the calibration and check the
sensor settings and the correct camera lenses. Ensure that the cameras
and lenses are mounted tight.
You also reach the calibration result with Acquisition ► Sensor ► Calibra‐
tion ► Show Calibration Information.
10.6 Calibrating ARAMIS Sensor with Calibration
Cross CC20
This section describes the calibration using a calibration cross.
Info
As the calibration cross is large, you can only calibrate the sensor horizon‐
tally. Position the sensor horizontally and mount the calibration cross on a
stand.
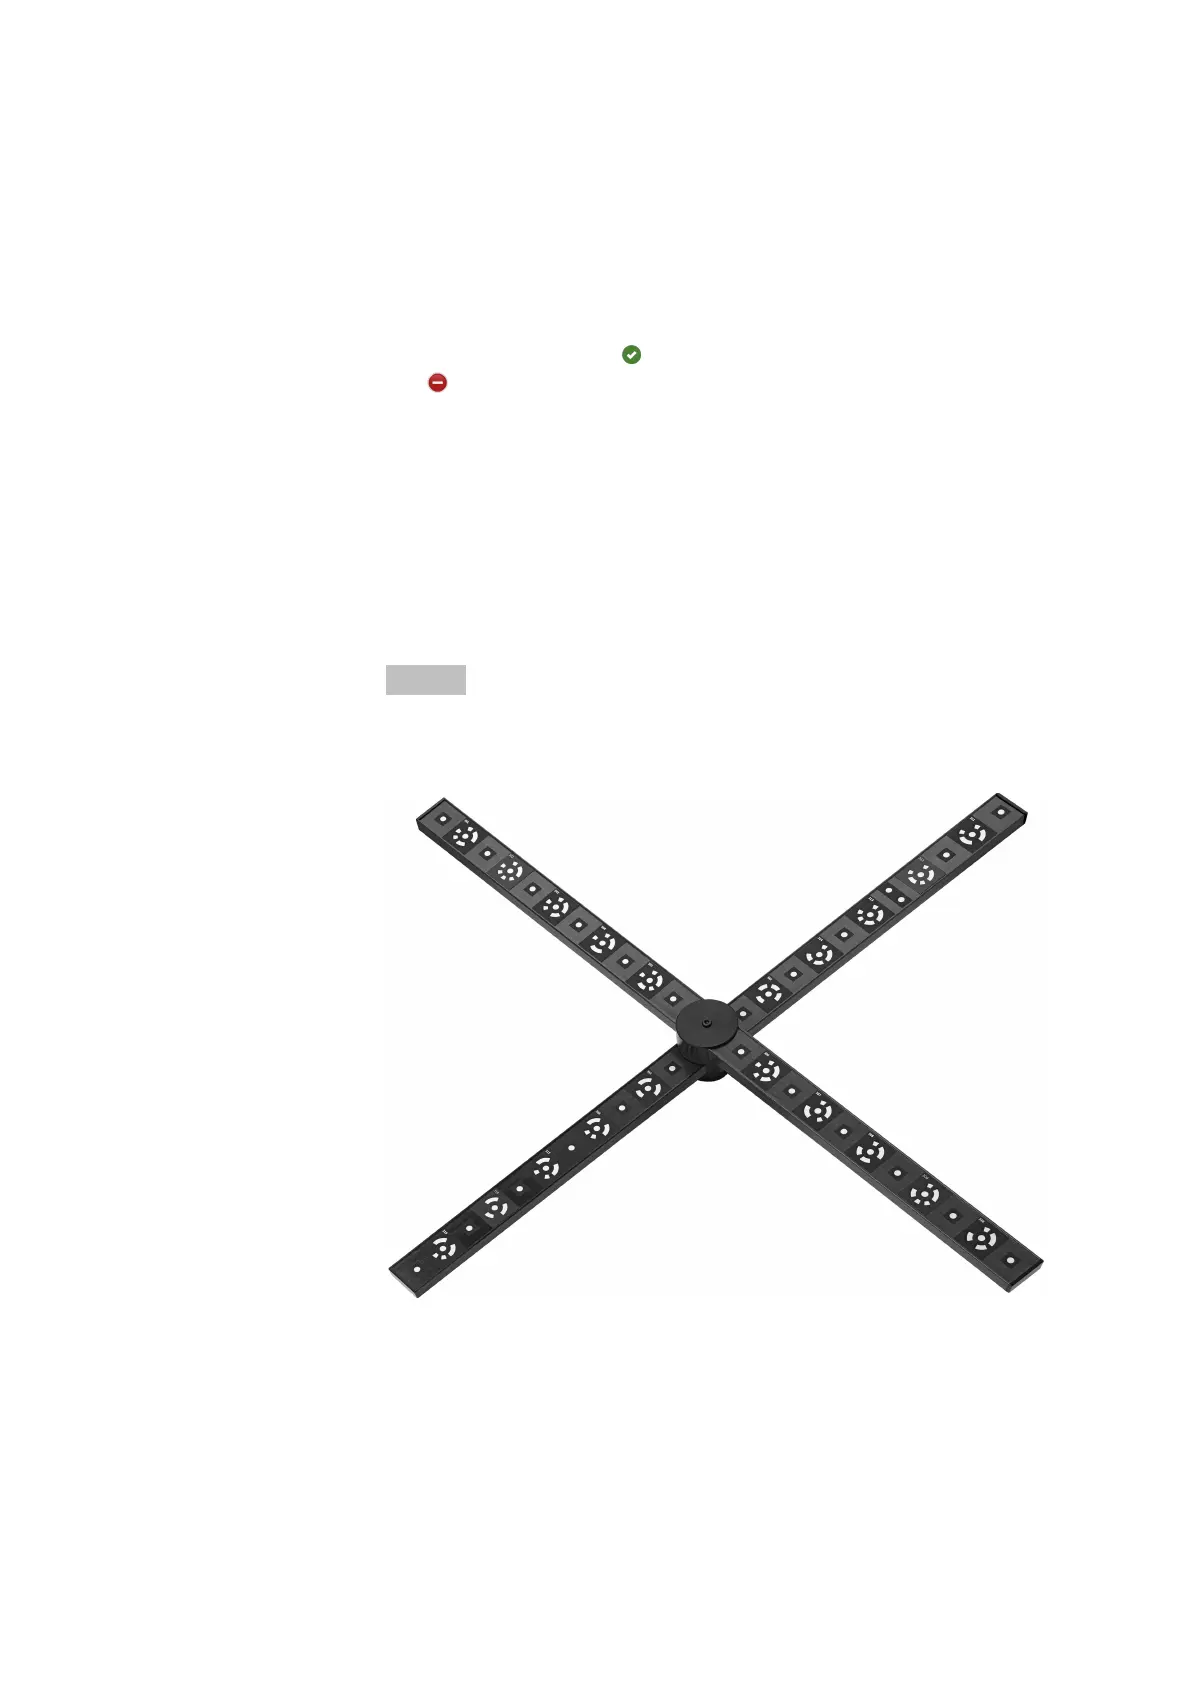
Fig. 30: Calibration cross CC20
The calibration cross contains the information of two scale bars (one on
each axis of the cross). The scale bar information is a specified distance
between defined points.
For each calibration cross, there is the calibration certificate with the cali‐
bration data. You can also see the calibration data on the rear side of the
cross.
Calibrate the Sensor
0000001503_002_EN_02-12-2019 Page 43 (56)