Function Settings and Operations
4-37
4.32 Setting the TIMEOUT Function
When data is being input to the cutting plotter via the interface, the cutting plotter considers any pause in
data transmission that is equal to or longer than the specified TIMEOUT interval as a indication that a
complete set of data has been sent and performs cross-cutting of the medium.
(1) Press the (PAUSE) key to switch to PAUSE mode.
(2) Press the (NEXT) or (PREV.) key until the following menu is displayed.
SETUP MENU
(3) Press the (ENTER) key, and then press the (NEXT) or (PREV.) key
until the following menu is displayed.
TIMEOUT
(4) Press the (ENTER) key to display the TIMEOUT setting.
TIMEOUT = 0
Press the or key to specify one of the available TIMEOUT settings and
then press the (ENTER) key.
"0", "1", "2", "3", "5", "10", "20", "30", "60", "120" (seconds)
To cancel the selection, press the (NEXT) or (PREV.) key.
(5) Press the (PAUSE) key to cancel PAUSE mode.
CHECKPOINT
• The setting is retained in the internal memory even when the power is turned off.
• If “0” has been selected, the TIMEOUT function is disabled.
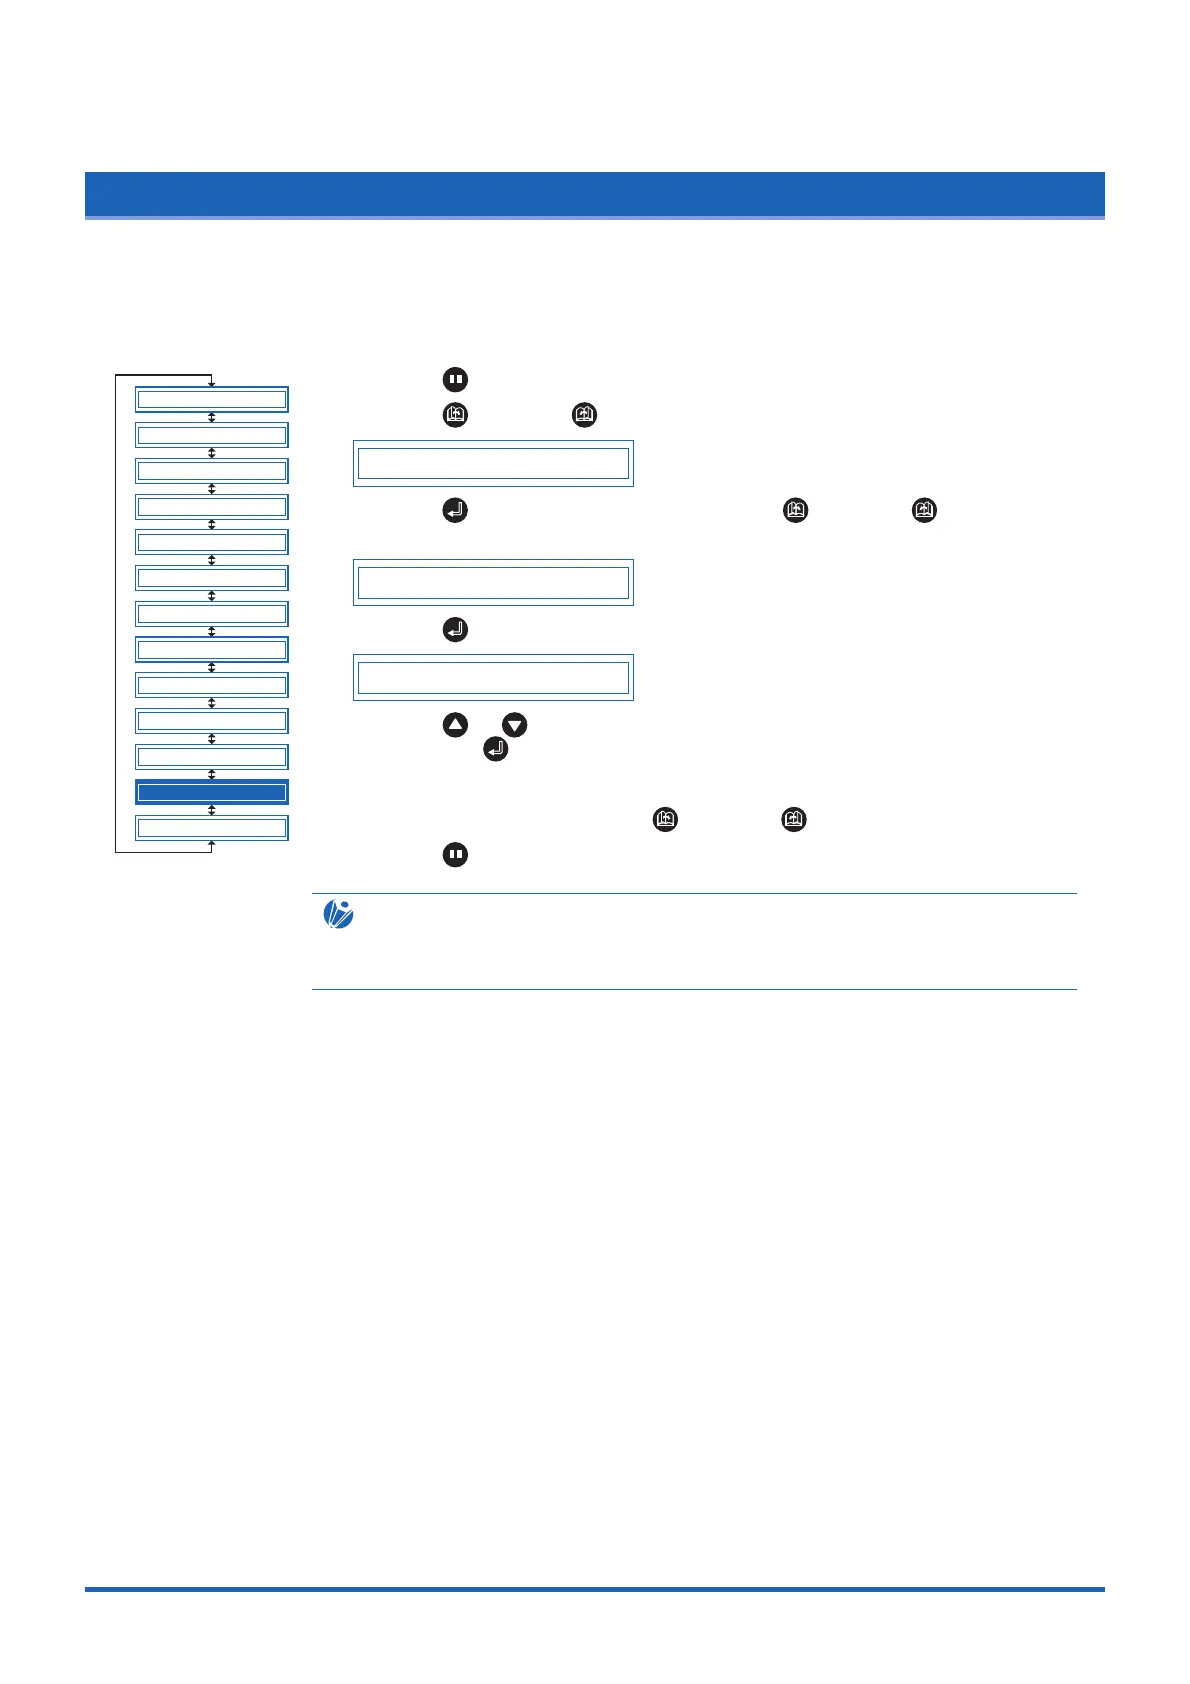
BLADE WARE SETUP
CUT LINE PAT.
TANGENTIAL
INIT. B
PEN UP SPEED
INITIAL FEED
TEST
FEED&CUT
PEN UP/DOWN
CLEAR BUFFER
AUTO PRE FEED
ADVANCED FUNC.
SETUP MENU