Model G0776 (Mfd. Since 7/14)
-83-
Tensioning/
Replacing V-Belts
V-belts stretch and wear with use, so check the
tension after the first three months and then every
six months to ensure optimal power transmission.
Replace all of the V-belts as a matched set if any
of them show signs of glazing, fraying, or crack-
ing.
Tensioning V-Belts
Tools Needed: Qty
Phillips Head Screwdriver #2 ............................ 1
Open-End Wrench 16mm .................................. 1
To tension V-Belts:
1. DISCONNECT LATHE FROM POWER!
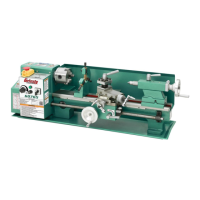
2. Open end gear cover to expose V-belts, pul-
leys, and motor (see Figure 140).
Figure 140. End gear cover location.
End Gear
Cover
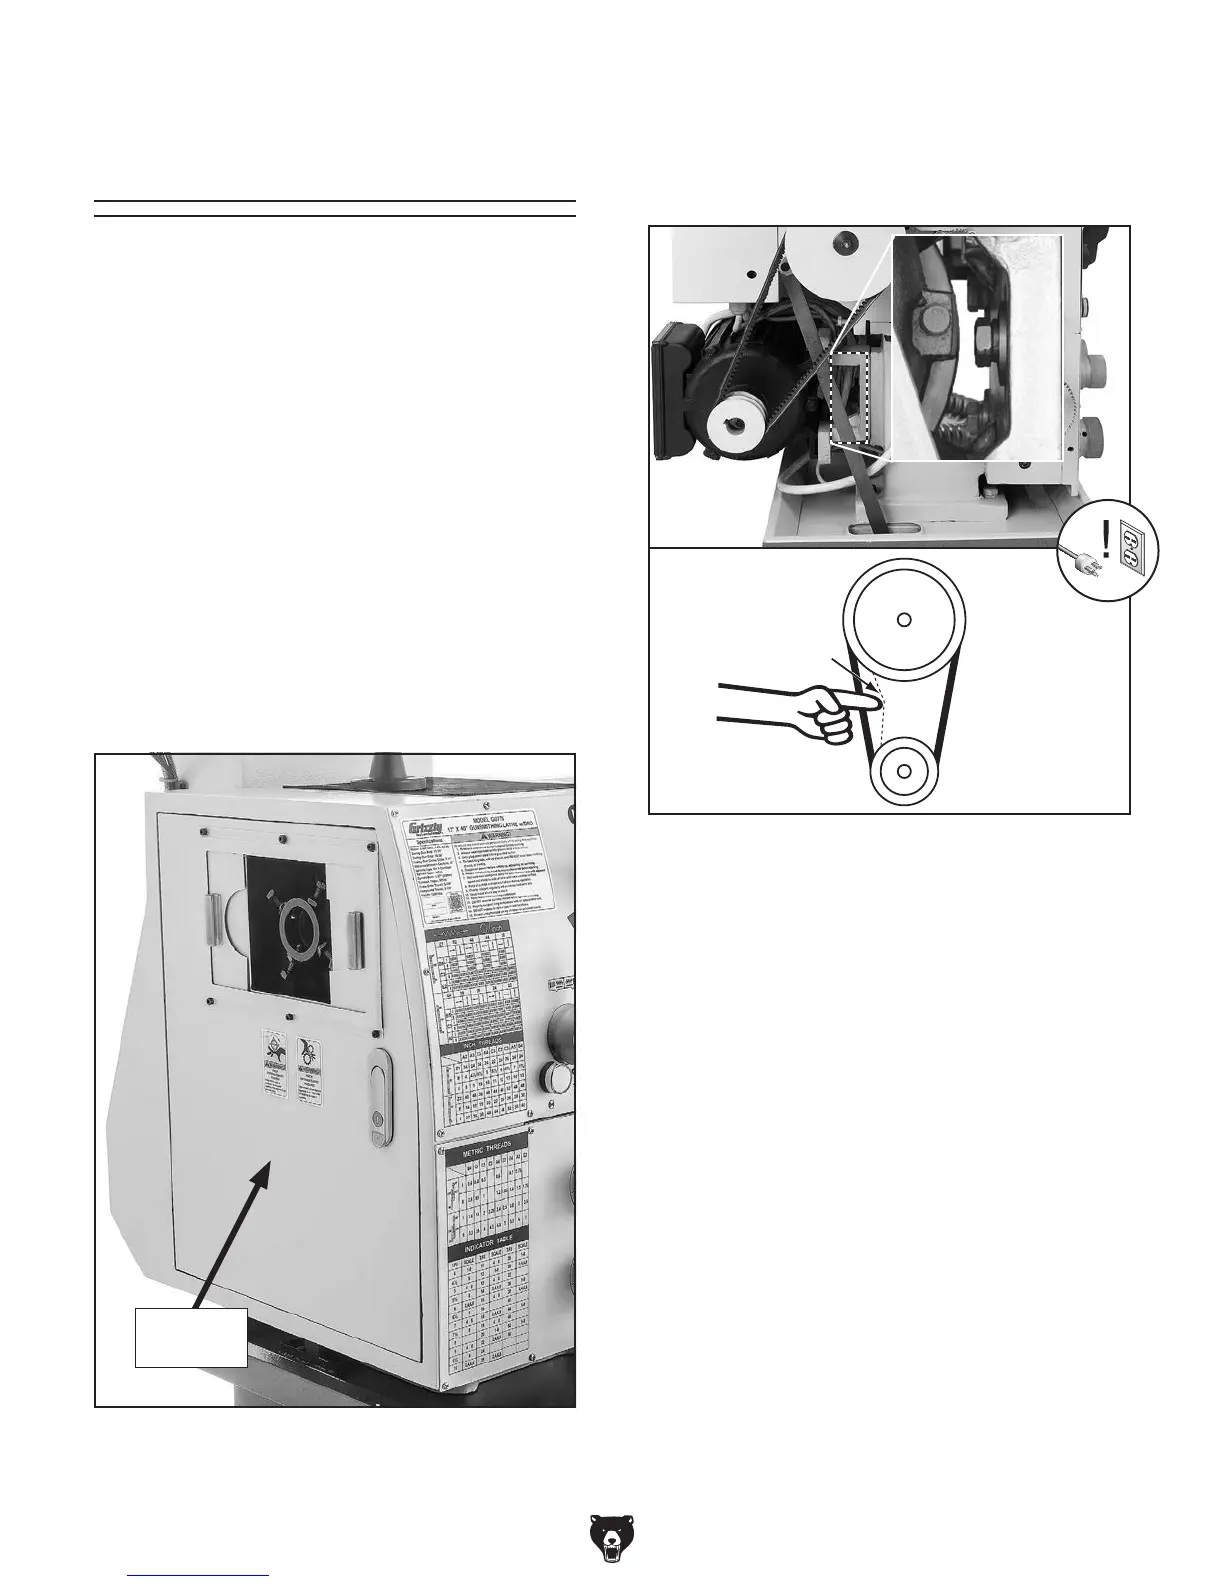
3. Adjust hex nuts on motor mount bolts (see
Figure 141) until there is approximately
3
⁄4"
deflection in each V-belt when it is pushed
with moderate pressure.
Motor
Mount
Bolts
Pulley
Deflection
Pulley
3
⁄4"
Figure 141. Location of motor mount bolts.
4. Firmly tighten hex nuts to secure setting, then
re-install motor access panel and close end
gear cover.
Replacing V-Belts
1. DISCONNECT LATHE FROM POWER!
2. Open end gear cover.
3. Loosen motor mount bolts (see Figure 141),
slide motor up, and remove V-belts.
Note: It may be more convenient to access
the motor mount bolts if you first remove the
rear splash guard.
4. Install new V-belts as a matched set so they
equally share the load.
5. Tension belts.
6. Re-install and secure end gear cover.