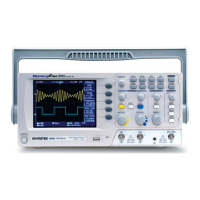
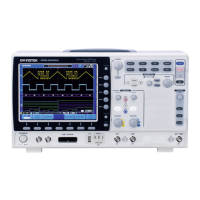
GETTING STARTED
19
Setting up the Oscilloscope
Background
This section describes how to set up the
oscilloscope properly including adjusting the
handle, connecting a signal, adjusting the scale,
and compensating the probe. Before operating the
oscilloscope in a new environment, run these steps
to make sure the oscilloscope is functionally stable.
Procedure
1. Pull both bases of
the handle out
slightly.
2. Turn to one of the three
preset positions.
3. Connect the power cord.
4. Press the power switch. The
display will become active
in approximately 10
seconds.
5. Reset the system by recalling
the factory settings. Press
the Save/Recall key, then
Default Setup. For details
regarding the factory
settings, see page38.
GDS-1000A Series User Manual
20
6. Connect the probe between the Channel1 input
terminal and probe compensation signal output
(2Vp-p, 1kHz square wave).
7. Set the probe attenuation to x10.
X
1
0
X
1
CH1
8. Press the Autoset key. A
square waveform will
appear in the center of the
display. For details on
Autoset, see page41.
9. Press the Display key, then
Type and select the vector
waveform type.
10. Turn the adjustment point on the probe to
flatten the square waveform edge.

 Loading...