24
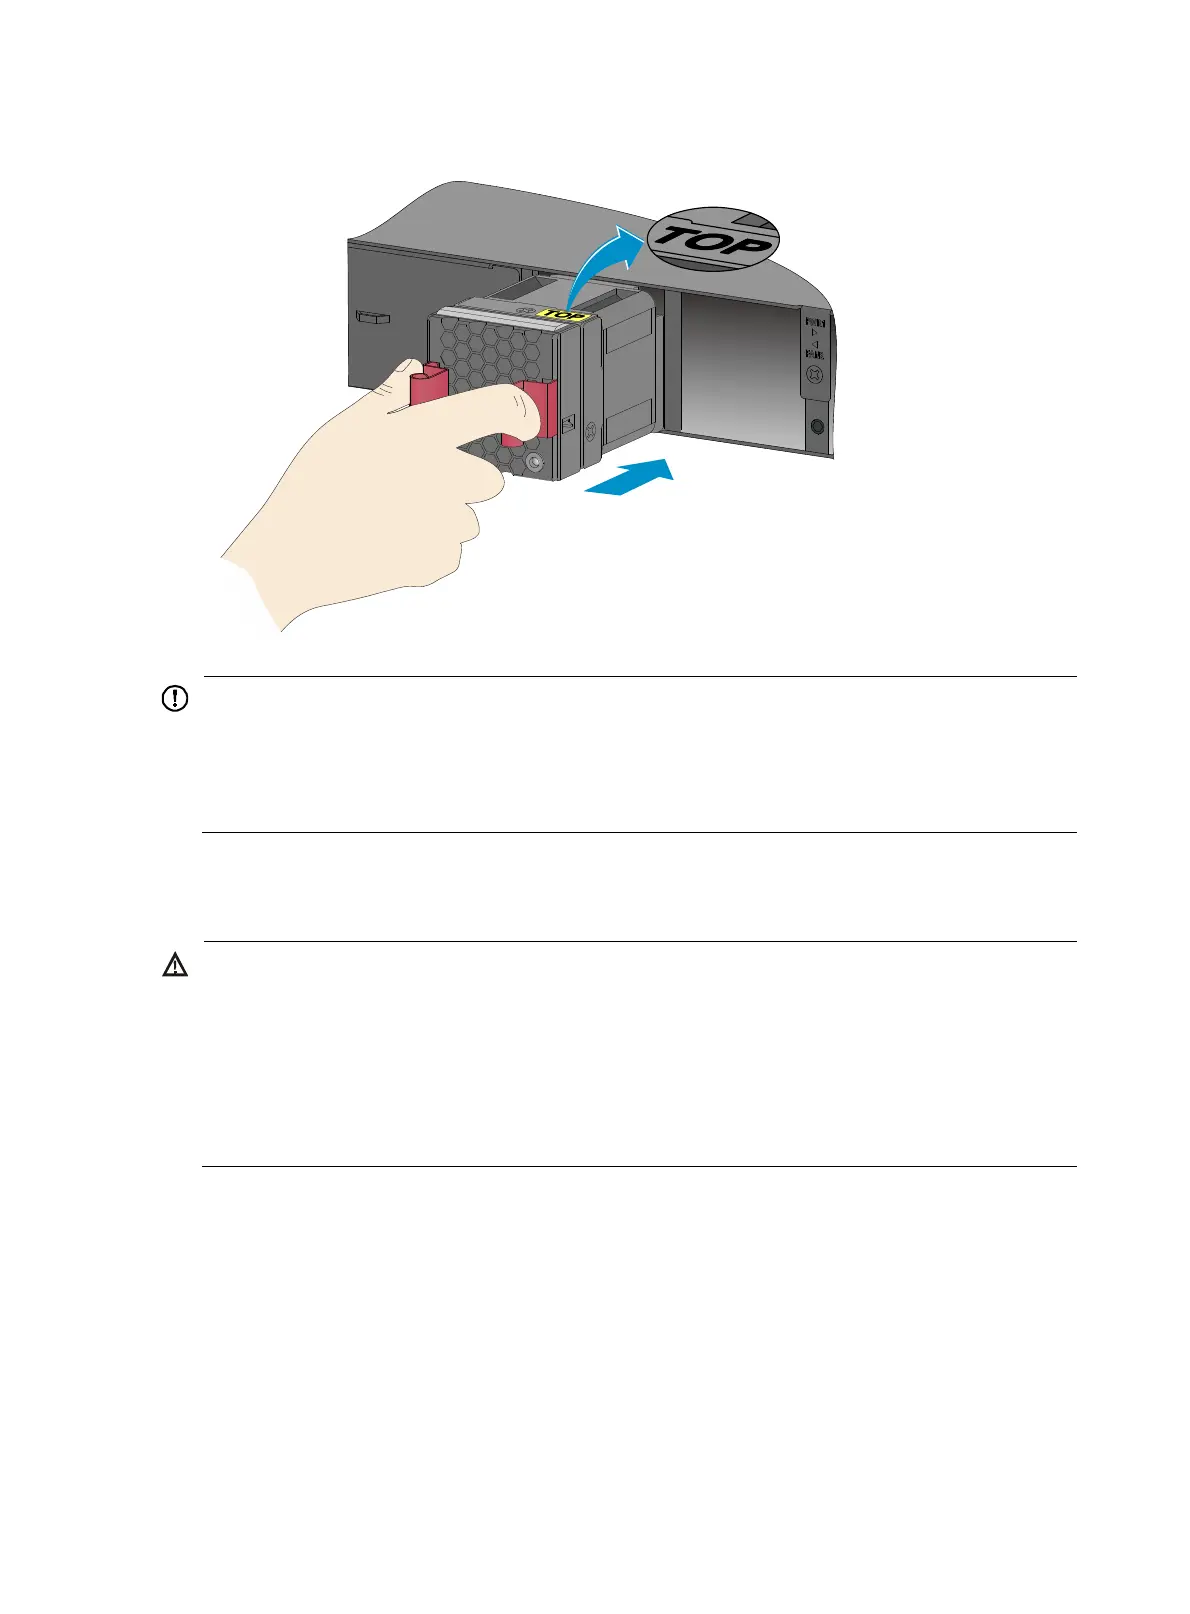
Figure 29 Installing a fan tray
IMPORTANT:
• At the first login to the switch, use the fan prefer-direction command to set the airflow direction of the
switch to be the same as the airflow direction of the fan tray. If the fan tray has a different airflow
direction than the switch, the system outputs traps and logs to notify you to replace the fan tray.
• By default, the switch uses the same airflow direction (power-to-port) as the LSPM1FANSA fan tray.
Removing a fan tray
ARNING!
• Do not touch conductors or terminals on the fan trays.
• Do not place the fan tray in a moist place. Prevent liquid from entering the fan tray.
• Fan trays with faulty internal wirin
and conductors require maintenance from maintenance en
ineers.
Do not disassemble the faulty fan trays.
• Take out the fan tray after the fans completely stop rotatin
. Do not touch the fans even if the fans stop
rotating to avoid affecting fan balance, which might cause loud fan operating noise.
To remove a fan tray:
1. Wear an ESD wrist strap and make sure it makes good skin contact and is reliably grounded.
2. Grasp the two handles of the fan tray, as shown by callout 1 in Figure 30, and pu
ll out the fan tray
slowly along the guide rails.
3. Put the removed fan tray in an antistatic bag.

 Loading...


