c) Connect the 100 GbE cables into the QSFP28 ports.
d) Connect the power cables to the PSUs.
Note: The connections mentioned in (b) and (c) are only necessary if the user intends to have
both connection types.
24. Power On the enclosure and verify it is functioning properly.
a) The enclosure will power itself on about 20 seconds after it is connected to power.
b) Once the enclosure is physically powered-on, from a laptop, log into the Web UI.
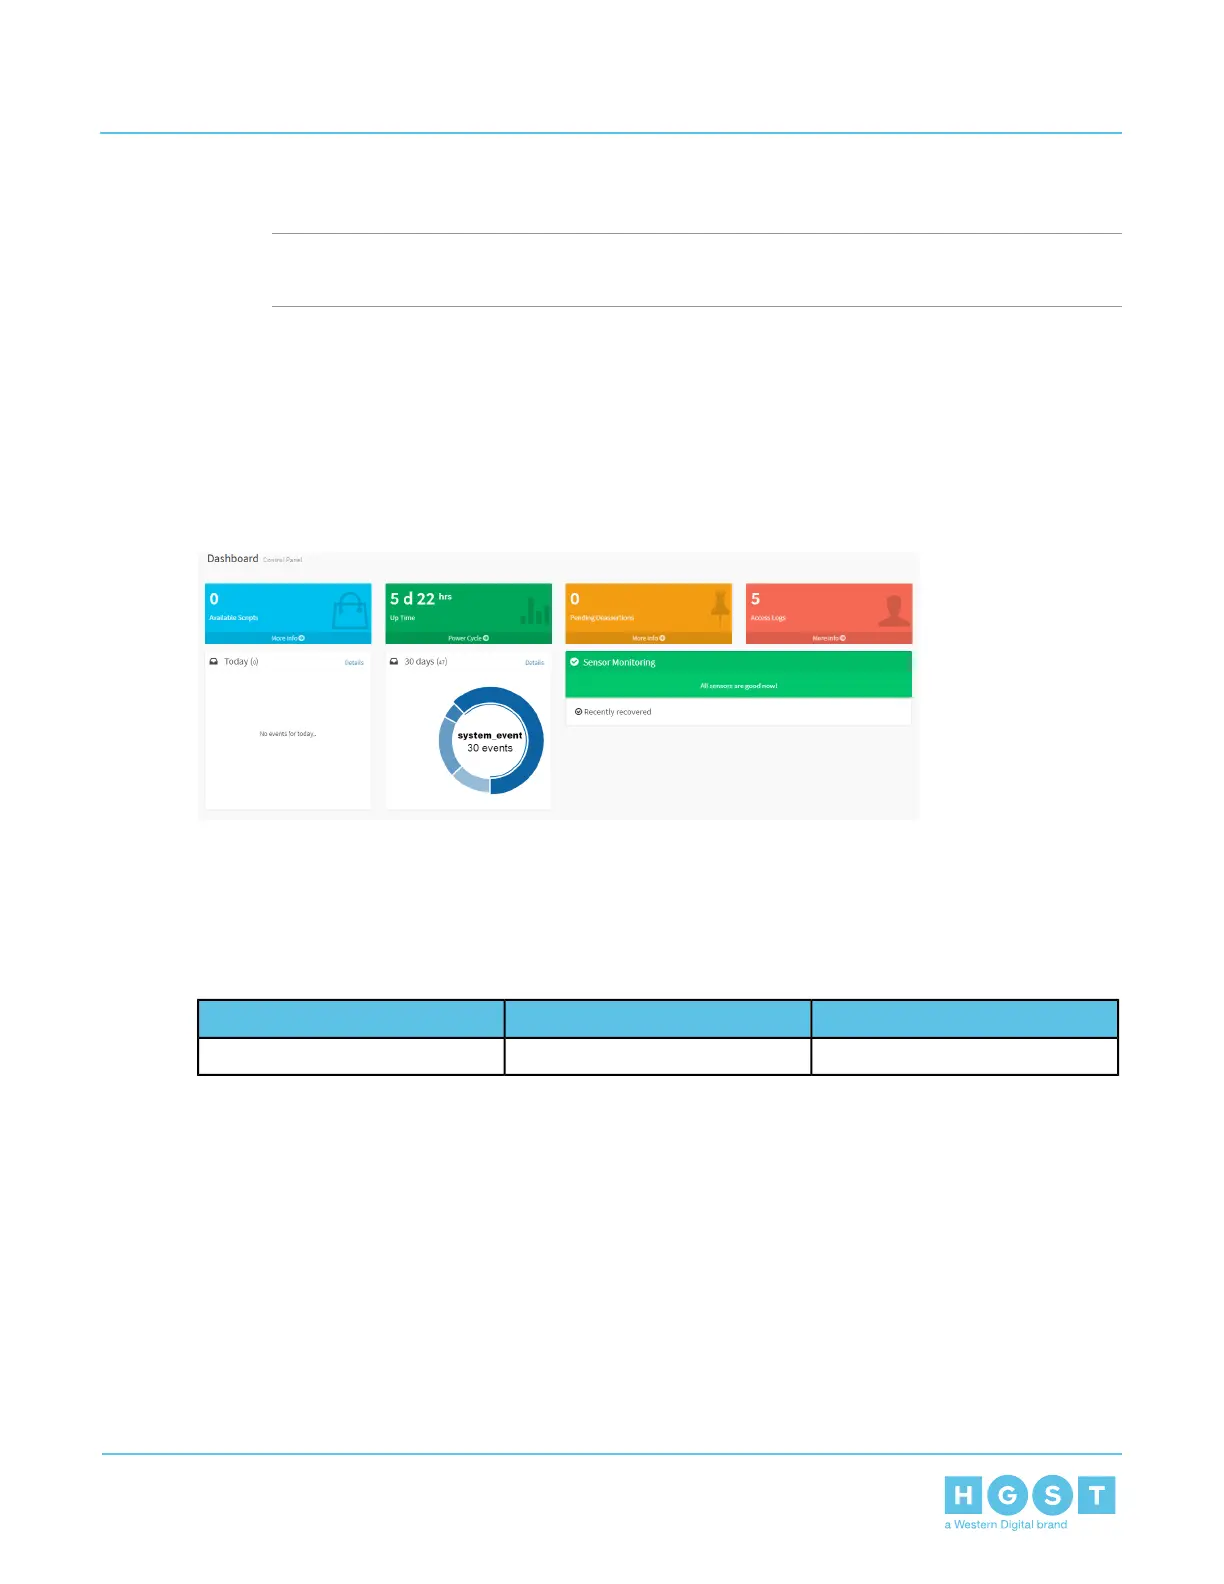
c) In the Web UI, click Dashboard.
The Dashboard Control Panel page will appear.
Figure 158: Dashboard Control Panel
d) Verify that the reported failure no longer appears in the Dashboard Control Panel.
3.12 Compute Canister Replacement
Table 40: Replacement Procedure Info
Time Required# of People RequiredRequired Tools
30 minutes1T30 Torx screwdriver
1. Identify the failed Compute Canister.
a) Open a browser and browse to the BMC IP Address of the Compute Canister.
105
3 Part Replacement
User Guide 3.12 Compute Canister Replacement
 Loading...