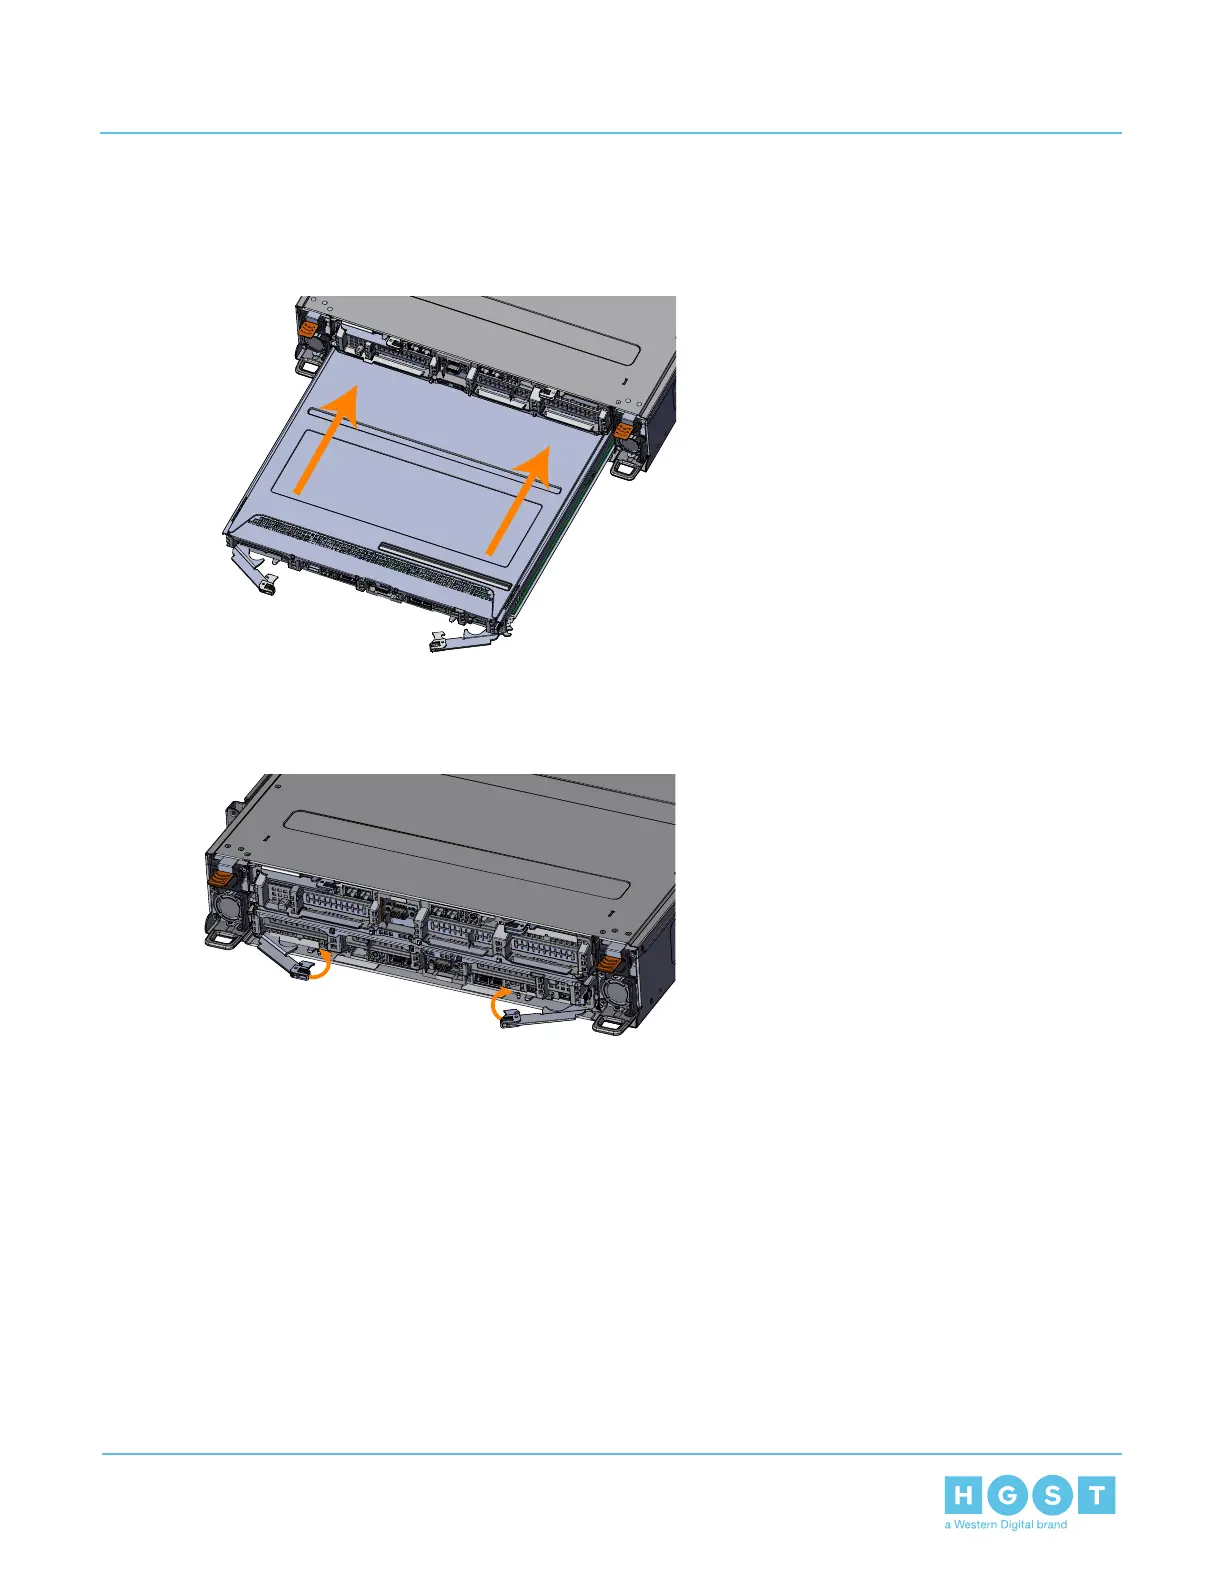
b) Carefully slide the Compute Canister into the slot with both latch handles in the open position until
the latch handles begin to engage.
Figure 69: Installing the Compute Canister
c) Rotate the latch handles into the enclosure until the are fully engaged.
Figure 70: Latching the Compute Canister
12. Verify that the Heat Sink appears with no issues.
a) Open a browser and browse to the BMC IP Address of the Compute Canister.
60
3 Part Replacement
User Guide 3.5 Heat Sink Replacement
 Loading...