Accenta/Optima Engineer’s Manual
24
6 = Set Up Zone Names
This option allows each of the eight zones to be given a name from the library (Appendix 2).
4 = Set Up Time and Date
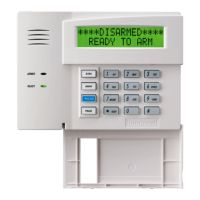
LCD Keypad:
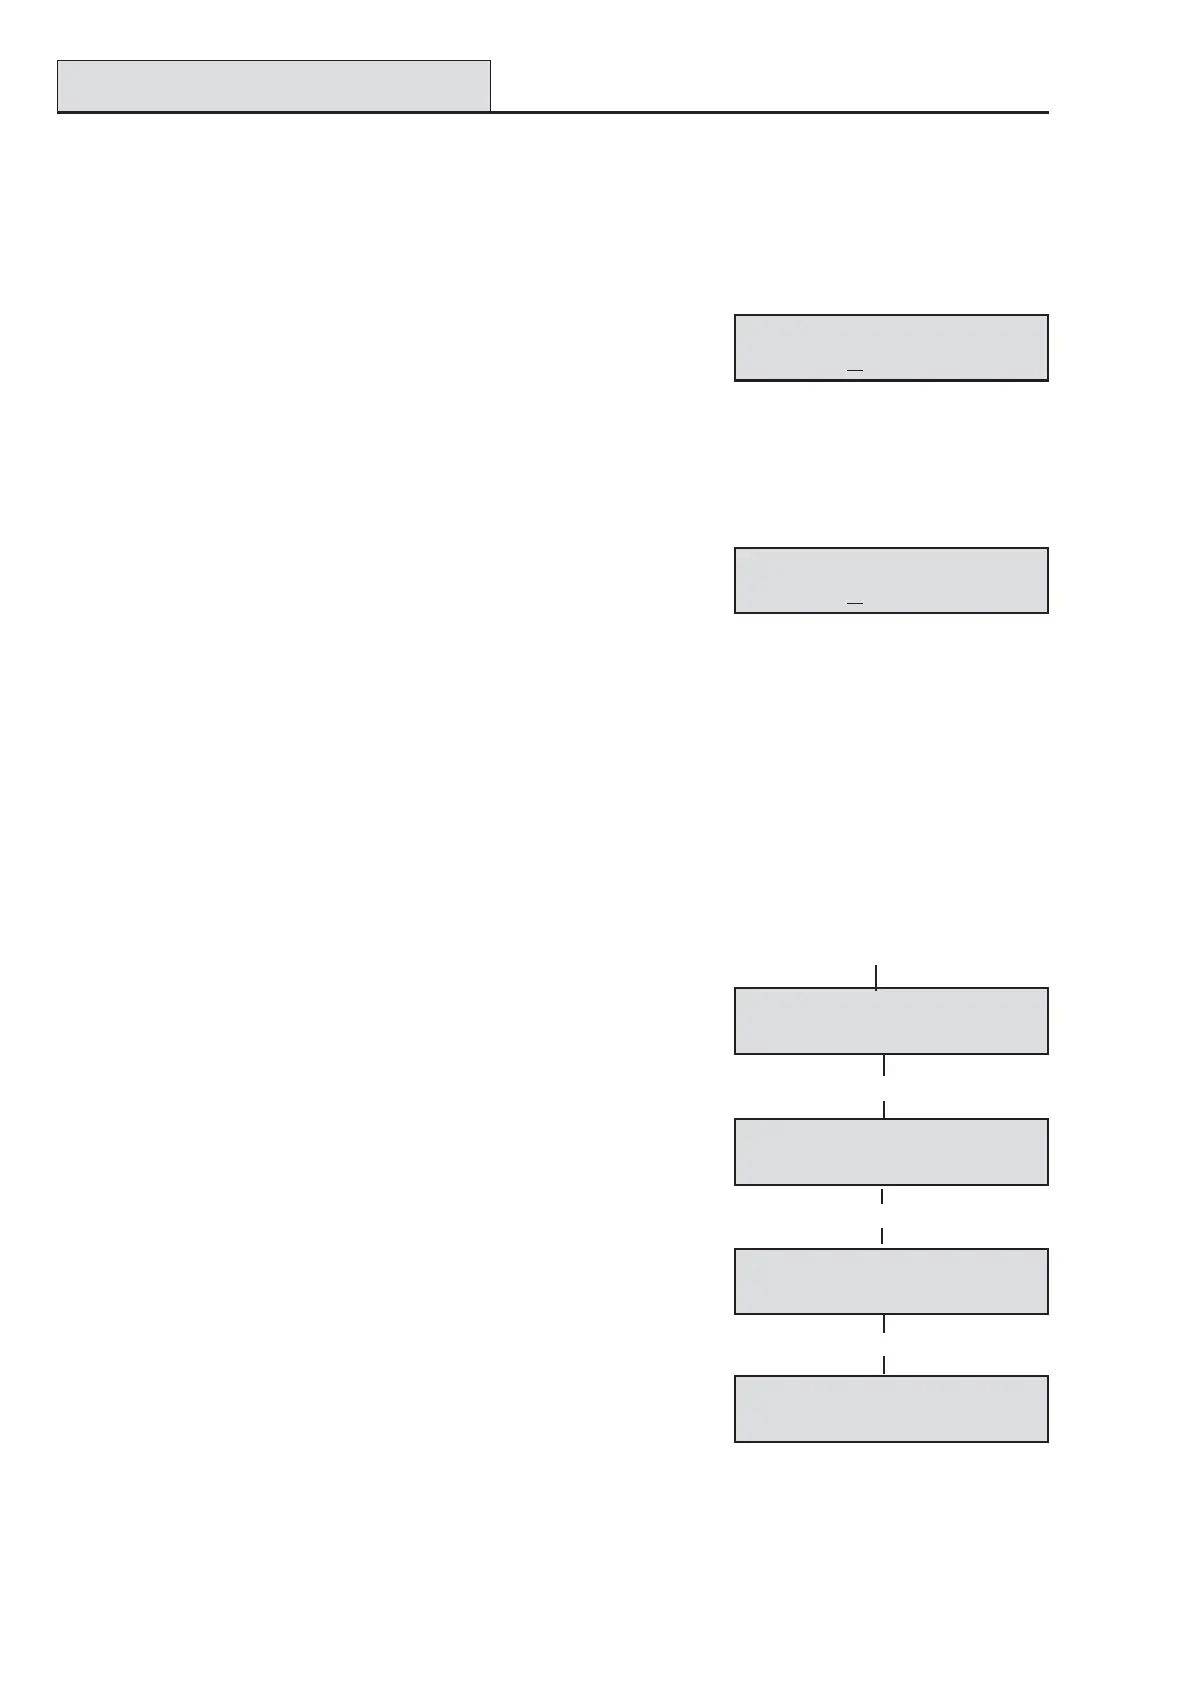
This option allows the Time or Date to be modified. Pushing button [4] selects the option and the first screen
appears as typically below:
Time and DateTime and Date
Time and DateTime and Date
Time and Date
Time? Time?
Time? Time?
Time?
11
11
1
3:46:173:46:17
3:46:173:46:17
3:46:17
The Time can be modified in hours, minutes and seconds in the format
HH:MM:SS. The number keys on the keypad 0-9 are used for this
function. As each digit is modified the cursor moves to the next one.
When the time is correct press the [SET] button to accept the change
and move to the next screen. To cancel the change press the
[RESET] button.
Time and DateTime and Date
Time and DateTime and Date
Time and Date
Date? Date?
Date? Date?
Date?
11
11
1
7-05-067-05-06
7-05-067-05-06
7-05-06
The Date can be changed in day , month, year format DD-MM-YY.
The number keys on the keypad 0-9 are used for this function. As each
digit is modified the cursor moves to the next one. When the date is
correct press the [SET] button to accept the change. To cancel the
change press the [RESET] button.
Time & Date
LED Keypad:
If required, the time and date can be entered as per the procedure for the LCD keypad. However no informa-
tion will be indicated on the LED keypad. The only indication on the LED keypad that you are in menu 4 Set
up Time and Date is that LED’s 1 to 6 on the LED Keypad will be ON.
LCD Keypad:
• Press [up arrow] or to go to menu Set Up Zone Names.
• Press [6] or [SET] to go to zone 1 descriptor.
• Press [SET] to scroll through the library to the desired
descriptor.
• Press the [up arrow] to go to the next zone.
• To assign additional zone descriptors repeat the above procedure.
• Press [RESET] to save programming and leave the function.
LED Keypad:
The LED keypad cannot program zone names.
NOTE: The [up arrow] is not available on the LED keypad.
1: New Descriptor1: New Descriptor
1: New Descriptor1: New Descriptor
1: New Descriptor
[SET]
1: Descriptor1: Descriptor
1: Descriptor1: Descriptor
1: Descriptor
[6] or [SET]
[RESET]
6>Set Up6>Set Up
6>Set Up6>Set Up
6>Set Up
Zone Names Zone Names
Zone Names Zone Names
Zone Names
6>Set Up6>Set Up
6>Set Up6>Set Up
6>Set Up
Zone Names Zone Names
Zone Names Zone Names
Zone Names
[up arrow]
 Loading...