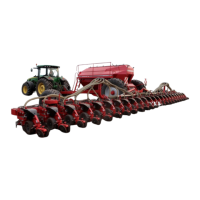
Depth of the levelling discs
WARNING
Dropping / lowering machine parts can cause
severe crush injuries etc.!
Instruct persons to leave the danger zone. Comply
with the accident prevention instructions.
The depth setting takes place by the folding
hydraulics.
¾ In the E-Manager switch over to "Wings".
¾ Set the control unit for a moment to “Folding in”,
this extends the cylinders of the levelling discs.
¾ For setting the depth remove or add alu-
minium clips. Clips of the same amount and
colour must be added to all cylinders.
¾ Unfold the machine.
¾ Check the pressure in the pressure gauge.
The pressure should be at least 80 bar.
¾ Drive a few meters in the eld, check the depth
and adjust again, if required.
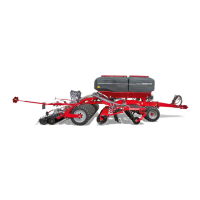
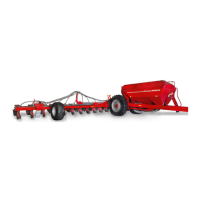
Depth setting
Depth of fertiliser placement
In the eld the depth guidance of the machine
is accomplished by the packer and the support
wheels.
The working depth of the tines and thus the
depth of the fertiliser placement is set by the
height of the machine.
¾ Adjust the depth at the rear with clips on the
packer cylinders and at the front on the arms
of the support wheels.
The ratio of aluminium clips to working depth
is approx. 1:3. If a clip of 1 cm thickness is
removed, this complies with approx. 3 cm
working depth, depending on soil conditions.
¾ Align the tine frame parallel to the ground.
Insert the required number of aluminium clips
on the front support wheels for this purpose.
For machines with swinging drawbar hitching
clips must also be applied to the piston rods
of the hydraulic cylinders on the articulated
drawbar.
With tractor link arm hitching, the height of the
two-point on the tractor must be corrected,
if necessary.
The fertiliser placement depends on the
conditions in the eld and can therefore
only be adjusted during use. The place-
ment must be checked when starting
work and regularly during use.
48