Rack Air Duct kit 89
3.
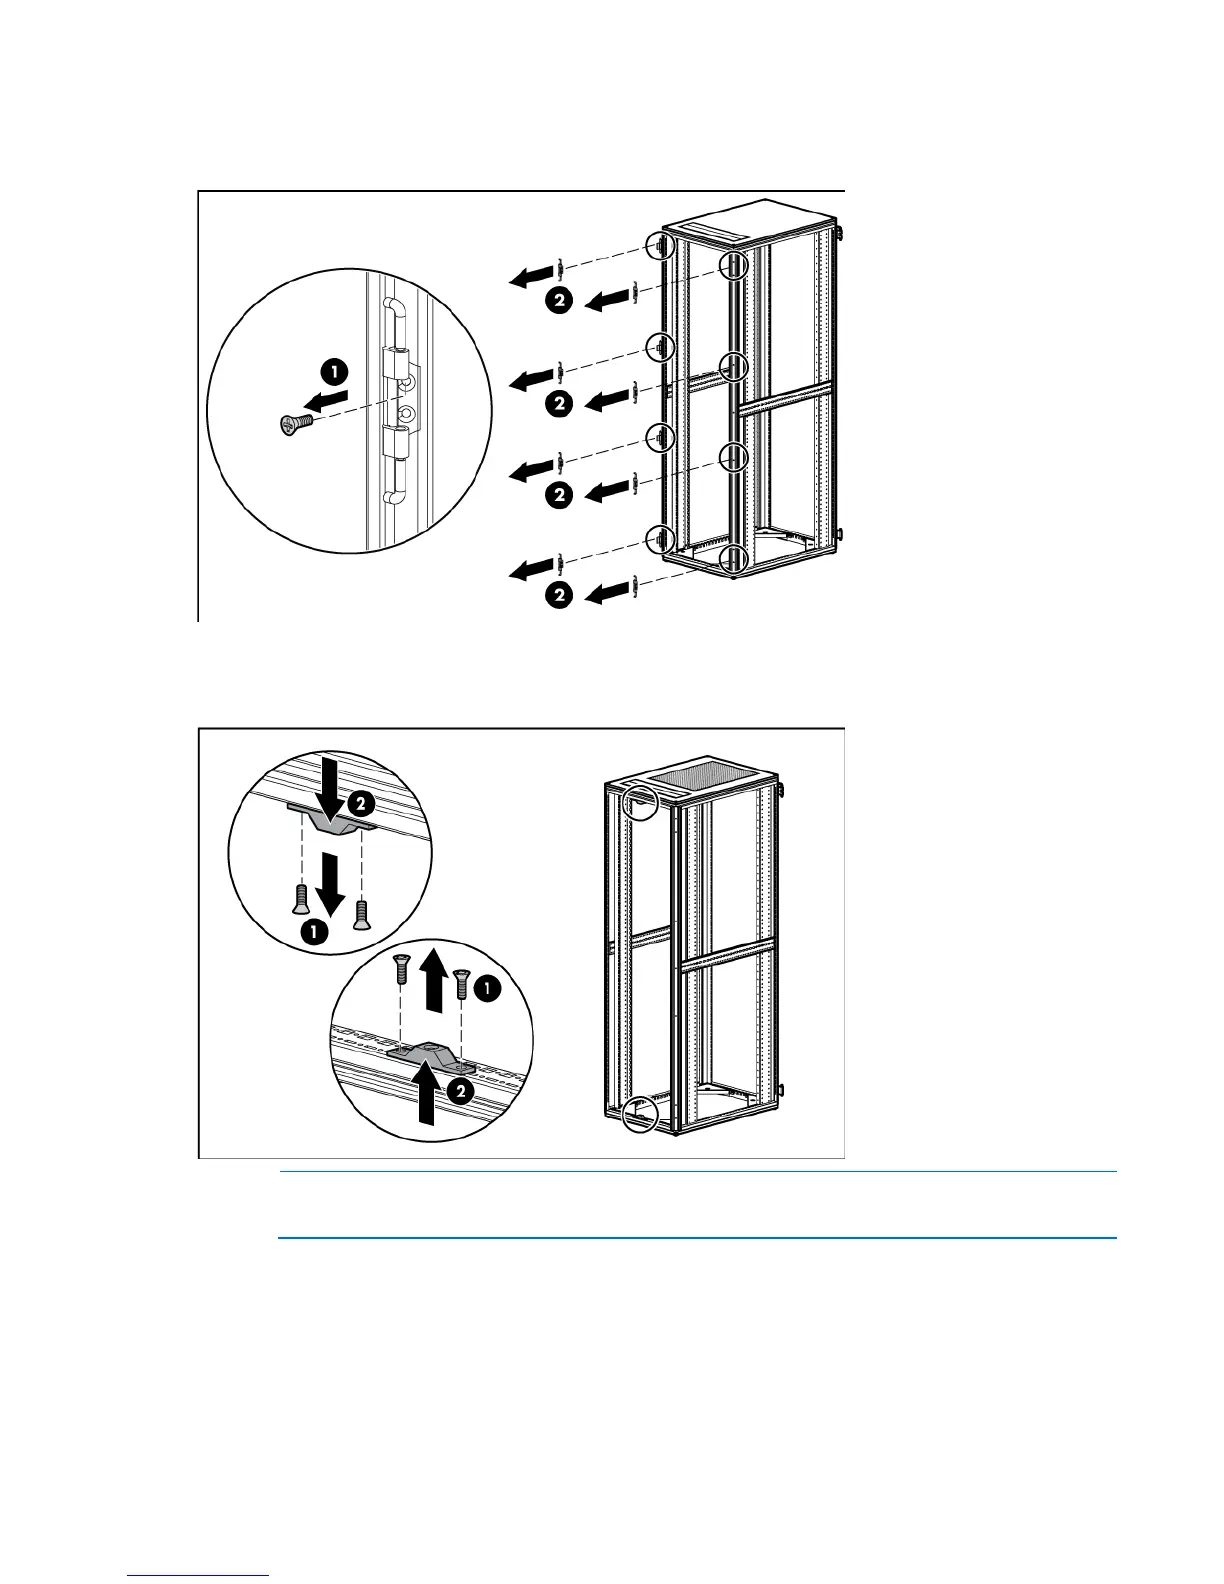
Using a T-30 Torx screwdriver, remove the M6 flathead screw securing each hinge bracket to the rack
(1), and then remove all of the hinge brackets from the rack (2). Retain the hinge brackets and screws
for reinstallation.
4. Using a T-25 Torx driver, remove the upper and lower rear door lock catches by removing the two
screws from each of the upper and lower rear door lock catches. Retain the door lock catches and
screws for reinstallation.
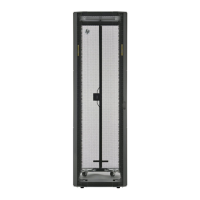
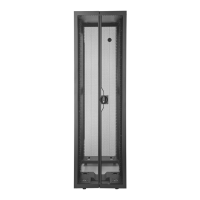
NOTE: Install the solid rear rack doors after you have installed the AF028A kit.
Installing the solid rack top plate
1. Using a T-30 Torx screwdriver, remove the four M-12 bolts at each corner of the perforated top plate of
the rack (1). Retain the bolts for future use.

 Loading...