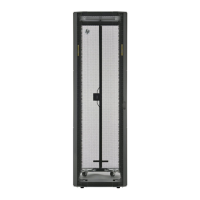
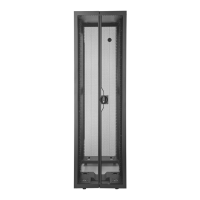
Rack Air Duct kit 91
3.
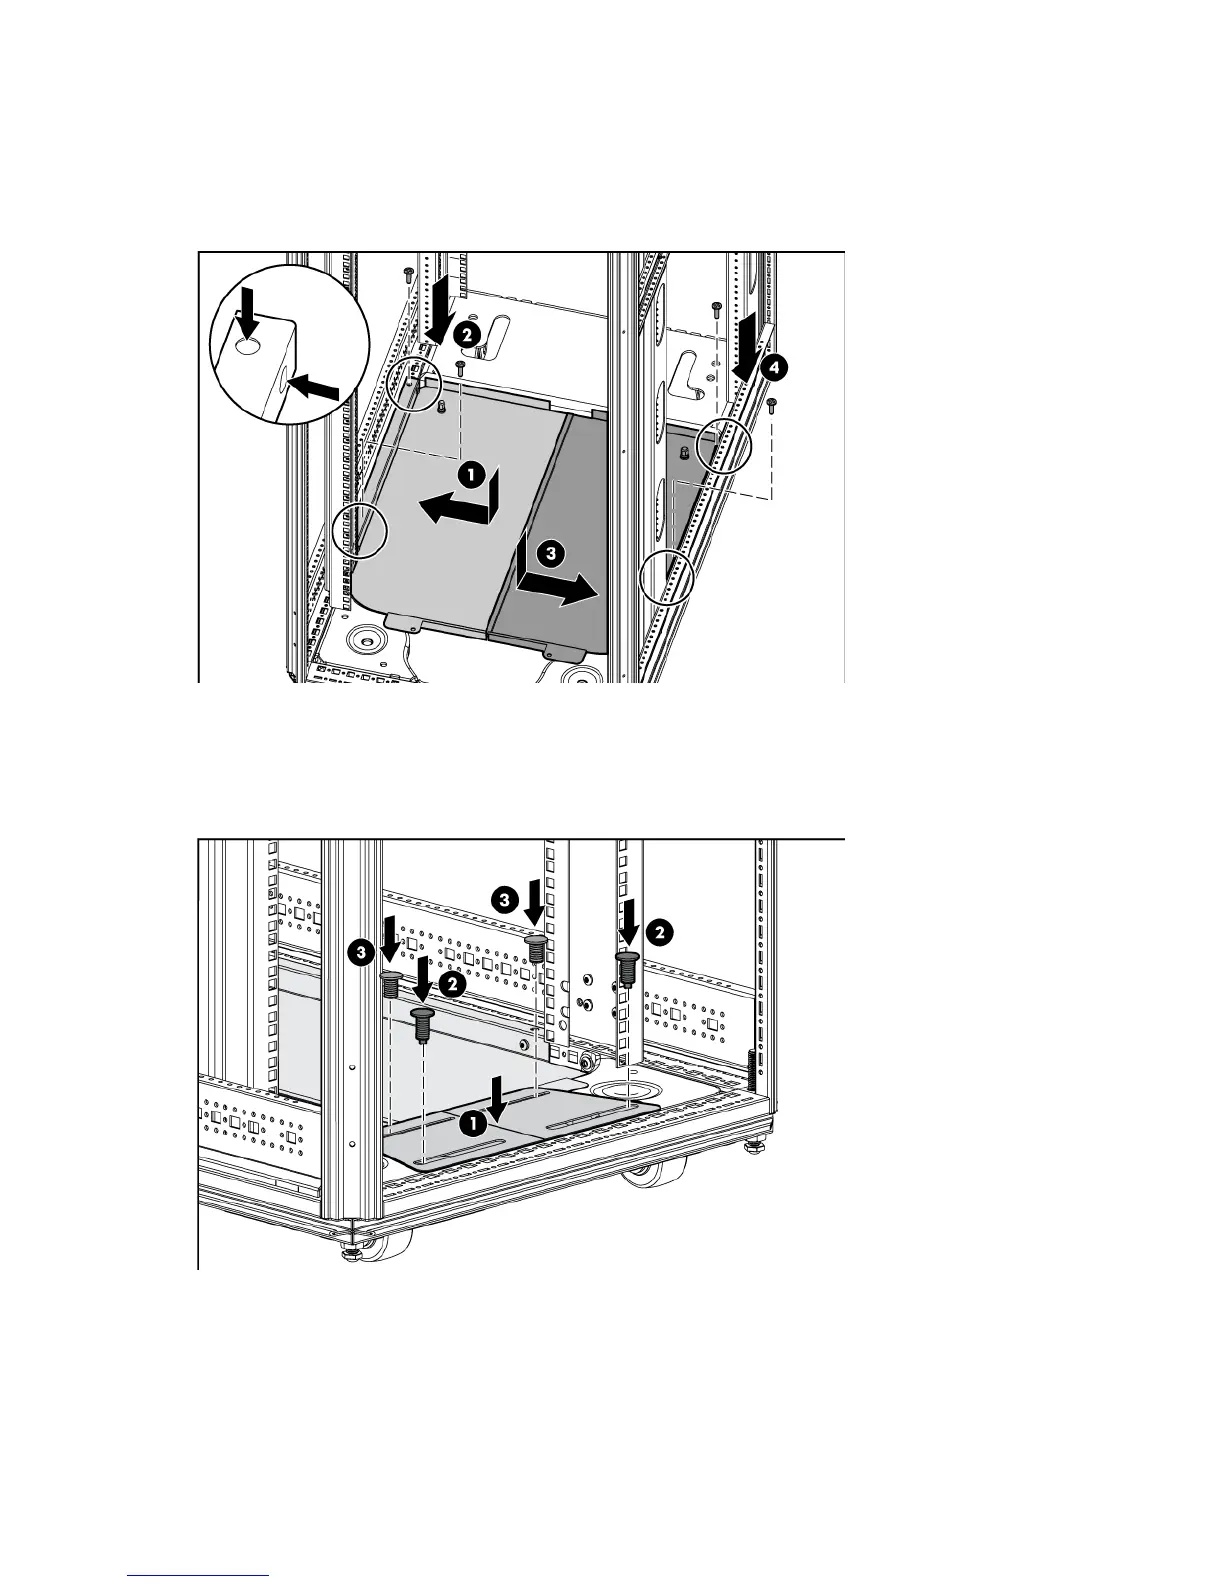
Insert the right side plate into the rack, overlapping the left side plate, and set it on the lip of the rack
frame (3).
4. Using a T-25 Torx screwdriver, insert and tighten one M5.5 self-tapping screw at the rear, right corner
and one M5.5 self-tapping screw at the front, right corner to secure the right side plate to the rack frame
(4).
5. From the rear of the rack, align the two egress cover plates with the egress slot at the rear of the rack (1).
6. Secure the egress cover slot.
a. Insert two 10-mm plastic tree fasteners into the two rear holes, through the caster plate (2).
b. Insert two 6-mm plastic push fasteners into the two front holes, through the base plate (3).
Installing the airflow gasket
1. Using scissors, cut the airflow rail gasket to fit the size of your rack.
2. Insert the airflow rail gasket into the rack front door on both sides of the rack.

 Loading...