EasyManuals Logo

HP 10000 G2 Series Installation Guide

HP 10000 G2 Series
129 pages
To Next Page IconTo Next Page
To Previous Page IconTo Previous Page
Page #94 background imageLoading...
Page #94 background image
Rack Air Duct kit 94
4.
Assemble the kits ("Assembling the kits" on page 98).
5. Install the kit assembly to the top of your rack.
6. Adjust the height of the kit.
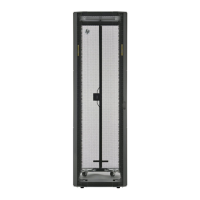
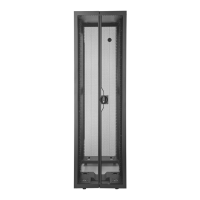
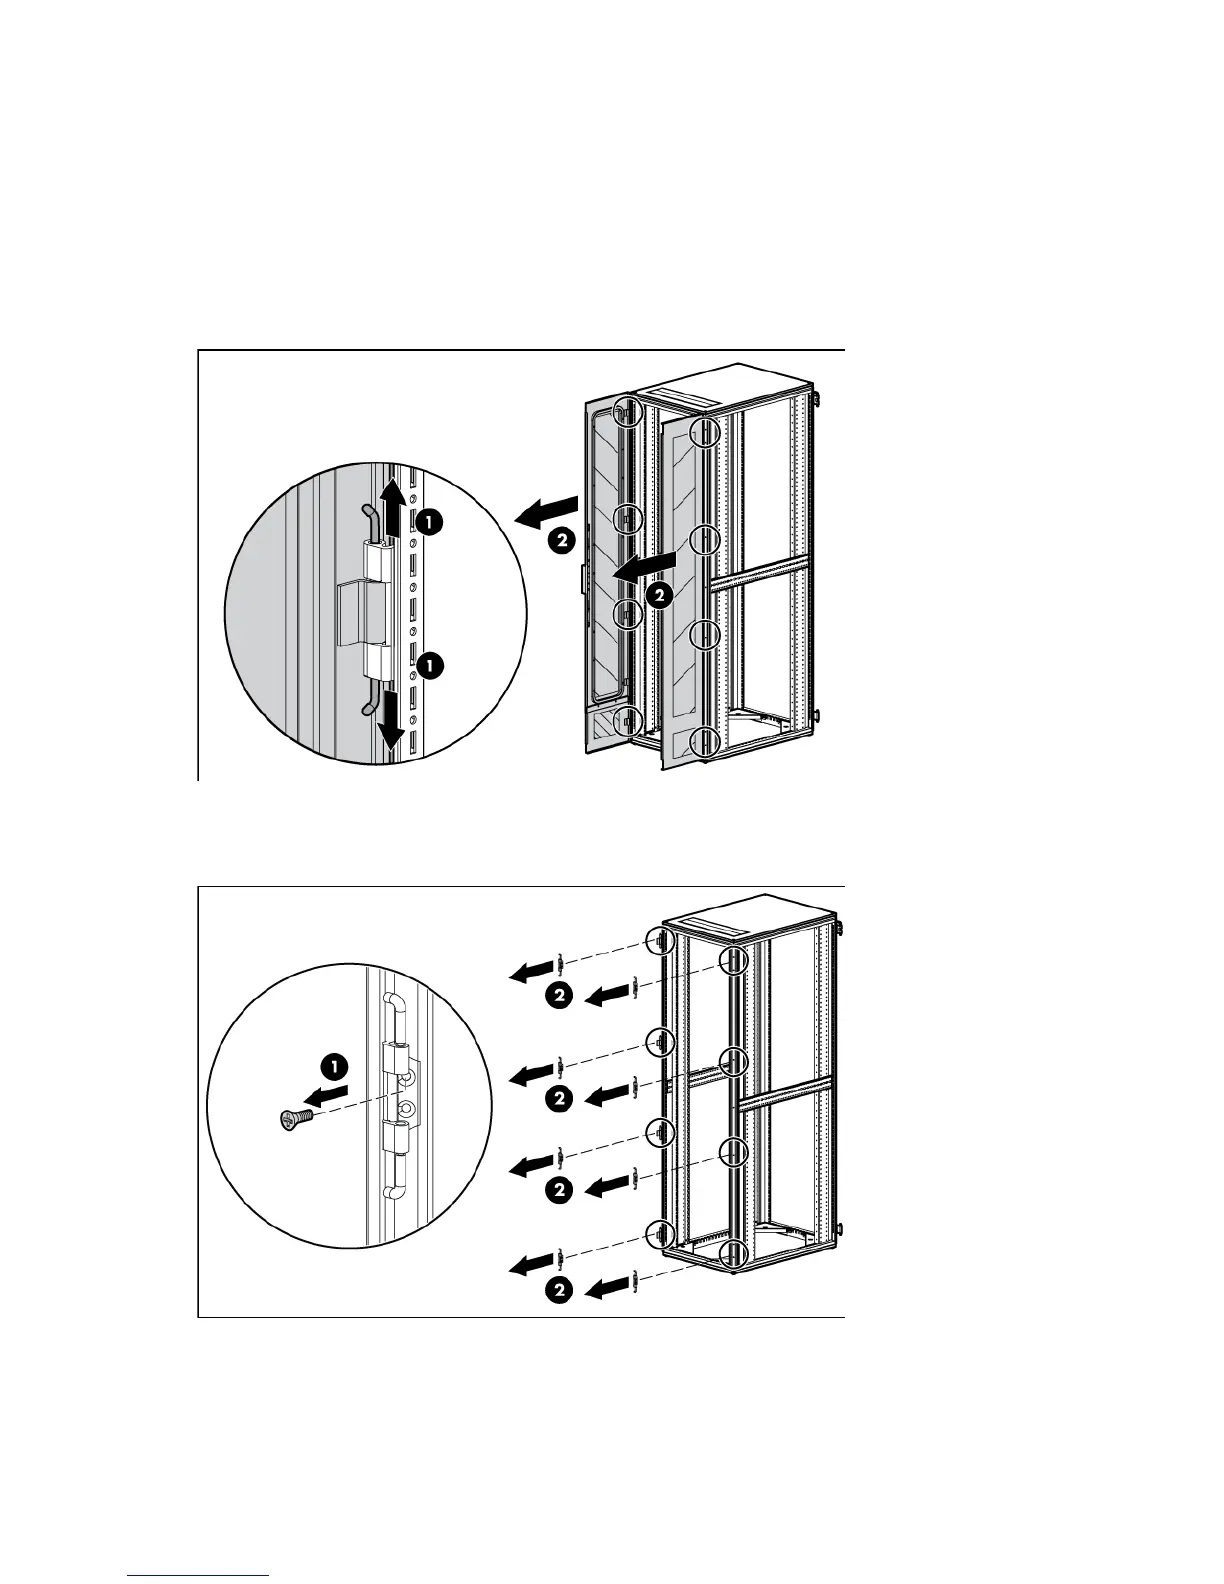
Removing the rear doors
1. Open the hinge brackets by pulling up the top hinge pin and pulling down the bottom hinge pin (1).
2. Lift the rear doors off the hinge brackets, and then remove the doors from the rack (2).
3. Using a T-30 Torx screwdriver, remove the M6 flathead screw securing each hinge bracket to the rack
(1), and then remove all of the hinge brackets from the rack (2). Retain the hinge brackets and screws
for reinstallation.

Table of Contents

Other manuals for HP 10000 G2 Series

Questions and Answers:

Question and Answer IconNeed help?

Do you have a question about the HP 10000 G2 Series and is the answer not in the manual?

HP 10000 G2 Series Specifications

General IconGeneral
Rack Height42U
Weight Capacity2000 lbs
ColorBlack
Product TypeRack
MaterialSteel
Adjustable Leveling FeetYes
Cable ManagementYes
Mounting TypeFloor-standing
Width24 inches
Height78.7 inches
Compatible DevicesHP Servers

Related product manuals