Rear Extension kit 107
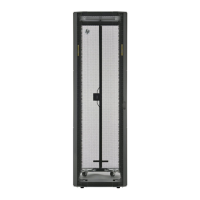
4.
Using a T-25 Torx driver, remove the upper and lower rear door lock catches by removing the two
screws from each of the upper and lower rear door lock catches. Retain the door lock catches and
screws for reinstallation.
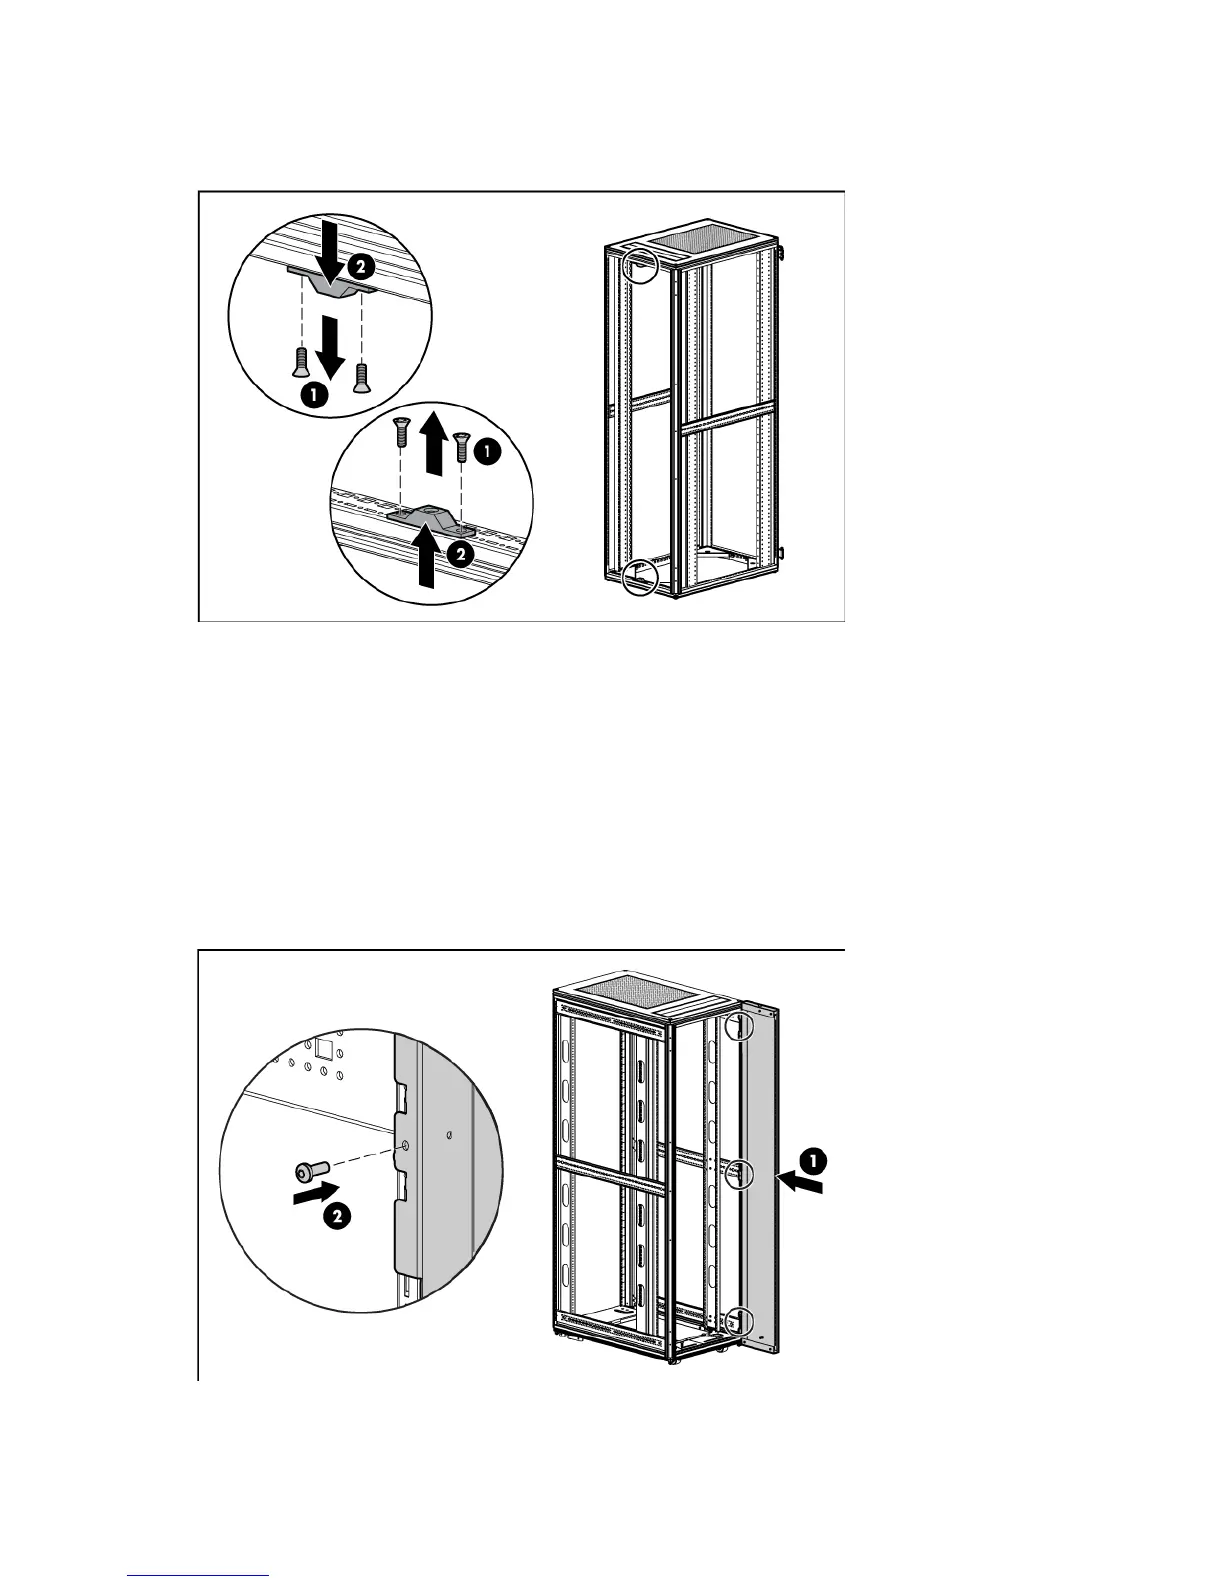
Installing the rear extension assembly
1. Install the side assemblies of the rear extension assembly.
a. Align the right-side assembly with the rack frame (1).
b. Hook the extension into the rack frame at the three hook locations at the top, middle, and bottom of
the rack.
c. Using a T-25 Torx screwdriver, insert and tighten one M5.5 self-tapping screws into each of the
three hook locations to secure the side assembly to the rack frame (2).
d. Repeat steps a through c for the left-side assembly.
2. Install the top assembly of the rear extension assembly.

 Loading...